These are the main archetypes of PlanetSide 2 base layouts. Just keep in mind there are many exceptions from them.
Warpgate

You can always deploy in a Warpgate on your current continent.
Warpgates are safe havens, completely protected from any enemy activity. Players and vehicles inside warpgates are immune to any damage. Each faction has a warpgate on the edge of each continent.
Warpgates have a Terminal of every type, and players can always spawn at an allied Warpgate from any distance.
Warpgates are used as staging grounds, and as places to regroup or take a break for a few minutes.
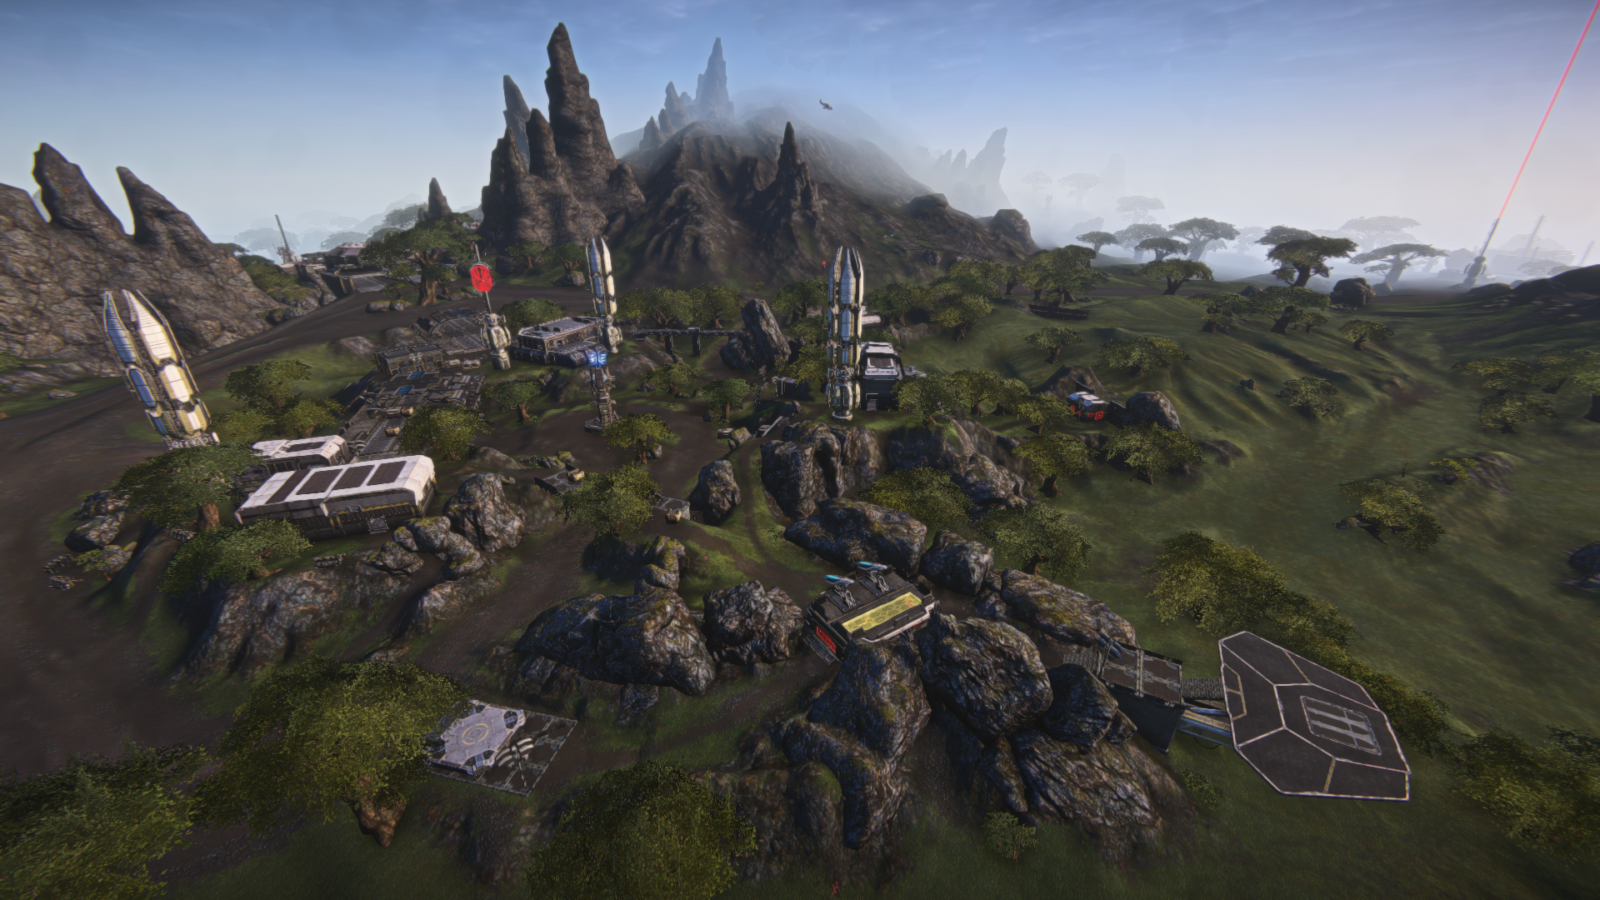
Outposts
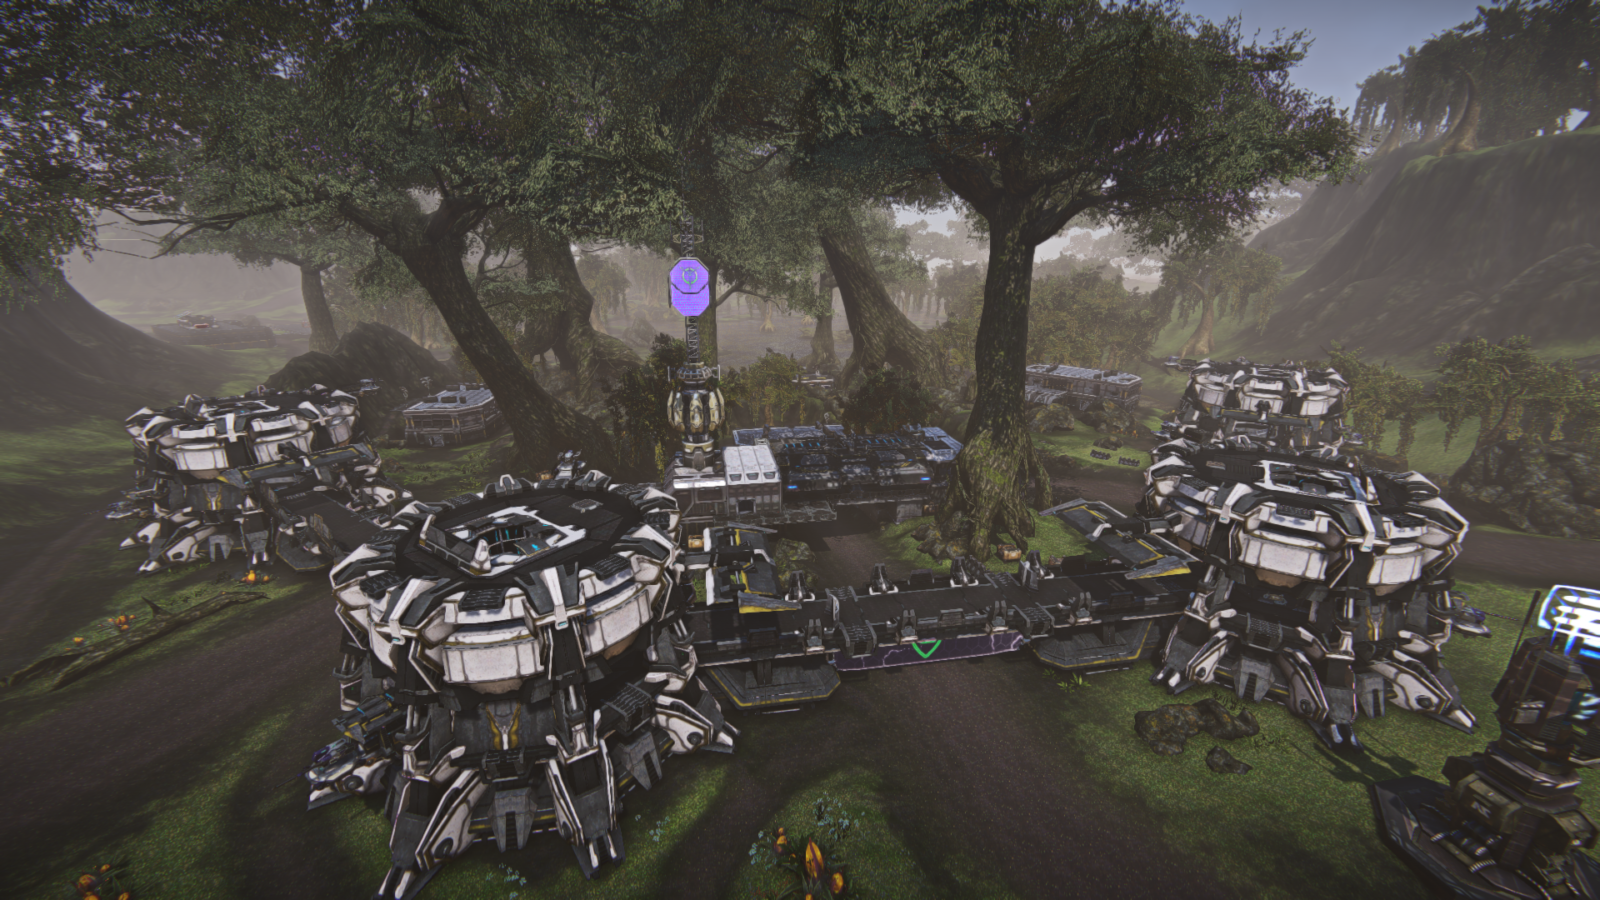
Small Outposts

Small Outposts make the majority of PlanetSide 2 bases. They have a few structures and one Capture Point.
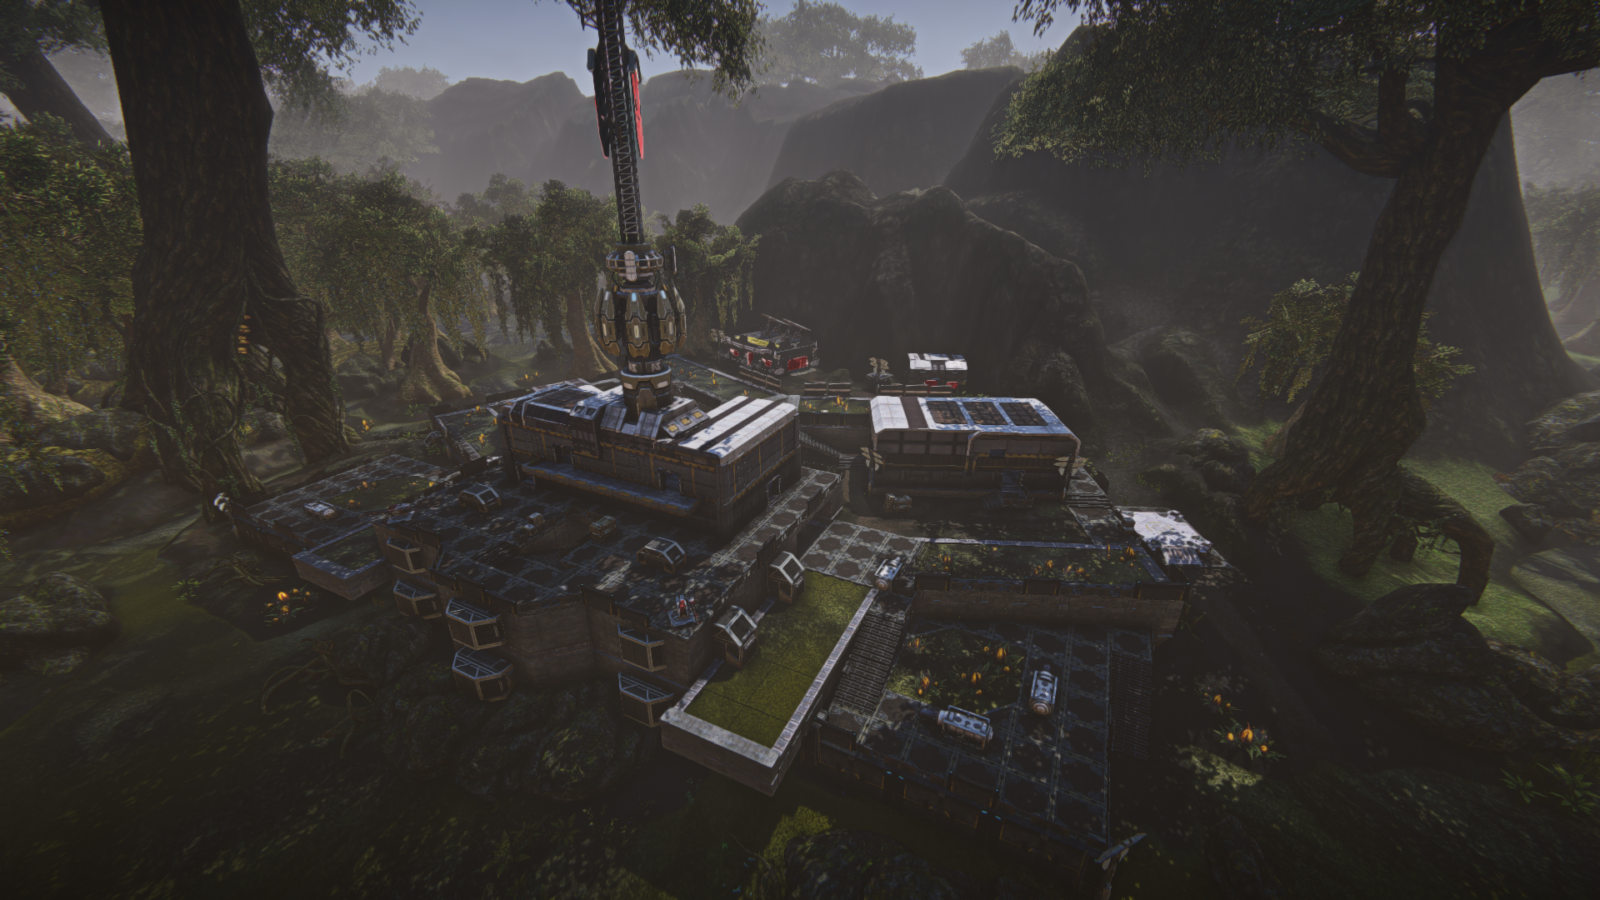
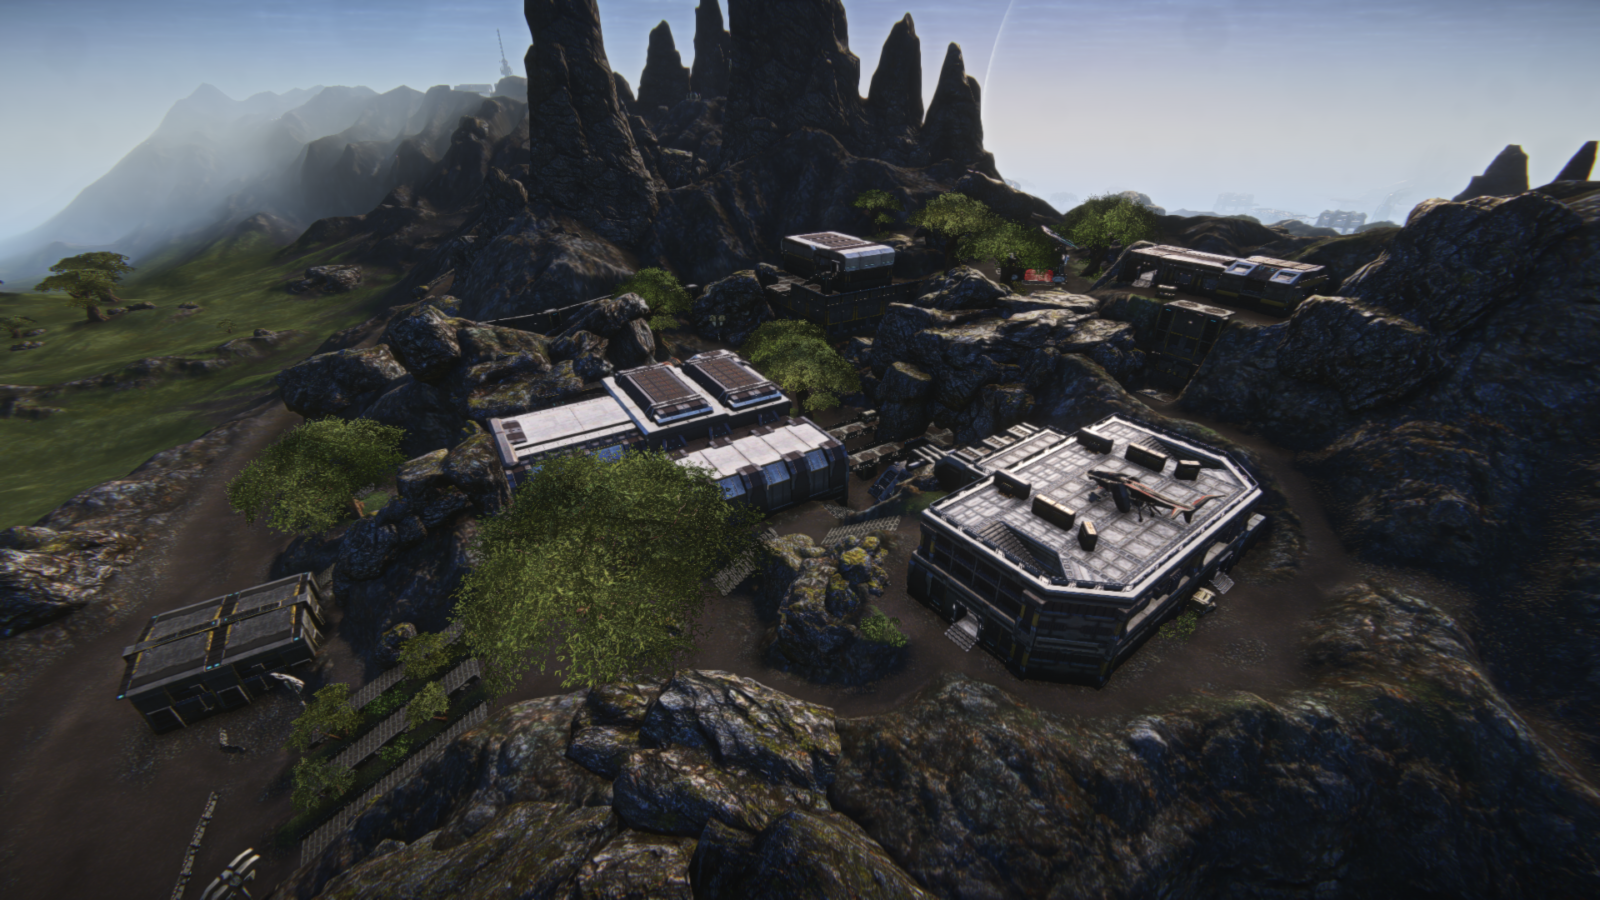
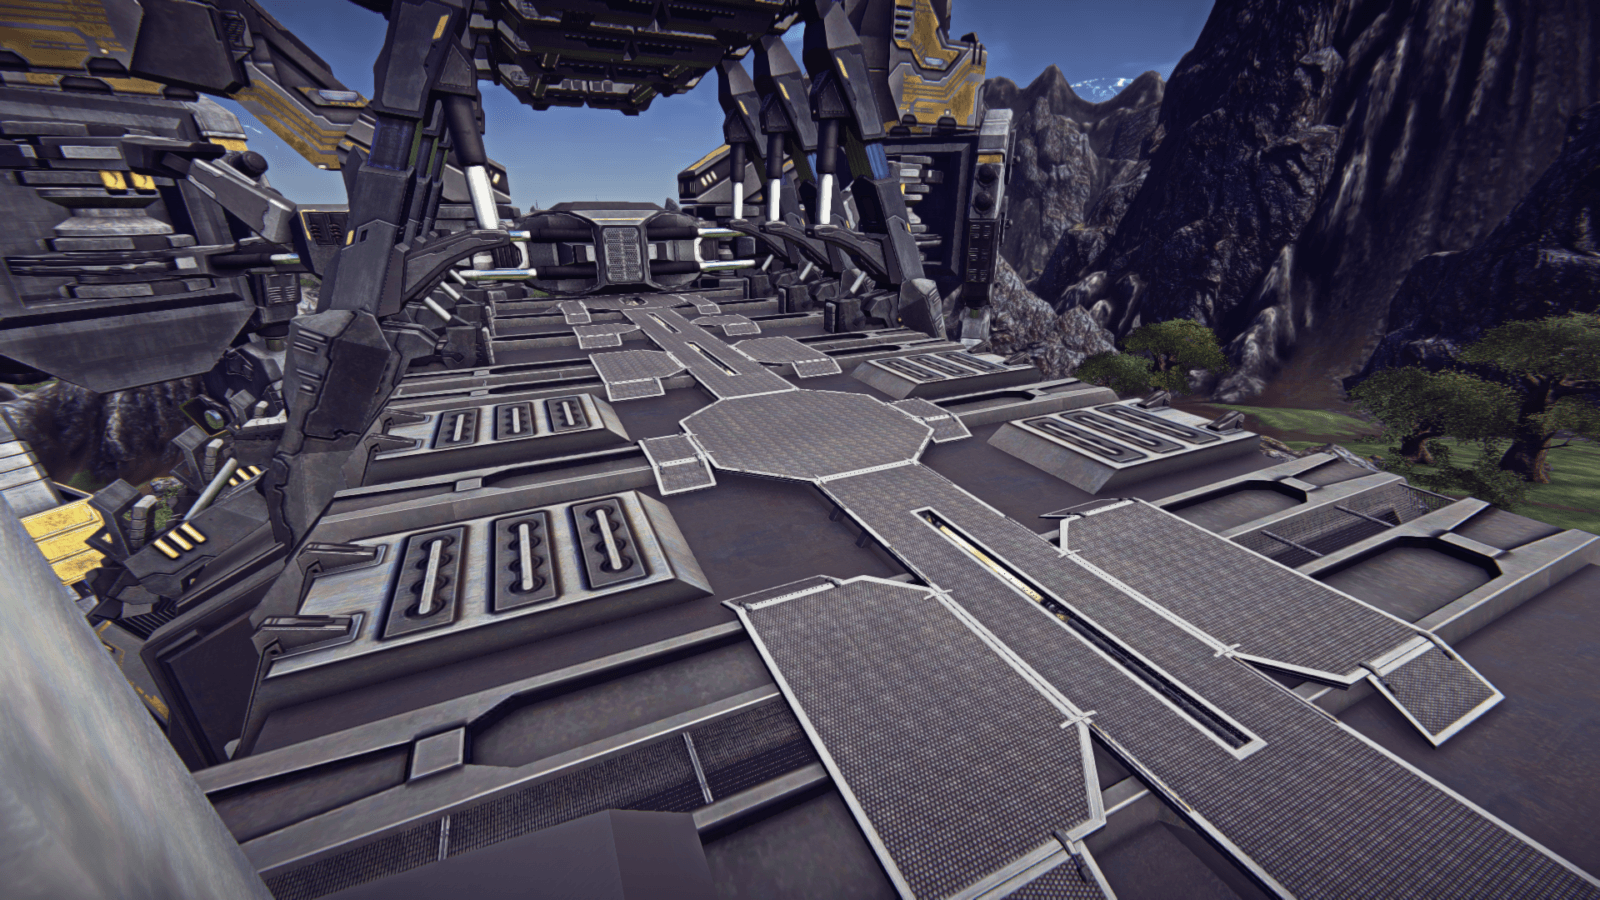
Large Outposts
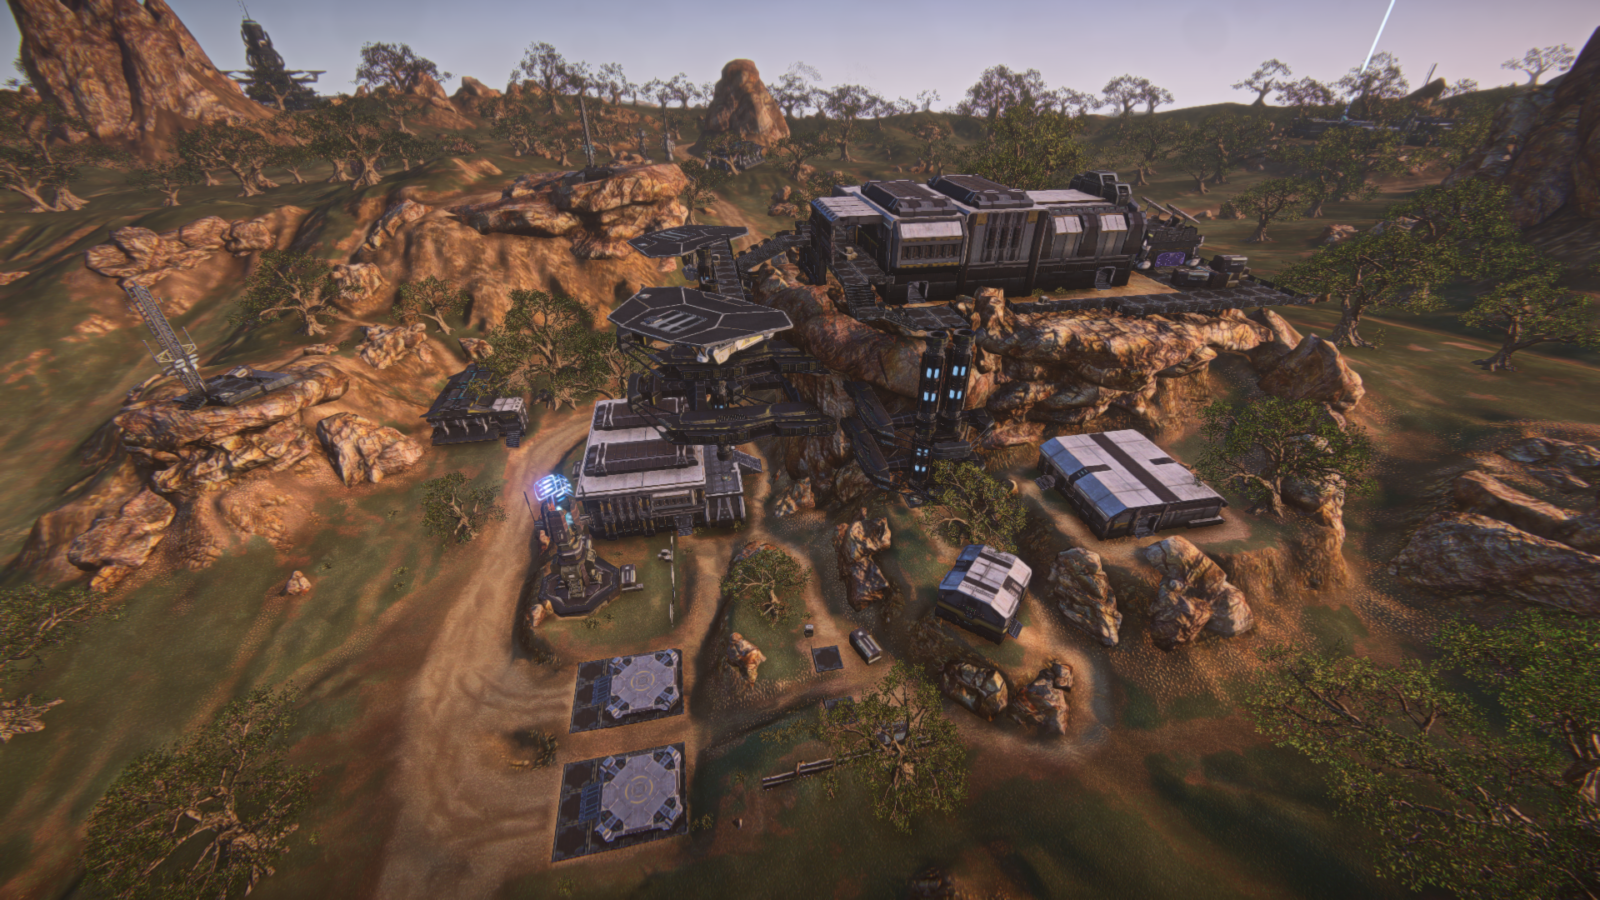
Large Outposts are larger bases, surrounded by Small Outposts. They have more structures and three or four Capture Points. They’re also more likely to have an Air Terminal.
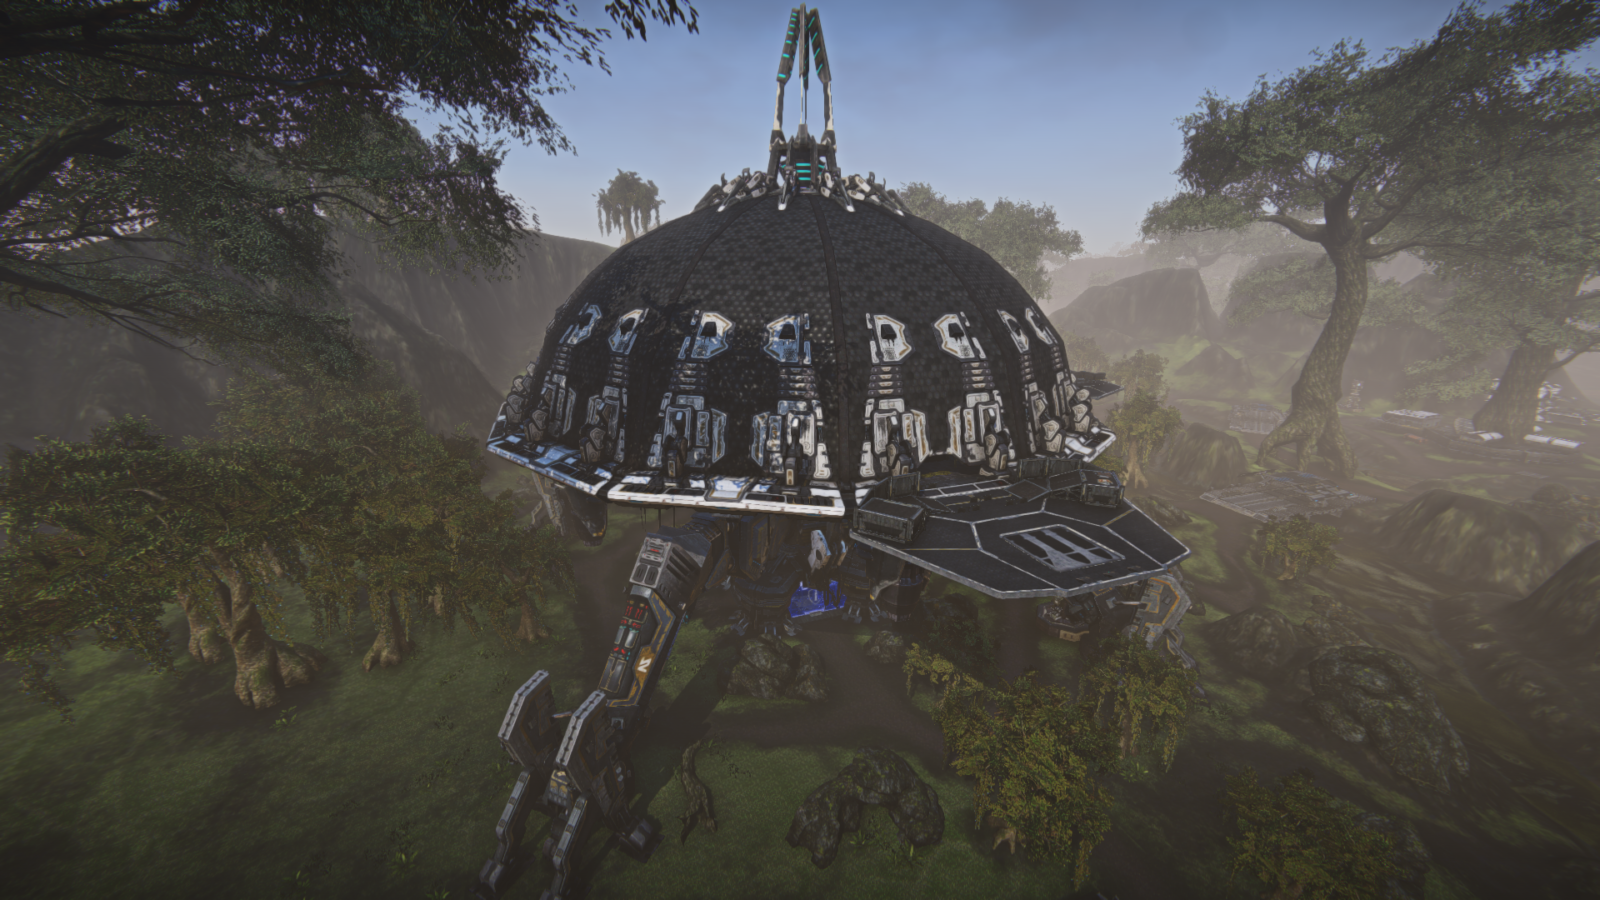
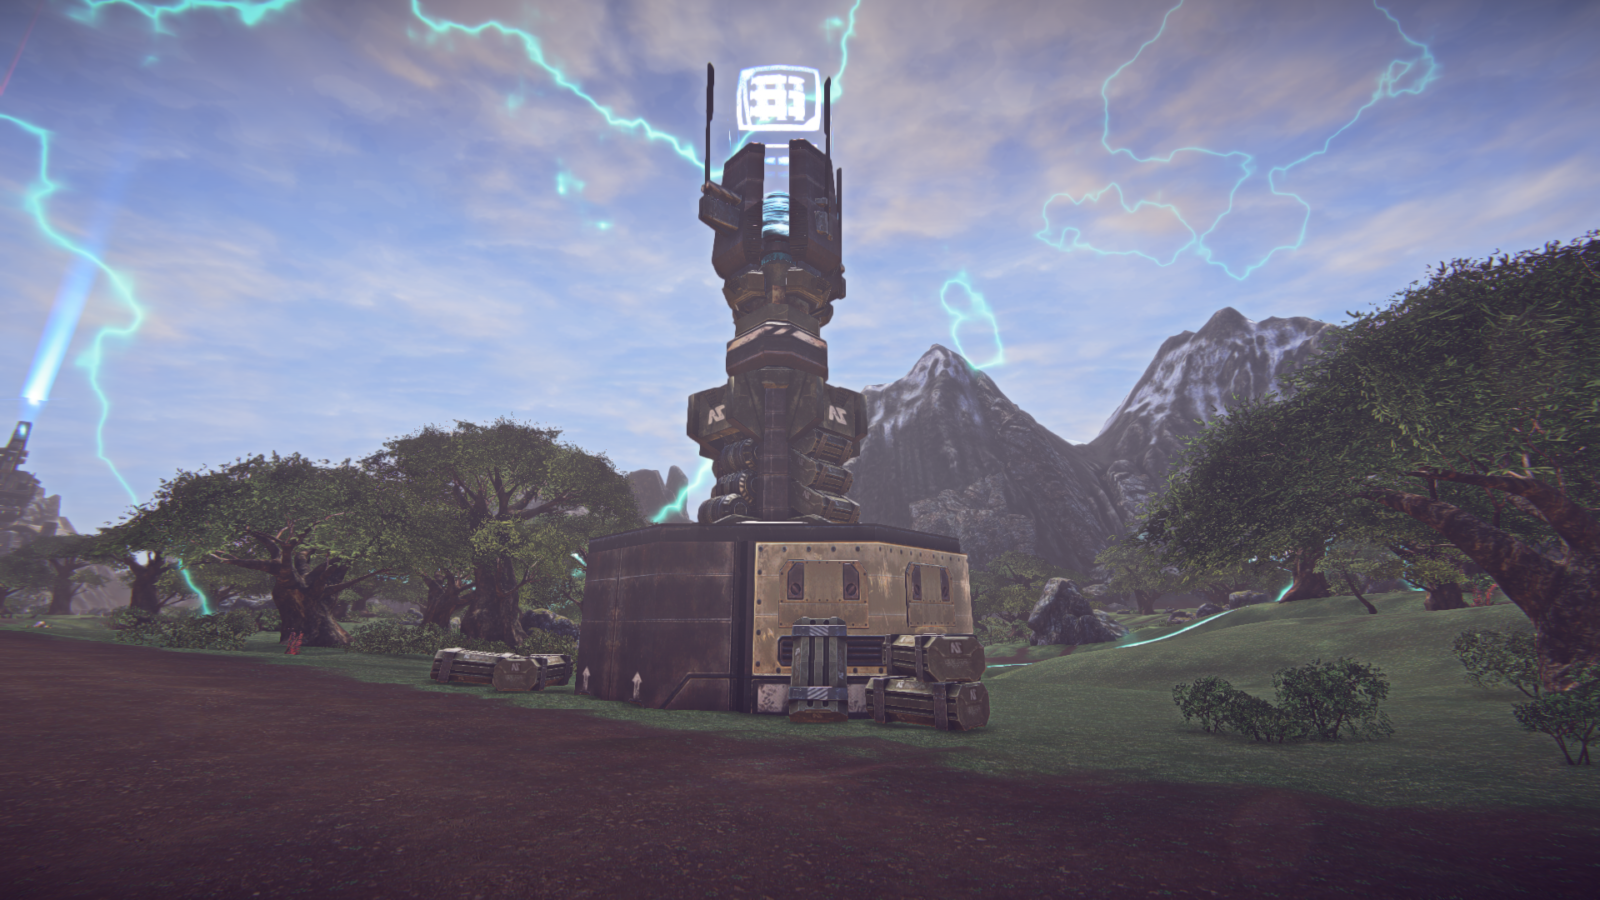
Towers
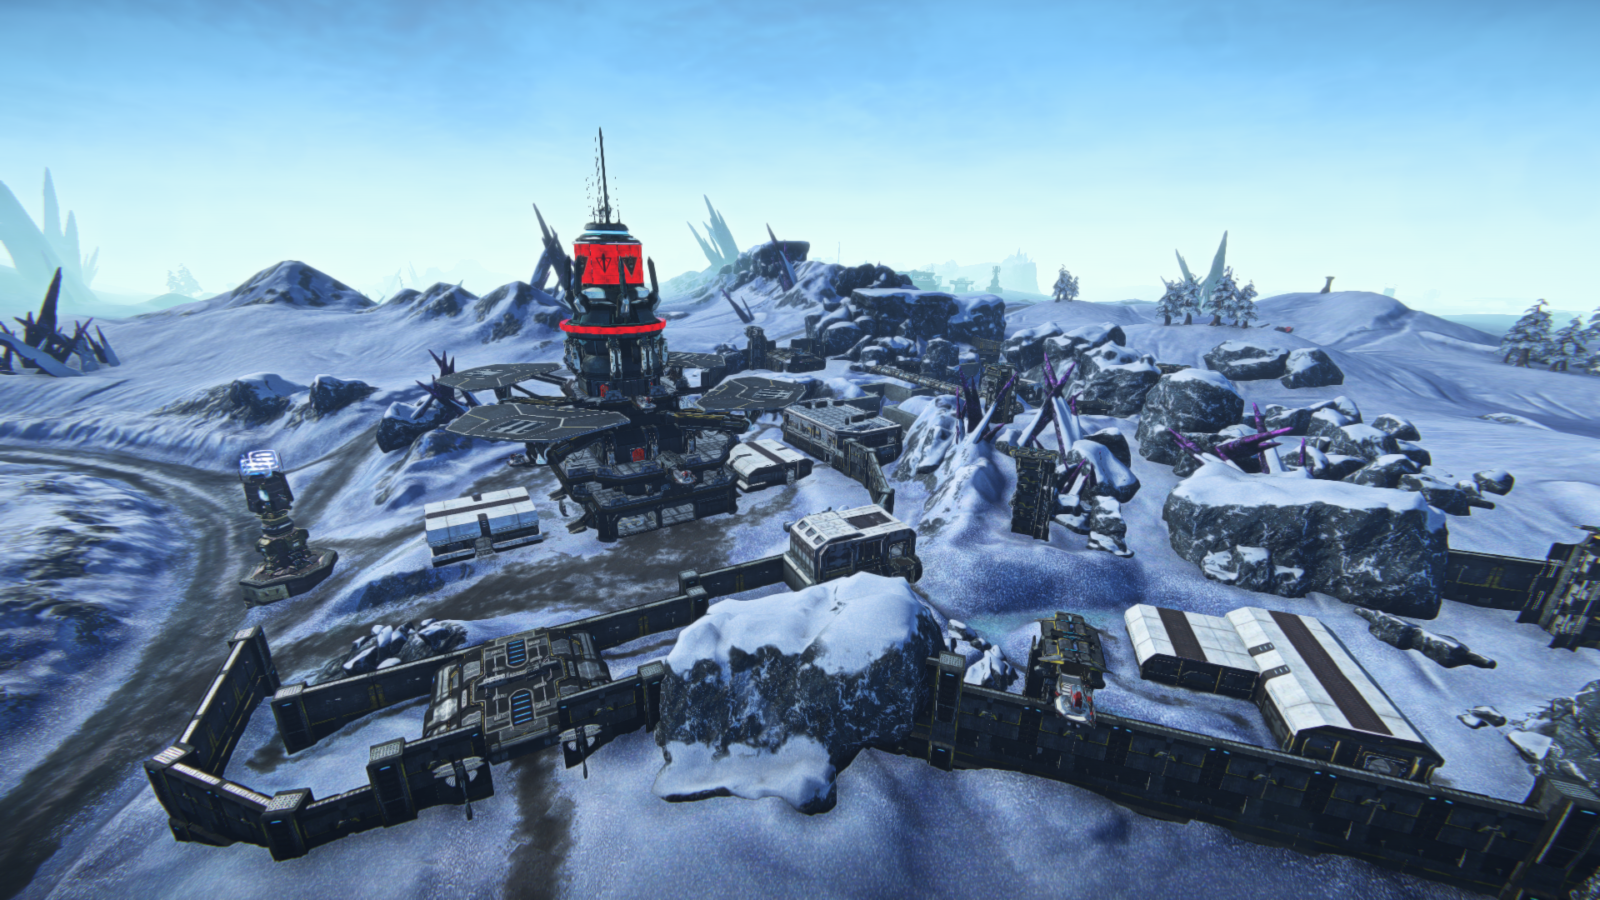

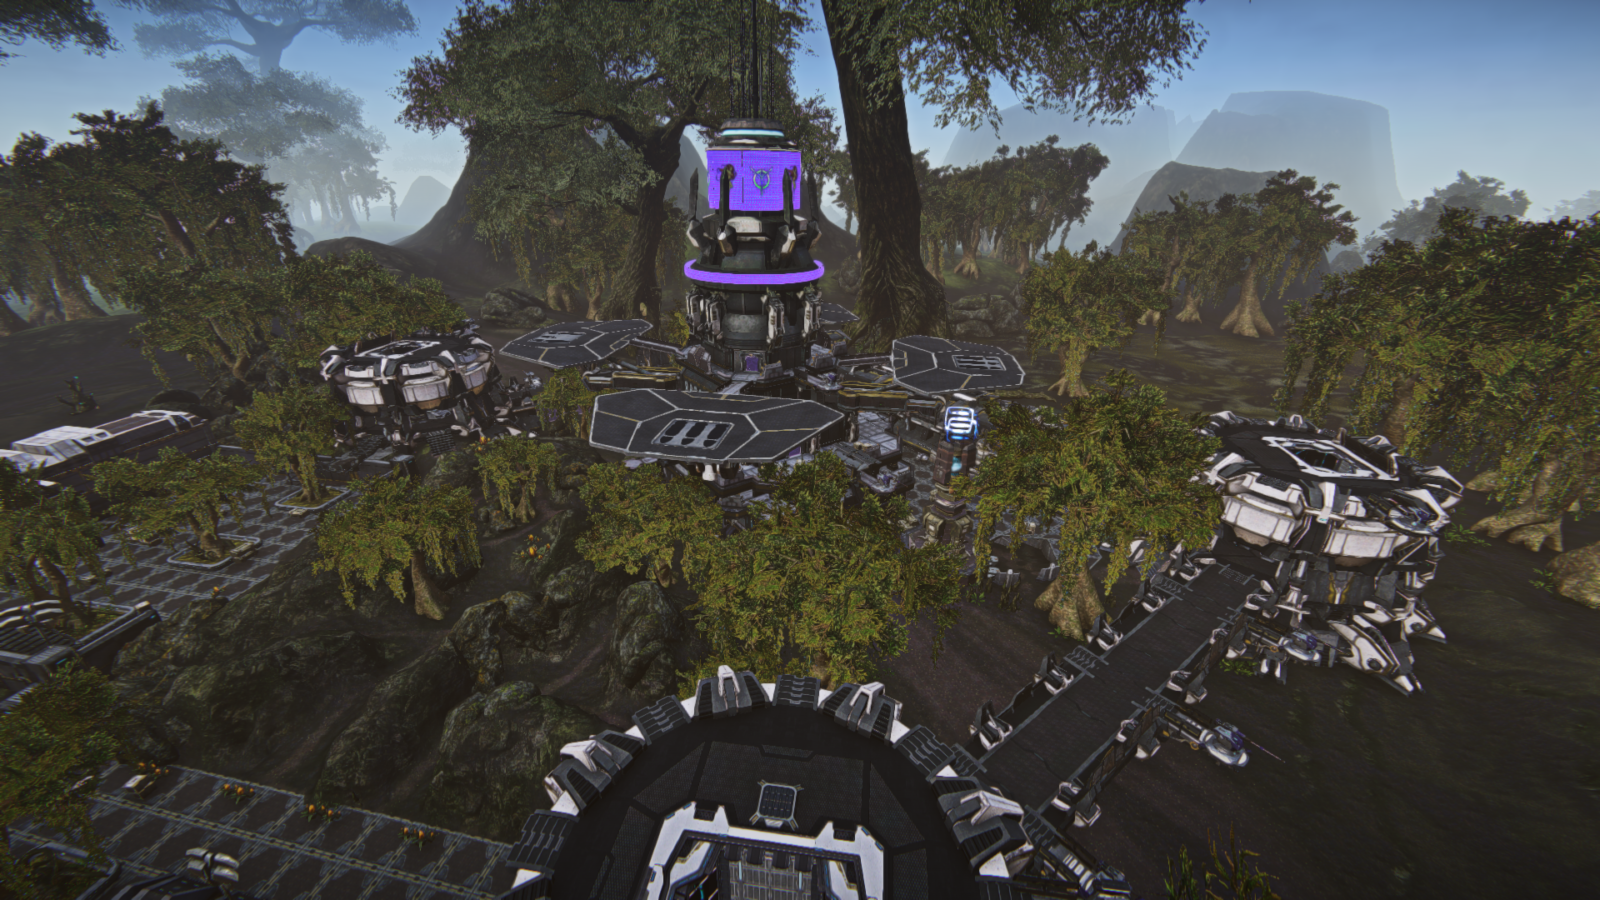
Towers are Small or Large Outposts with a distinctive central tower structure with access to four Landing Pads and Aircraft Terminals.
Bases for Construction
Some bases are basically open areas with a special Capture Point that can be flipped by vehicles and MAXes. These bases don’t have no-construction zones around them, so players can use the Construction System to build their own fortifications.
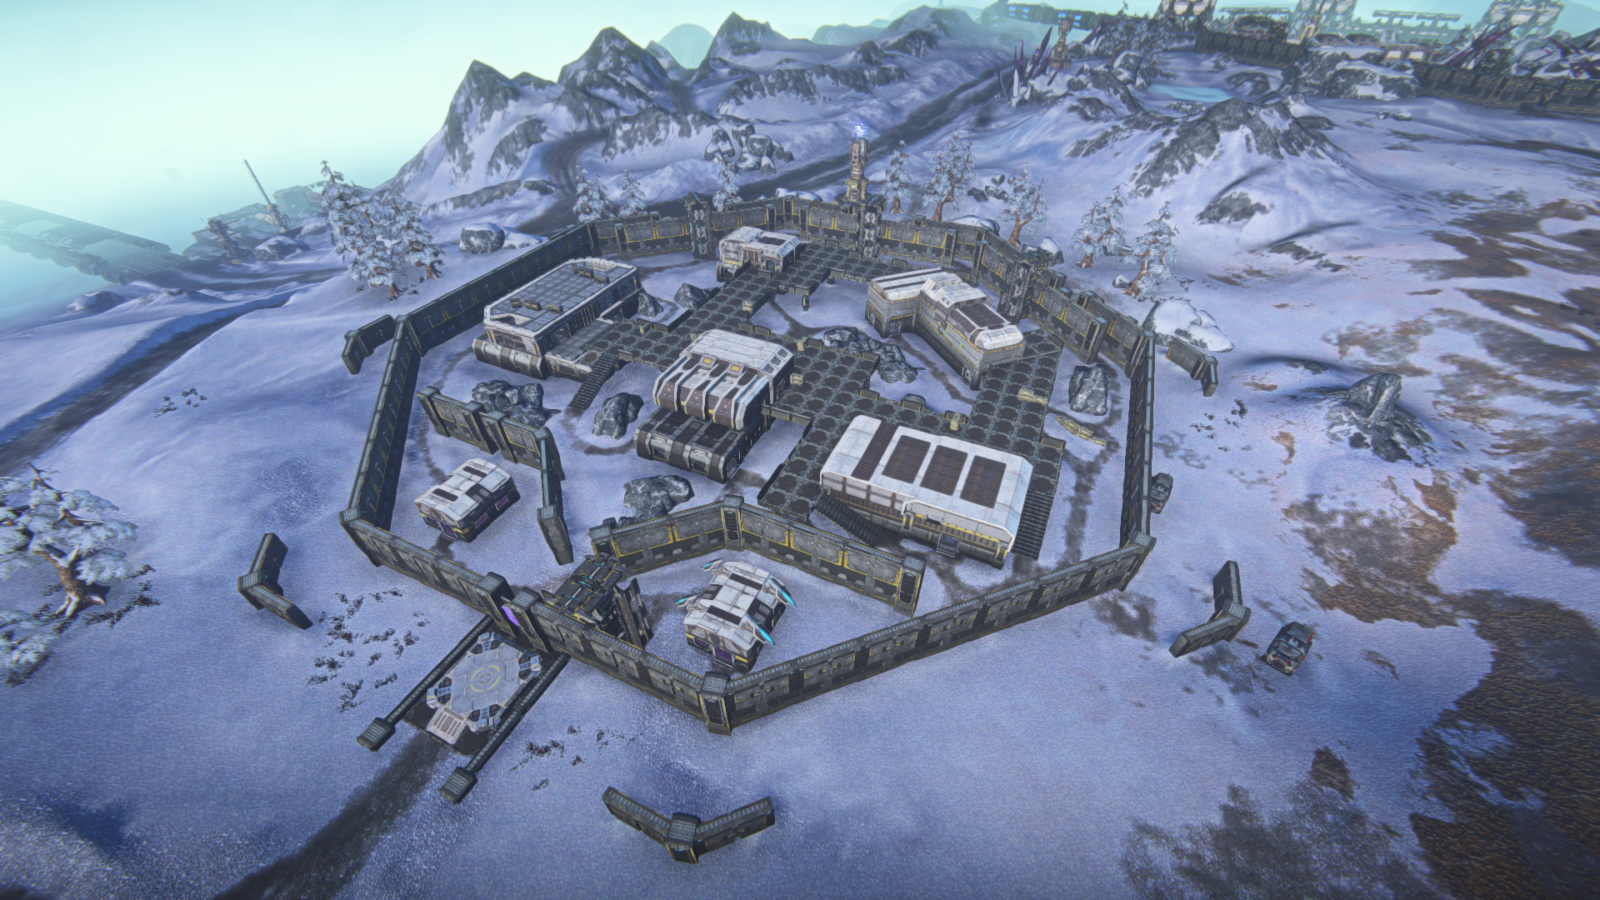
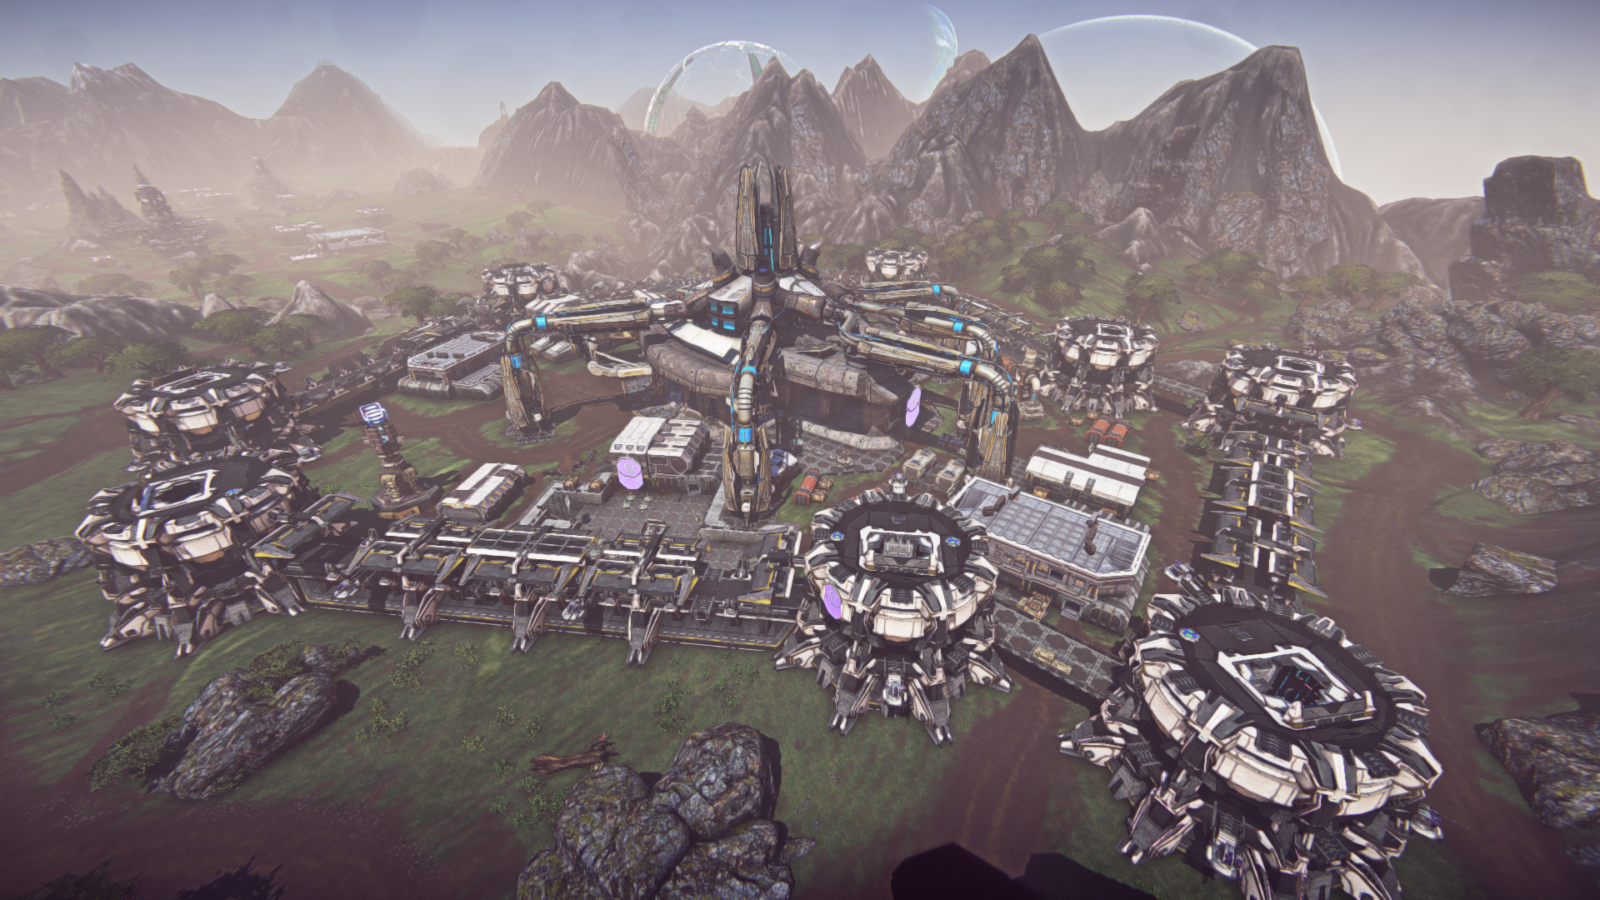
Facilities
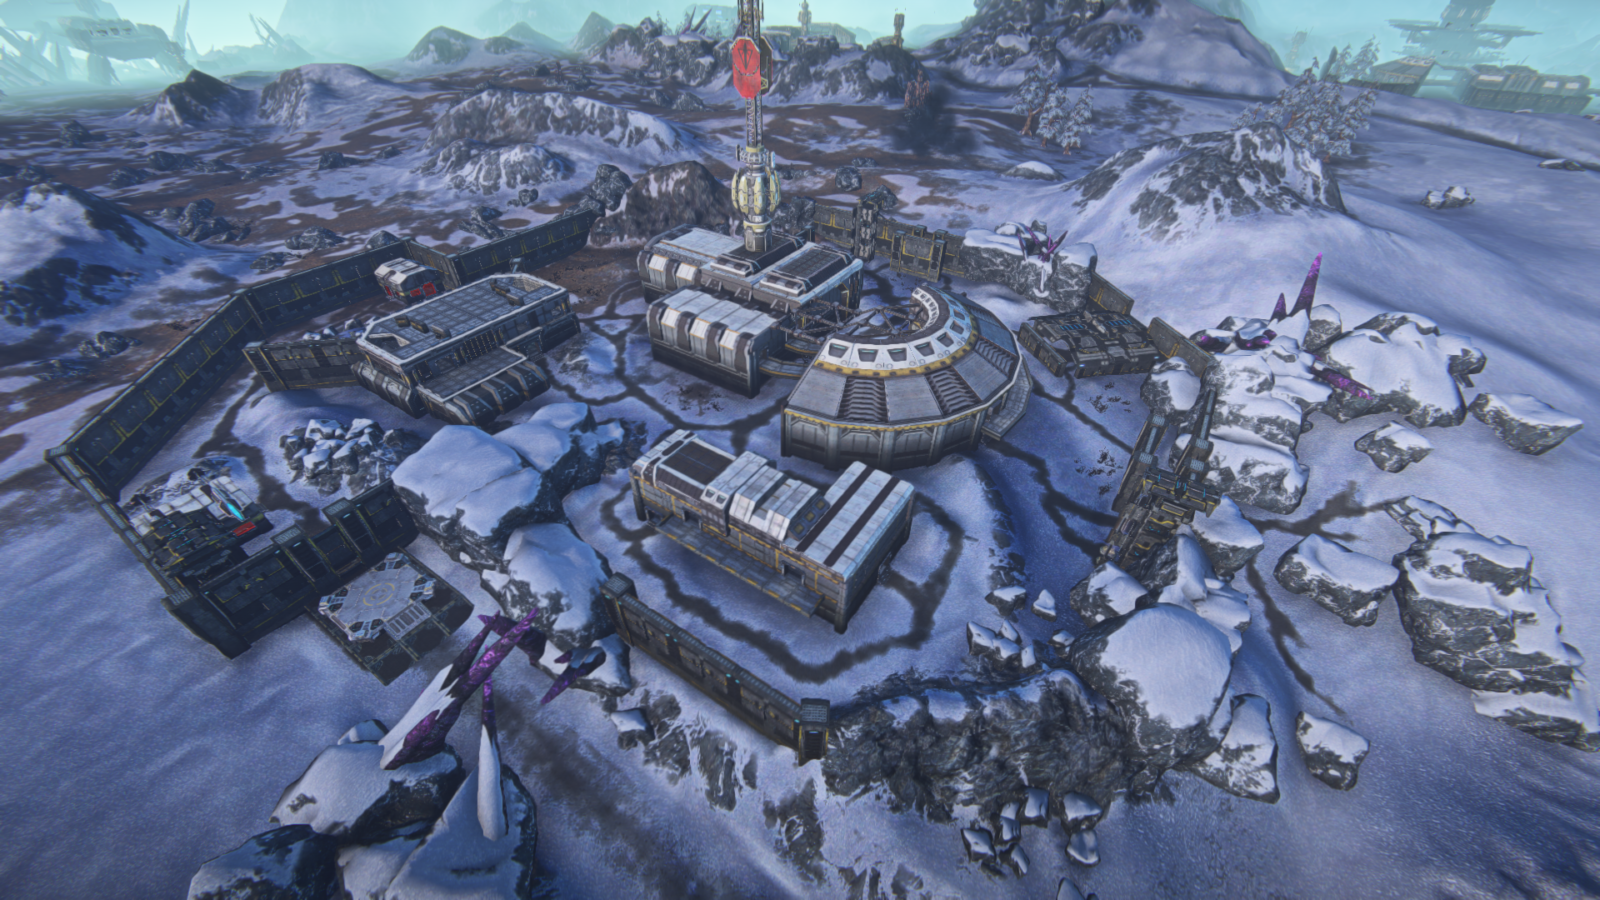
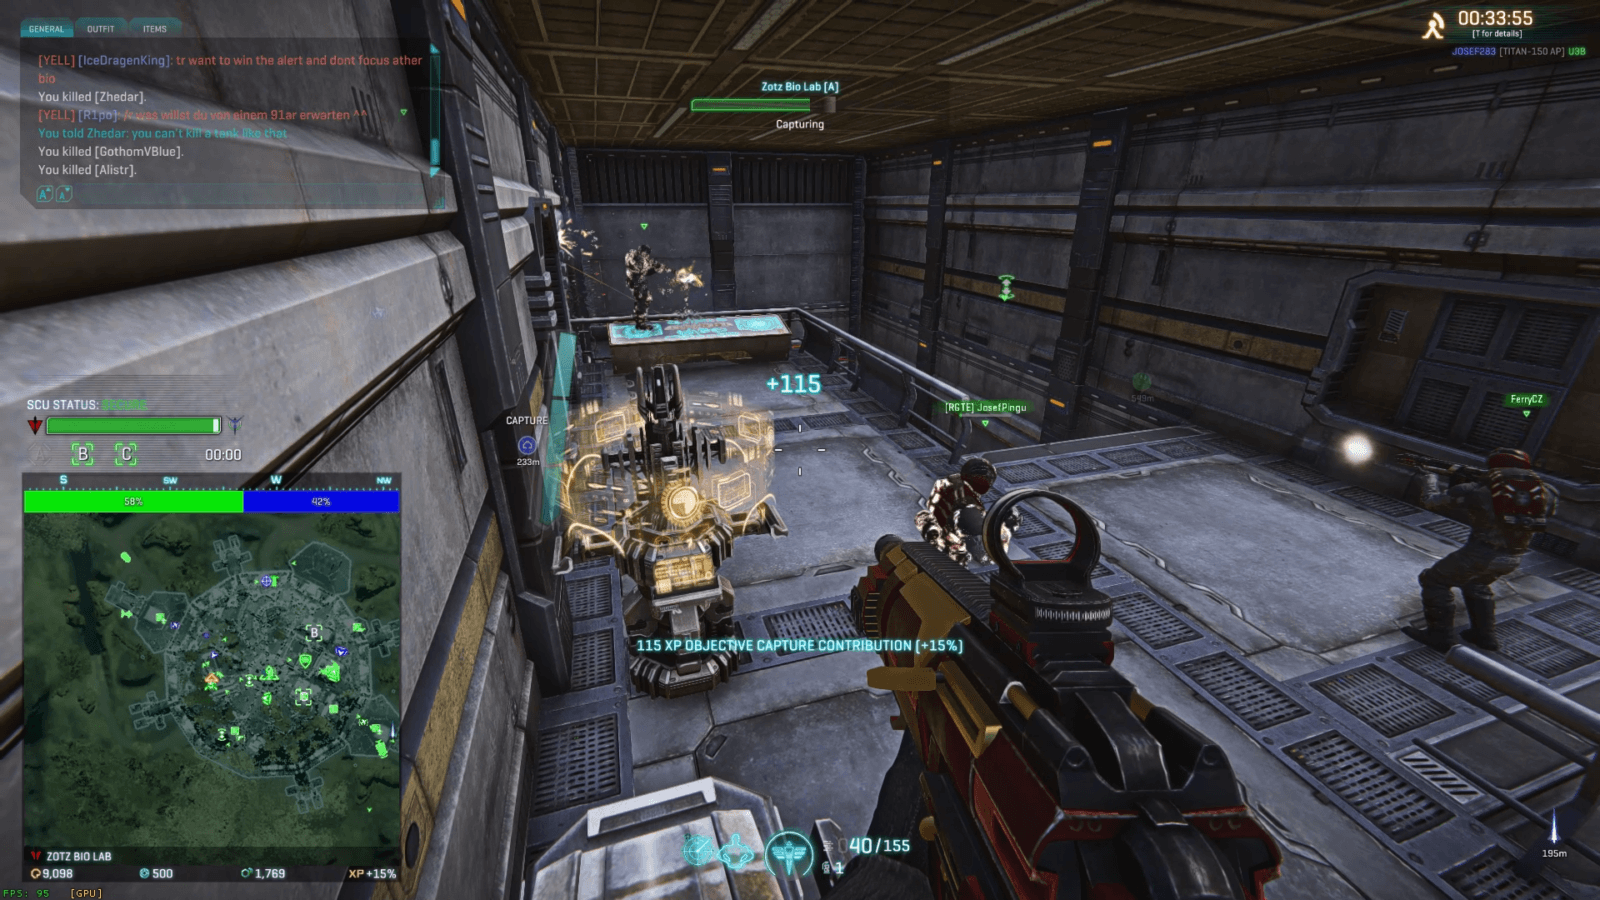
Facilities are large bases. They have multiple layers of defense, usually have a Spawn Control Unit, and both Air Terminals and Vehicle Terminals. Facilities offer continent-wide benefits to factions that control them.
Each continent has three Facilities of each type, except for Esamir, which has only one Tech Plant at the center of the map.
AMP Station
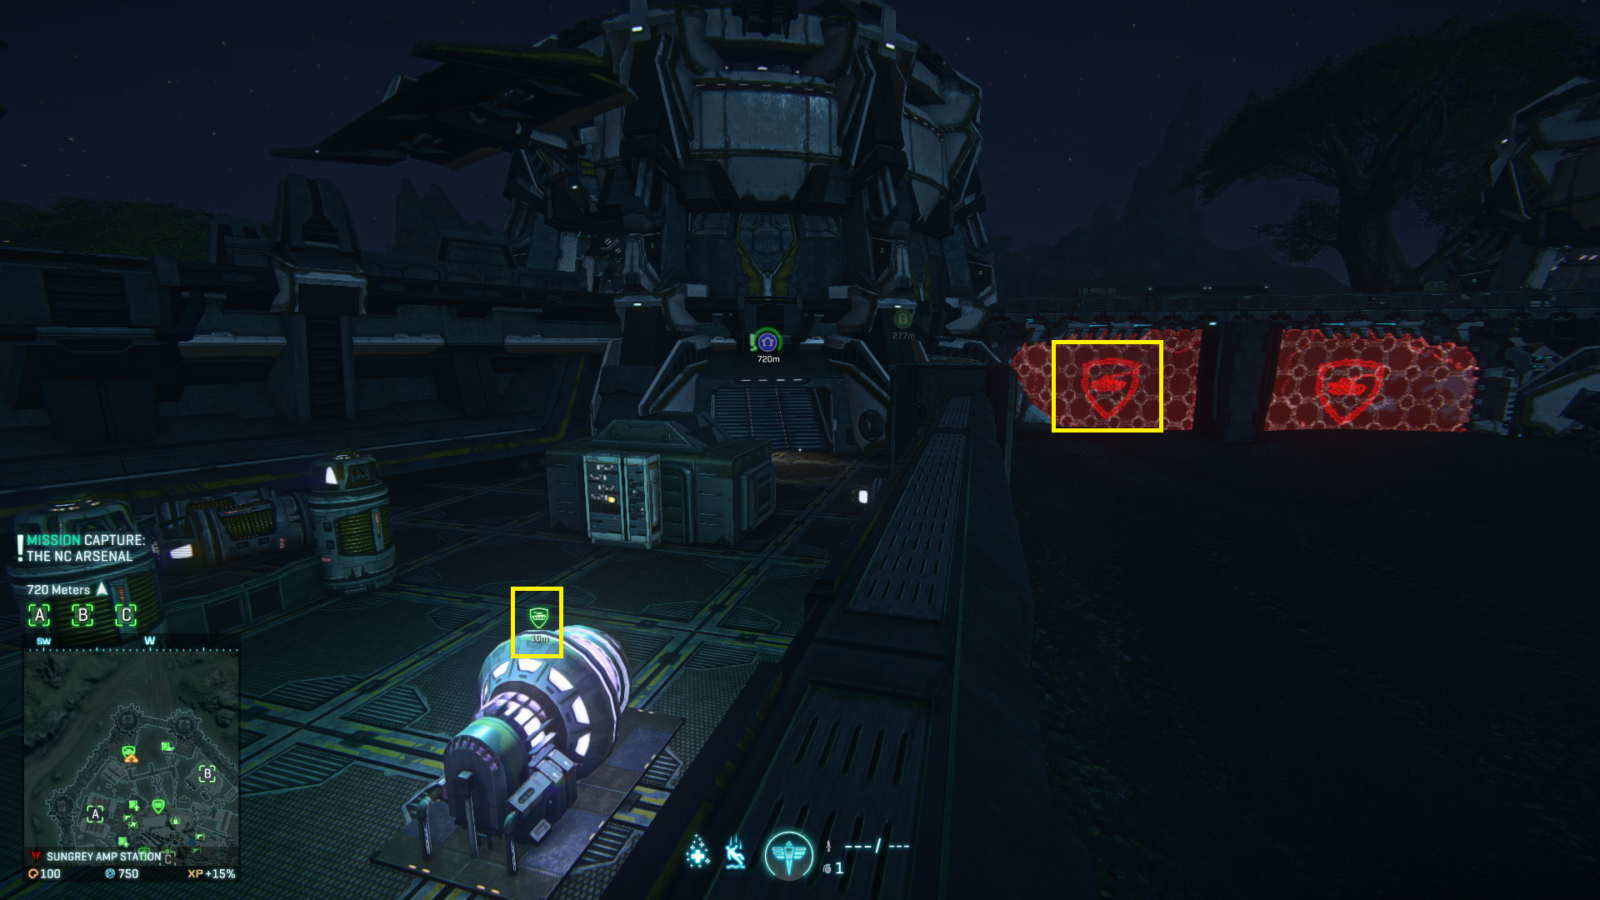
AMP Stations are surrounded by walls with multiple towers and turrets. They have one Capture Point, protected by two Shield Generators. Attackers must destroy both generators, or use Gate Shield Diffuser vehicles, in order to gain access to the Capture Point. The perimeter towers are often used as improvised Sunderer garages.
AMP Stations have a shielded SCU. It will become exposed once the base Capture Timer reaches 50%
Facility Benefit: controlling an AMP Station allows base turrets to automatically repair themselves over time.
Tech Plant
Tech Plants have one Capture Point. Two Shield Generators maintain several force fields, but it is possible to access the Capture Point without disabling them.
Tech Plants have other unprotected entrances, but when it comes to forcefields on the “sides” of a Tech Plant, you can bypass them by jumping on nearby support structure.
A gun deck with multiple anti-air turrets overlooks the surrounding area and provides access to Air Terminals. It’s possible to get to the gun deck by using Teleporters or Gravity Lifts on the first floor of the Tech Plant.
Tip: you can get to the gun deck’s roof by first jumping up on one of the turrets, and then jumping to the roof itself.
There’s usually one Vehicle Terminal near the Spawn Room, and two more in the rear part of the Tech Plant’s main building
Middle section of the Tech Plant is sometimes used for dropping infantry with an air transport. That infantry can then jump down to the balcony at the rear side of the Tech Plant to assault the Capture Point directly. This is known as “scum drop”.
Defenders can use underground tunnels in order to move around the surrounding area. Entrance to those tunnels is located at the back of the Spawn Room.
Facility Benefit: controlling a Tech Plant allows players to pull Main Battle Tanks and Liberators from any base. If Tech Plant’s terminal is hacked by an infiltrator, it’s possible to pull MBTs or Liberators even without owning the Tech Plant.
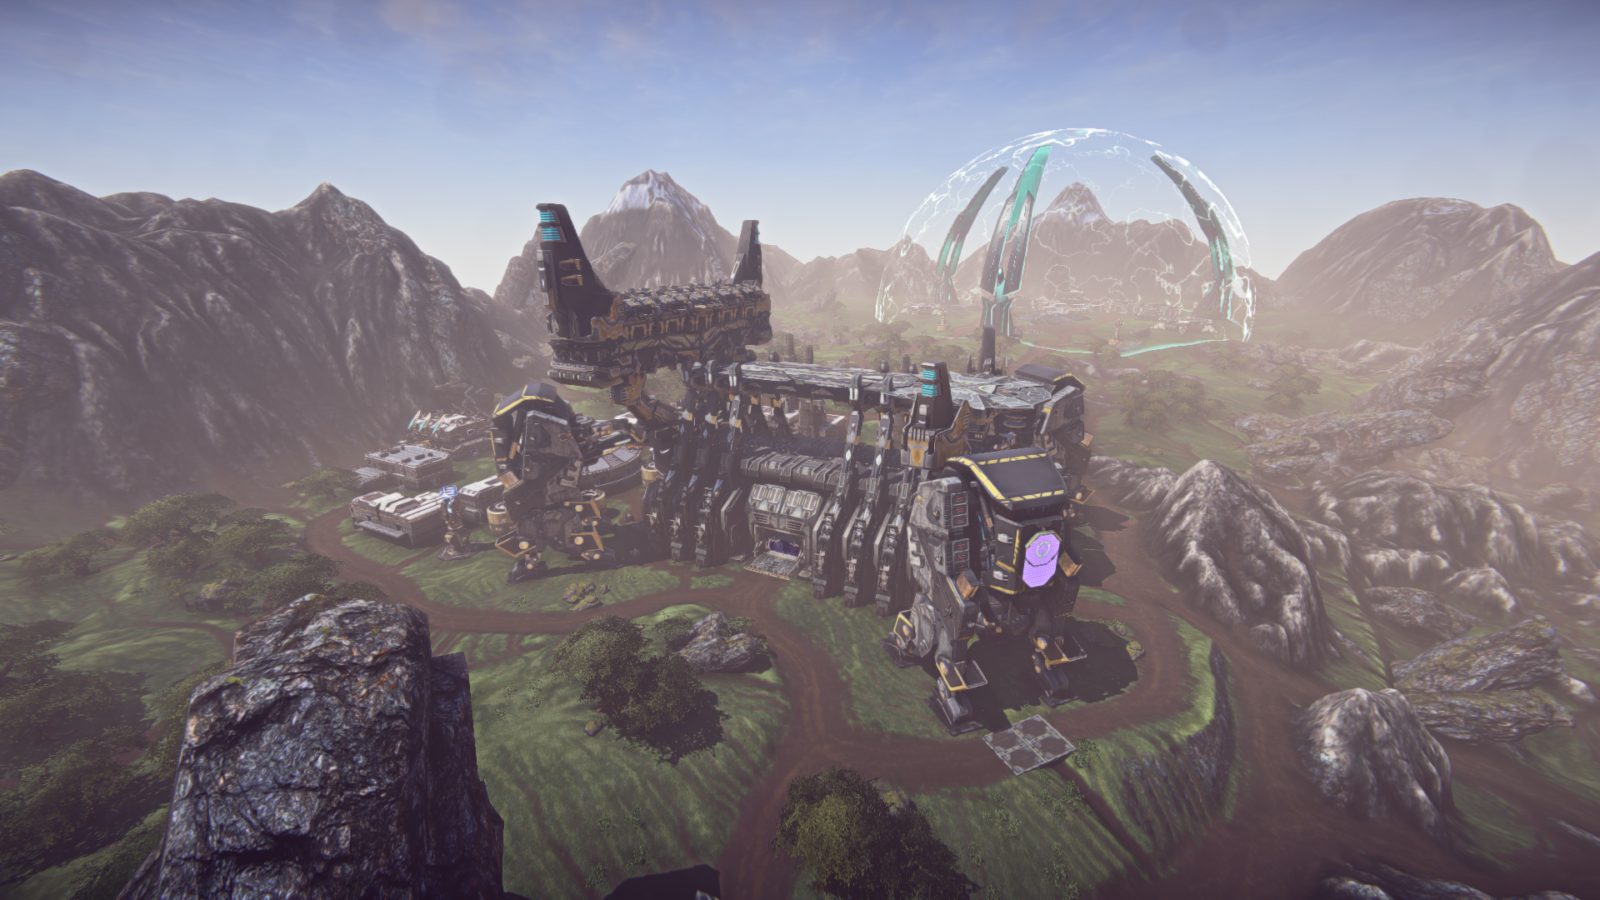
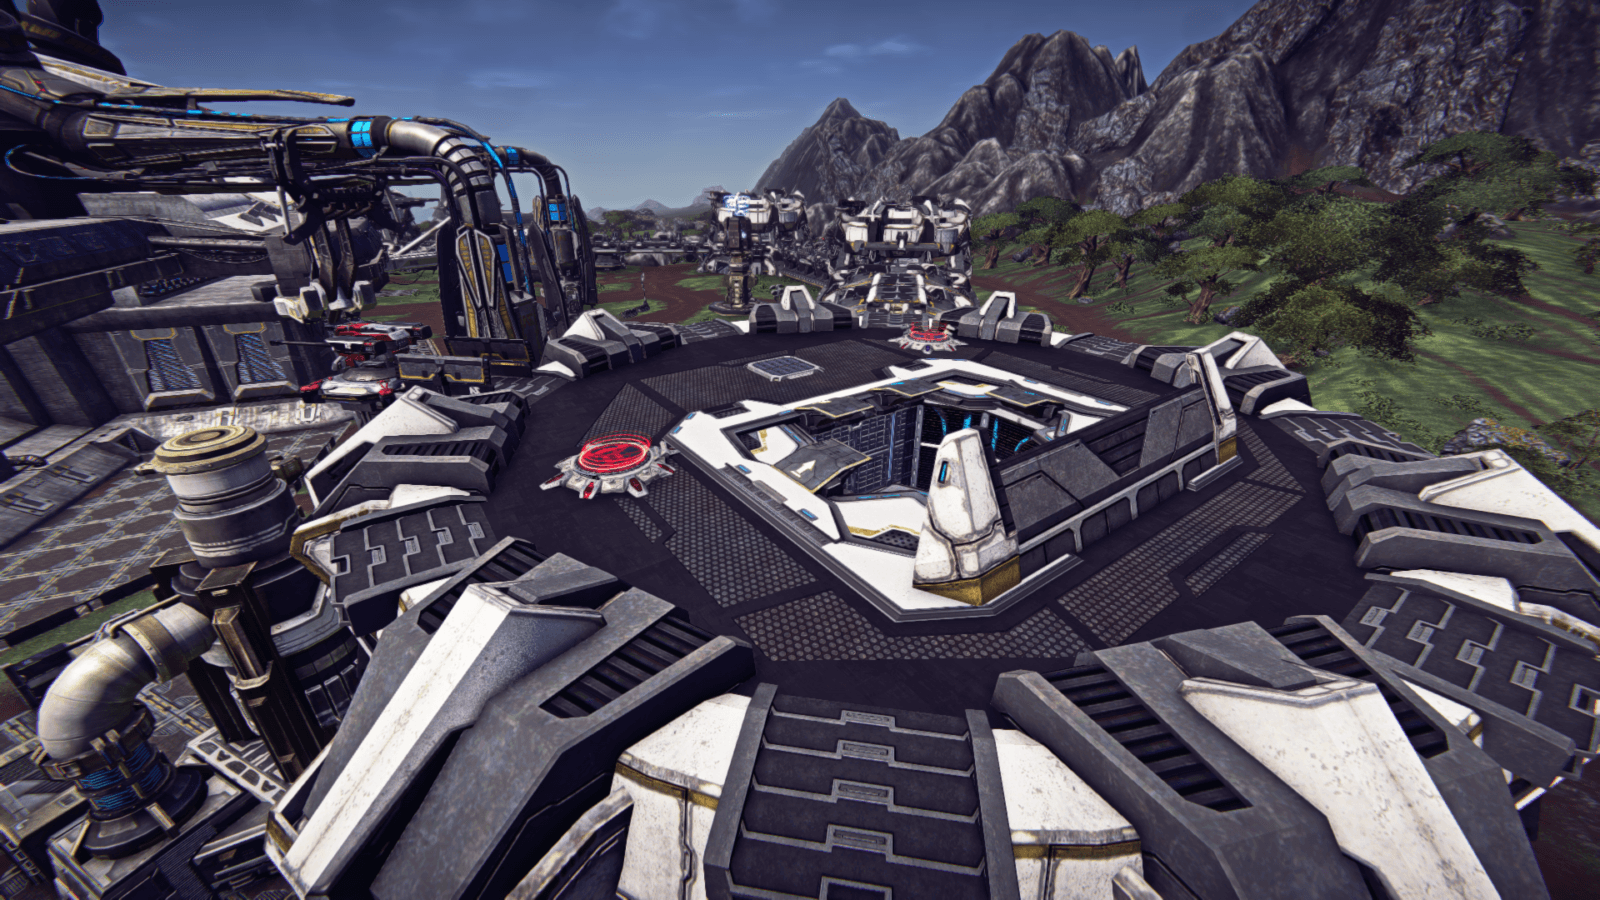
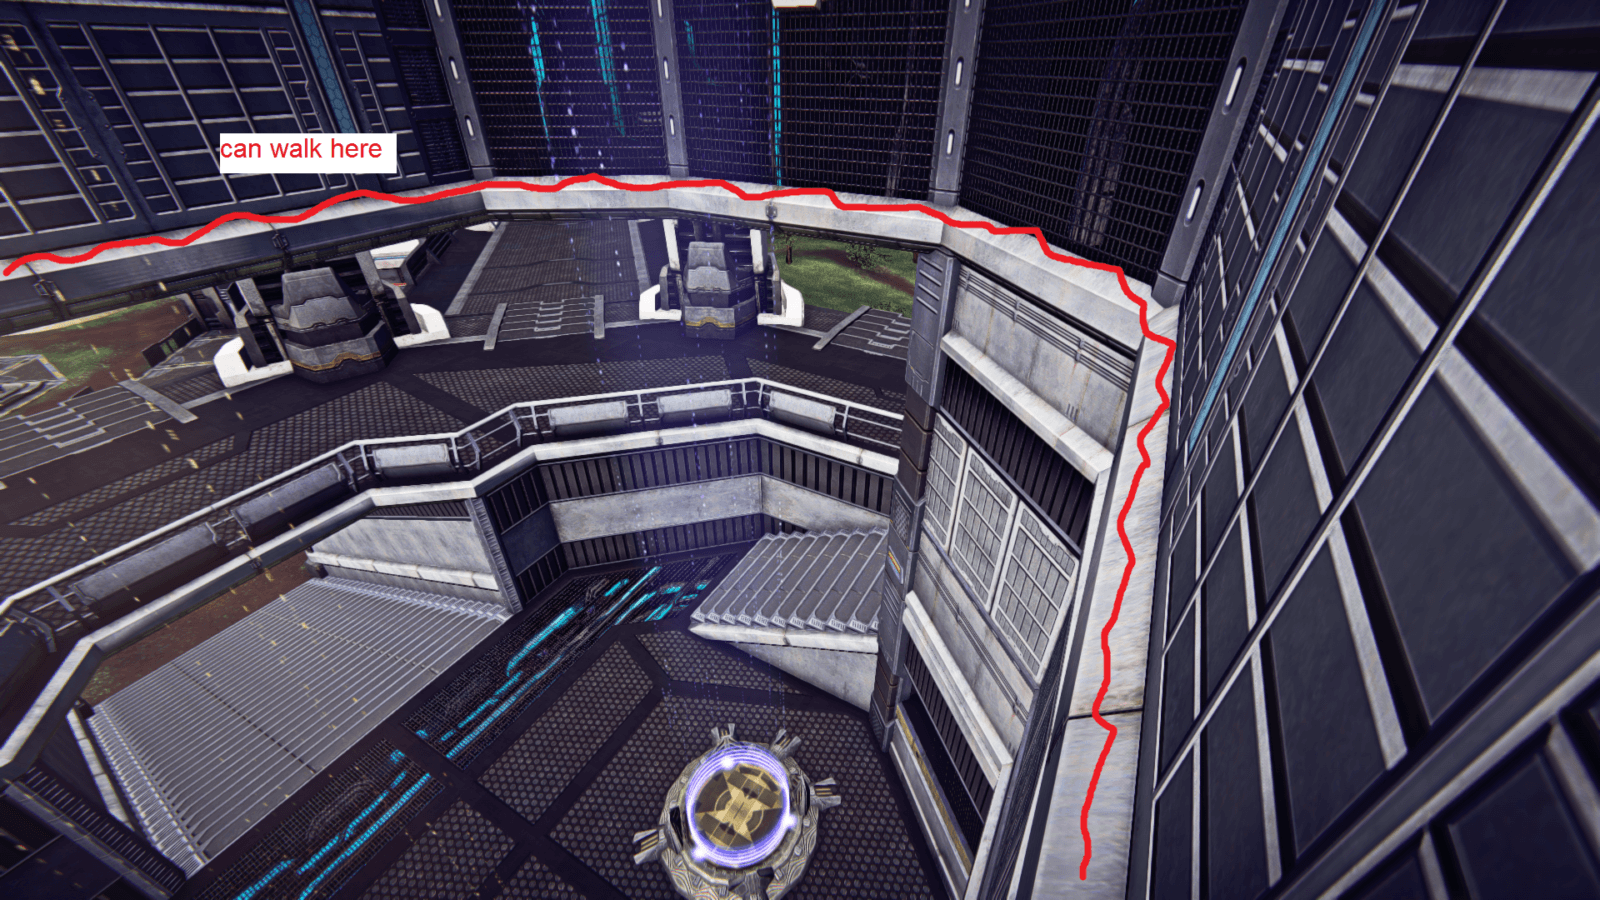
Bio Lab
Bio Labs are elevated high above the ground, and they have three-four Capture Points covered by a dome shield.
The lower part of the Bio Lab can be accessed via Spawn Room‘s Teleporter, and contains Vehicle Terminals.
Perimeter of the Bio Lab has Air Pads and Air Terminals, with Jump Pads leading to nearby bases and Gravity Lifts to the ground.
Bio Labs usually have two-way Teleporters to nearby bases. Controlling a neighboring base automatically gives access to a shielded teleporter room inside the biolab, even if the biolab itself belongs to another faction.
Bio Labs are historically hard to attack. There are many ways to get into the Bio Lab, but all of them can be easily camped by defenders, and it’s hard for attackers to maintain dominance over multiple Capture Points, especially without vehicle support.
Bio Labs have an SCU protected by an SCU Shield Generator.
Facility Benefit: controlling a Bio Lab allows infantry to regenerate health out of combat, as long as they are in allied region connected to the biolab via lattice. This effect is similar to Regeneration Implant, but does not stack with it.
Common Points of Interest
Spawn Rooms
Every base has a Spawn Room, which provides a respawn location for base’s owners. Spawn Rooms have one-way shields and Infantry Terminals, and provide a safe haven for players to rearm and resupply.
Players that take advantage of one-way shields to shoot enemies from the safety of the spawn room are called “spawn room warriors” and looked down upon, as generally such activity is useless for the battle, because Spawn Room itself doesn’t need defending.
Surrounding the spawn room and raining fire on it is called “spawn camping”. It’s not considered a skillful activity either, but it’s often the naturally occurring final phase of capturing a base.
Spawn Rooms often have Teleporters to a secondary shielded room that lets the defenders take an alternate route to the capture point.
When attacking a base, it’s always a good idea to deploy Sunderers in such a way that makes it easier for attackers to reach the Capture Point than it is for defenders to reach it from the spawn room.
Some bases have an SCU. If it is destroyed, Spawn Room’s shields and spawn capability are disabled.
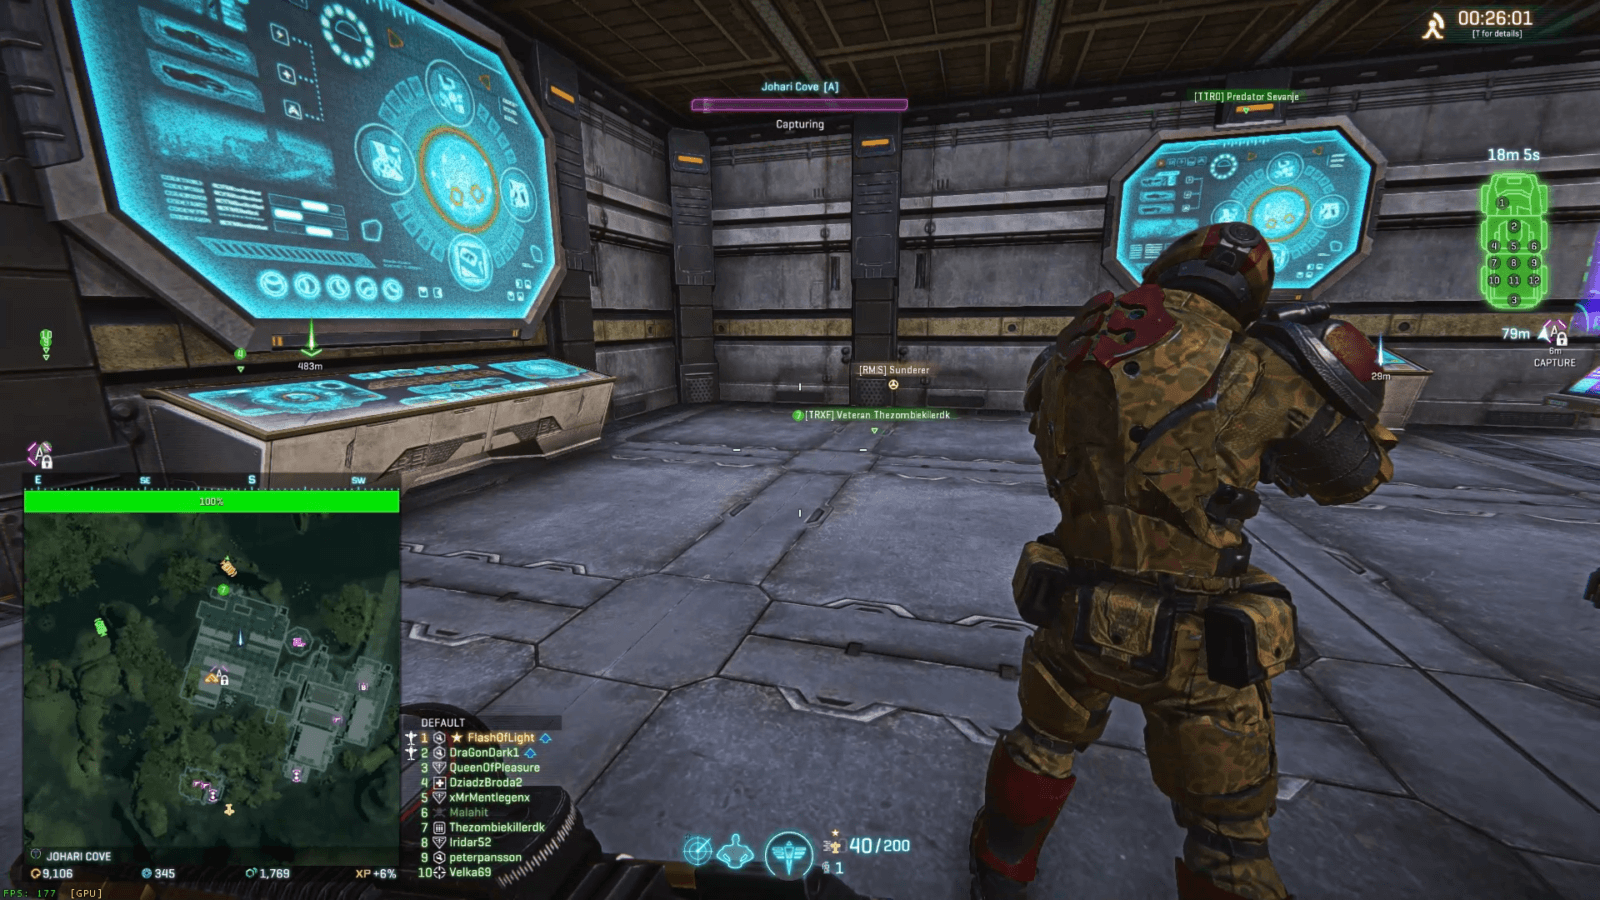
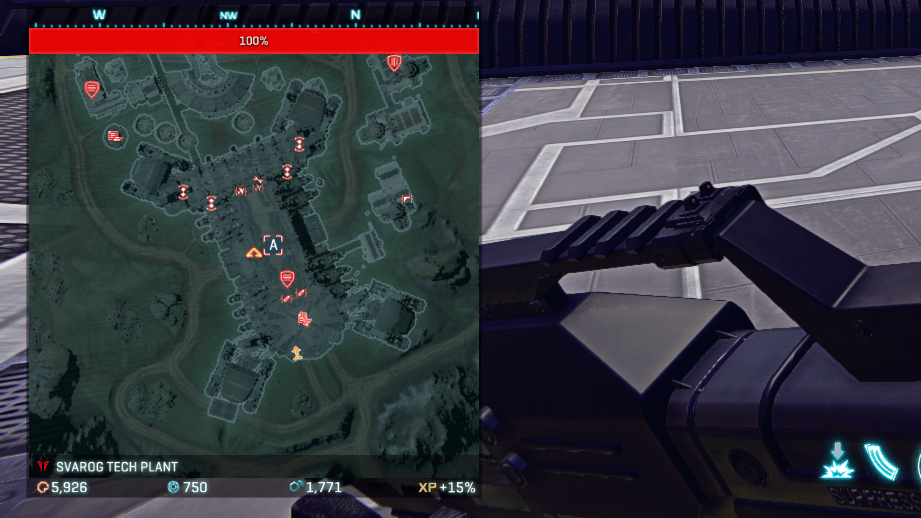
Capture Points
(Control Points)
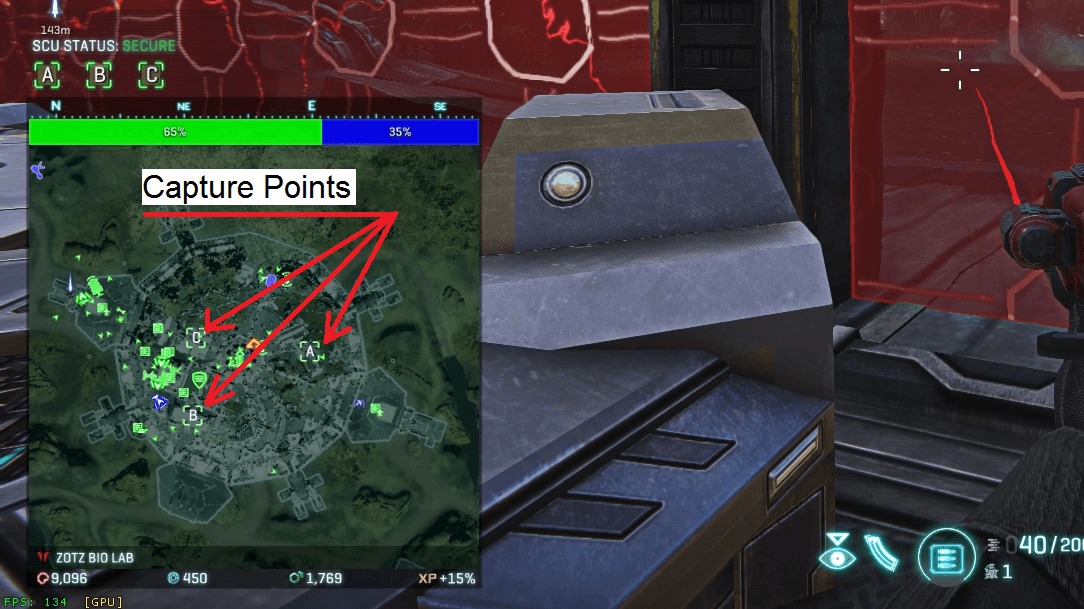
All lattice bases have up to four Capture Points, marked on the map by letters, such as [A], [B] and so on.
To capture a base, attackers must take control of the majority of the Capture Points for a certain amount of time – the more Capture Points you control, the less time you need to capture the base. Once you have control of the Capture Point, you don’t have to stand near it. However, if you do, you will receive XP bonuses for defending it.
To defend a base, defenders must simply control the majority of the Capture Points.
To take control (“flip”) of a Capture Point, an infantry player must stand near it for several seconds.
If there are enemy players nearby, the Capture Point interface will show as “Contested“.
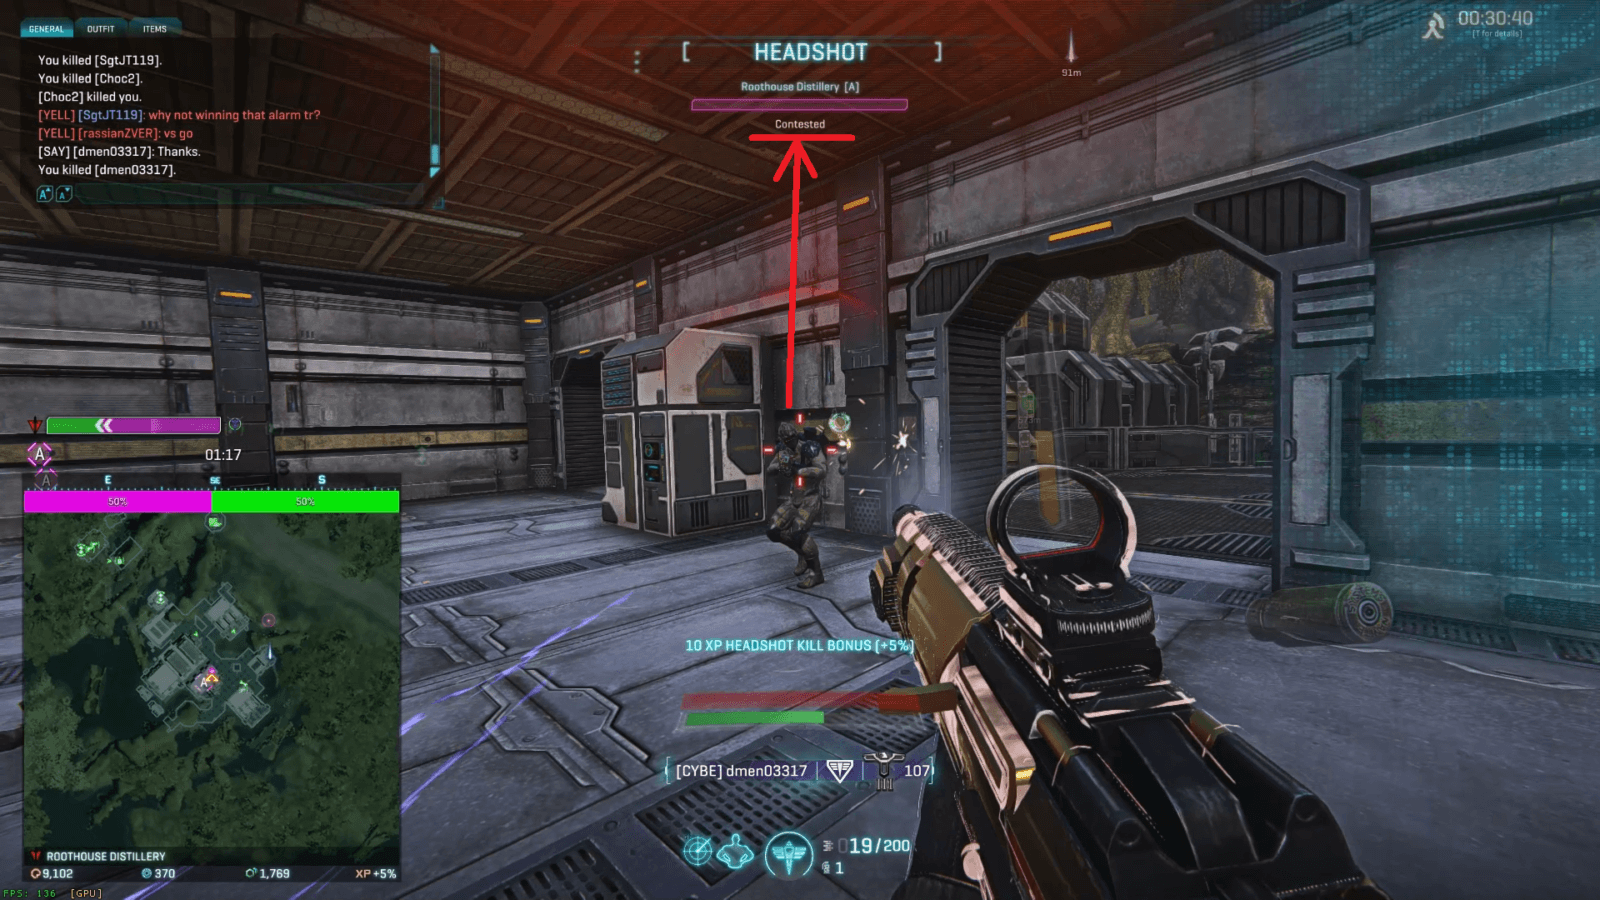
However, if you have more players near the Capture Point, you can still flip it, even if it is contested.
Capture Points ignore MAXes and Vehicles, unless it is a special Vehicle Capture Point, which can be flipped by them, as well as infantry. Very few bases have those, mostly intended for Construction System.
Only the bases that have a lattice connection to an uncontested enemy base can be captured. Otherwise, its Capture Points will be locked.
A base counts as uncontested only when its capture timer is not ticking, and all Capture Points are controlled by the faction that owns the base.
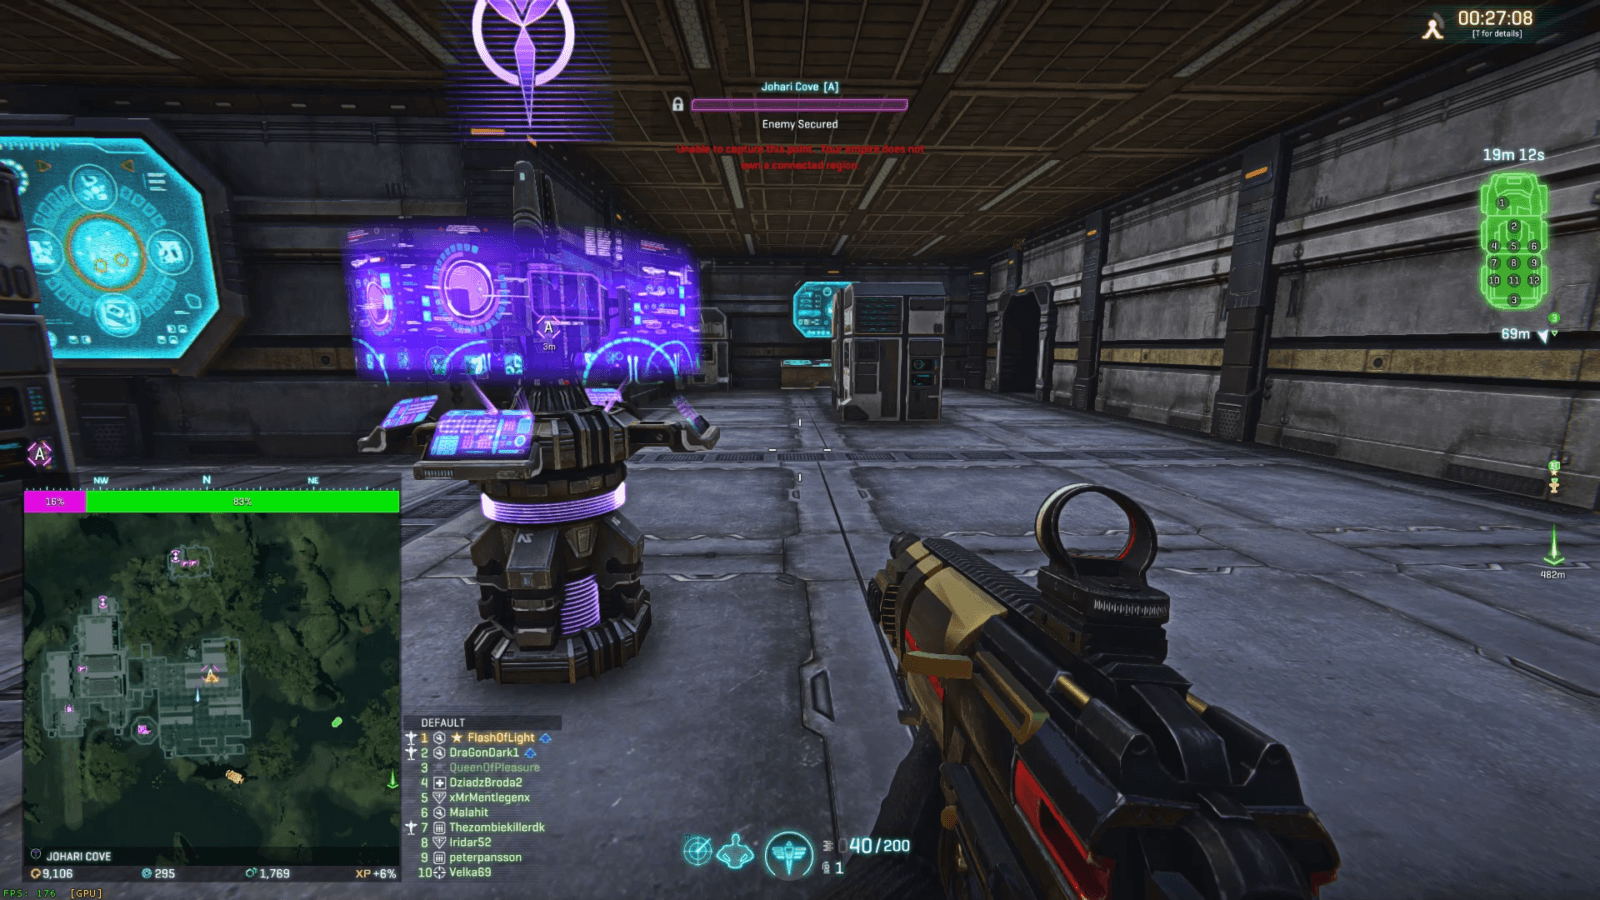
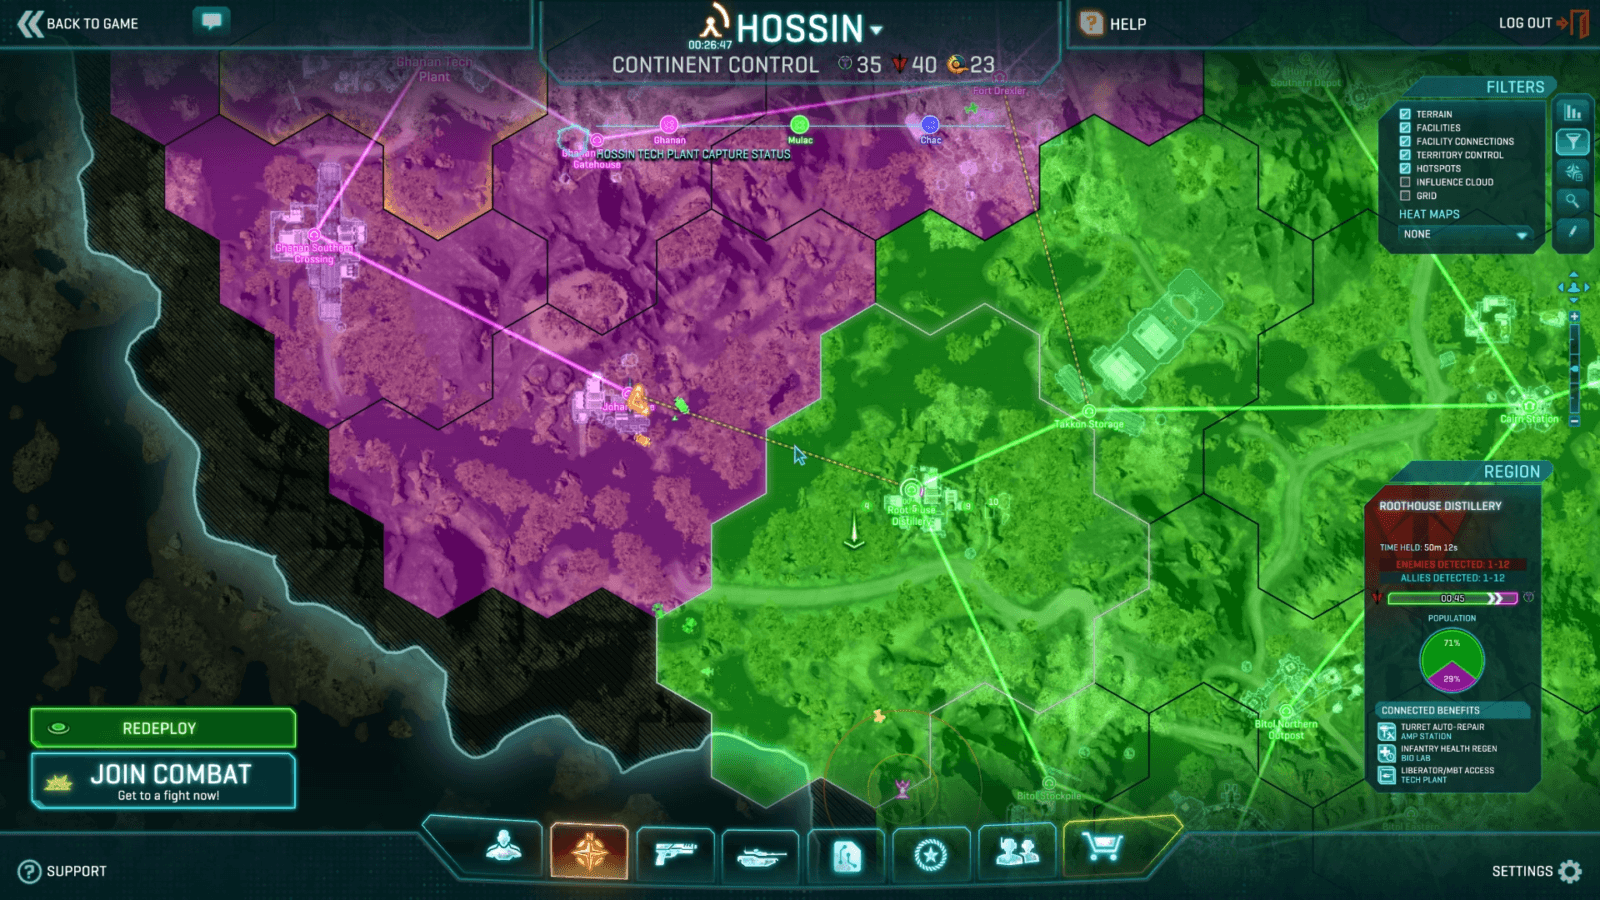
In this example, I cannot flip the Capture Point at Johari Cove, because the only allied base with a lattice connection is Roothouse Distillery, which currently has a capture timer ticking, so it counts as contested. My faction currently has control of the majority of Capture Points at Roothouse Distillery, so if nothing changes, in 45 seconds it will be successfully defended and will no longer count as contested, at which point the Capture Points at Johari Cove will be unlocked, and my faction will be able to flip them.
Due to this mechanic, it is a popular tactic to delay the attackers by flipping a Capture Point at a base they came from. It is called “Back Capping”, and it’s an effective tactic, since often it takes only one player to do, and depending on attackers’ organization, it could take them minutes to figure out what’s happening.
At some point, a padlock interface was added to the minimap indicate that the point is locked, however, it didn’t function properly, and is supposed to be disabled.
Terminals
- The deployment list on the main map will show which bases have what terminals.
- Terminals can be hacked by infiltrators, in which case they are slightly damaged and change their allegiance to infiltrator’s faction, until they are hacked back or destroyed.
- Destroyed terminals can be repaired by Engineers.
Infantry Terminal
Infantry Terminals provide access to infantry loadout menu, allow you to change classes, resupply your ammo and consumables, and pull MAX units.
Infantry Terminals can be found inside bases, especially in Spawn Rooms, as well as on the sides of Deployed Sunderers and inside player-constructed Bunkers.
Infantry Terminal can be used to instantly restore your shields, reload your weapons* and recharge your ability energy. Simply approach the terminal and double tap the “Action” key (default “E”). This process may be a bit slow if this is your first terminal interaction since you logged in.
Engineers can use this feature to repair a Sunderer indefinitely, as resupplying instantly cooldowns their repair tool.
* – if you resupply while reloading, the reload animation will still play out. You can bypass this simply by equipping anything that doesn’t need reloading before resupplying.
Vehicle Terminal
Vehicle Terminals allow you to spawn ground Vehicles. Every base has a vehicle terminal.
Note that in order to pull Main Battle Tanks, the region must be connected to an allied Tech Plant via lattice. In that case, vehicle terminal’s icon on the minimap will show a tank.
Otherwise, MBTs can be pulled only from a Warpgate or Tech Plant itself, and the vehicle terminal’s minimap icon will display a Sunderer.
Vehicle Terminals are often exposed to enemies, so use them only to spawn a vehicle. If you need to unlock an upgrade or adjust vehicle’s loadout, you can do so at the Vehicle page of the Main Menu.
When the vehicle spawns, you will be teleported inside, and the vehicle will automatically roll down from the vehicle pad. Enemies often place Tank Mines in front of vehicle pads, so it’s a good idea to check for that before pulling a vehicle.
Air Terminal


Air Terminals allow you to spawn Aircraft. Not all bases have Air Terminals, but they can always be found at Towers, Facilities and Warpgates.
Note that in order to pull Liberators, the region must be connected to an allied Tech Plant via lattice. Otherwise, Liberators can be pulled only from a Warpgate or Tech Plant itself.
Every Air Terminal is associated with a Landing Pad, which will resupply ammunition to allied aircraft when they hover above it.
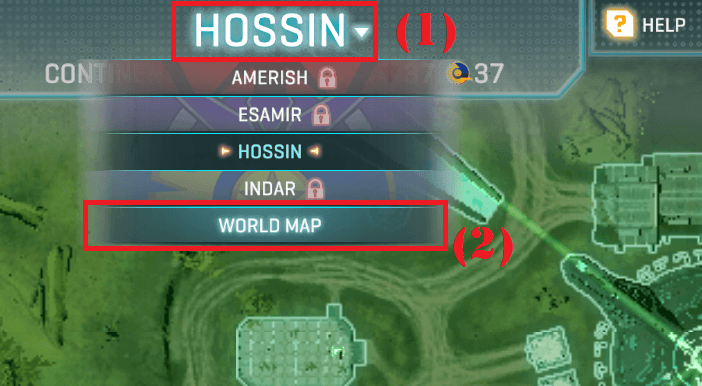
Warp Terminal
Warp Terminals are located at Warpgates and in VR Environments. They provide access to World Map screen, which allows you move between continents and VR Environments.
World Map screen can also be accessed from the Main Map at any time after a death or redeploy.
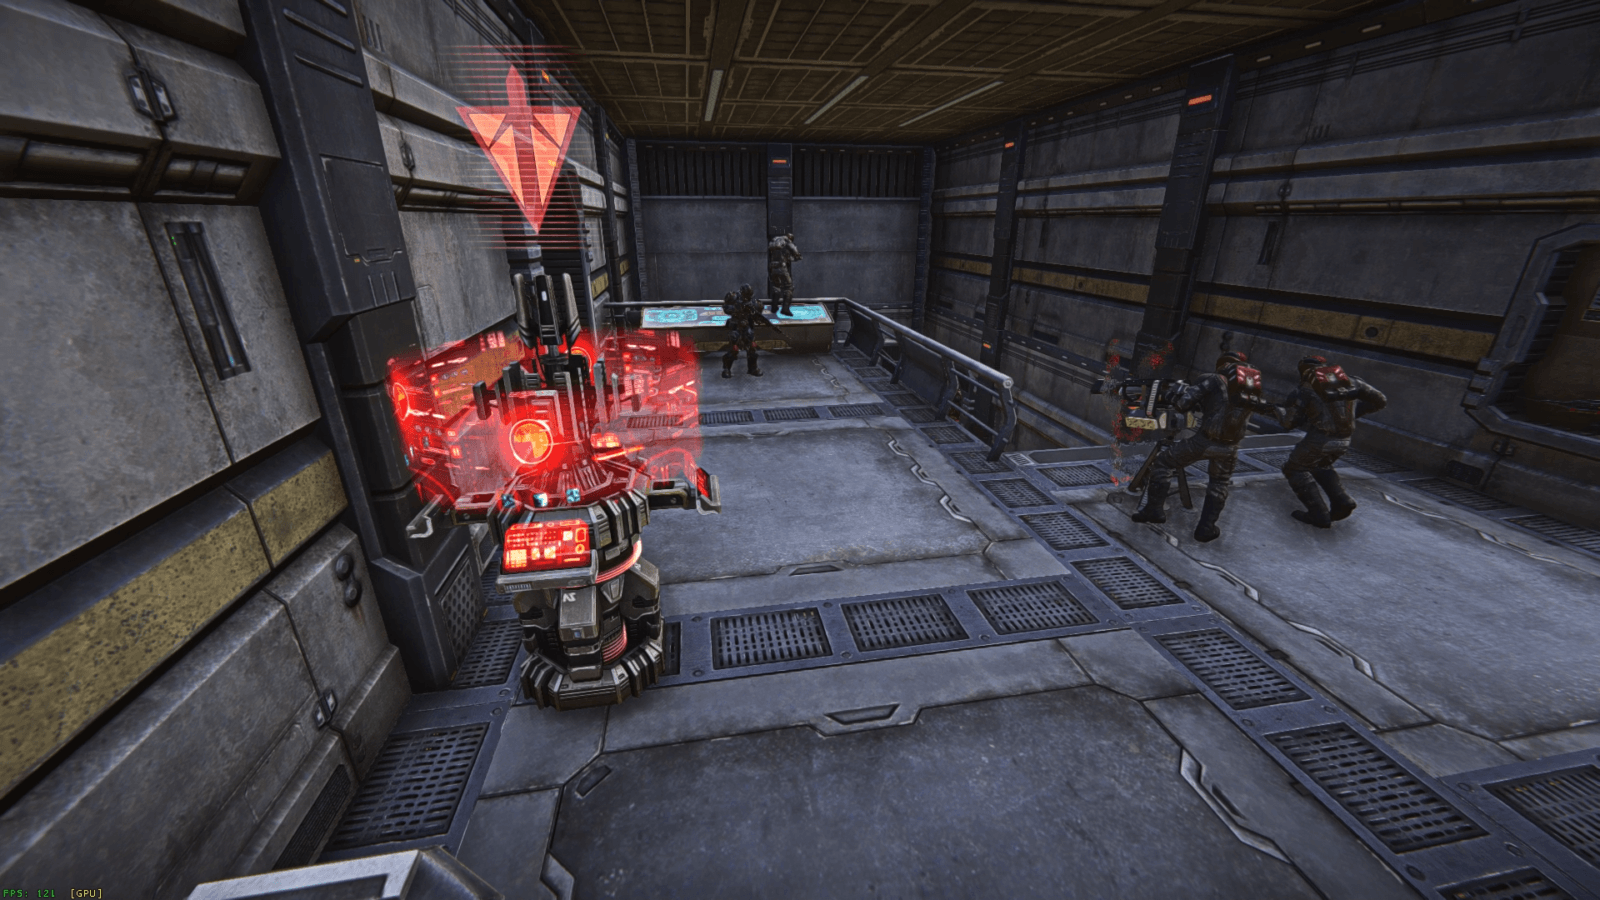
Turrets
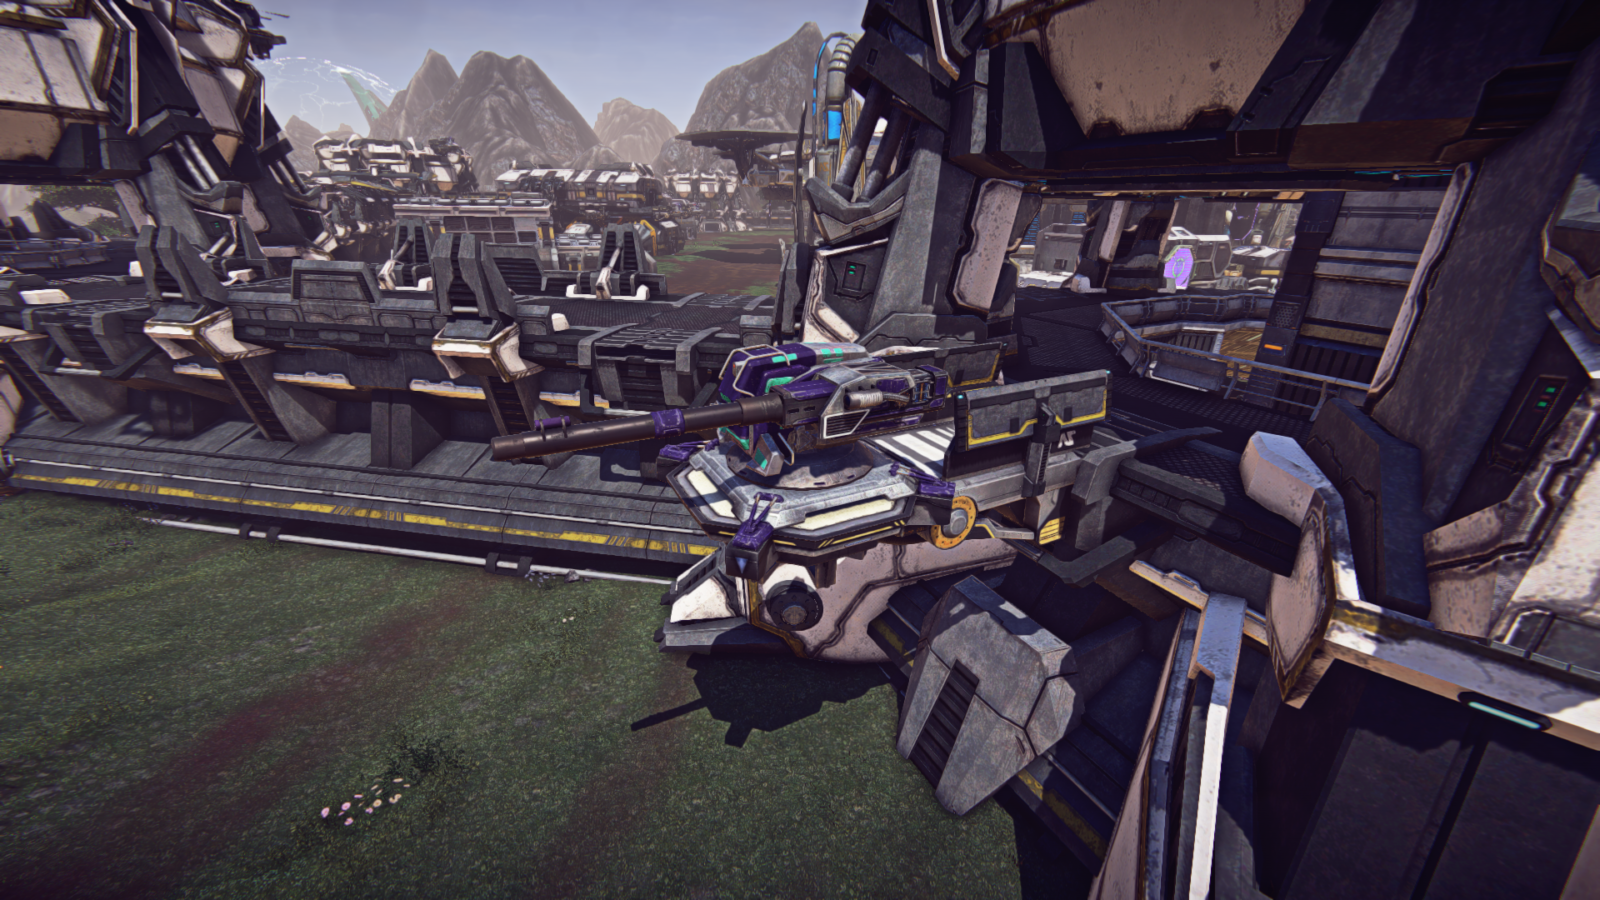
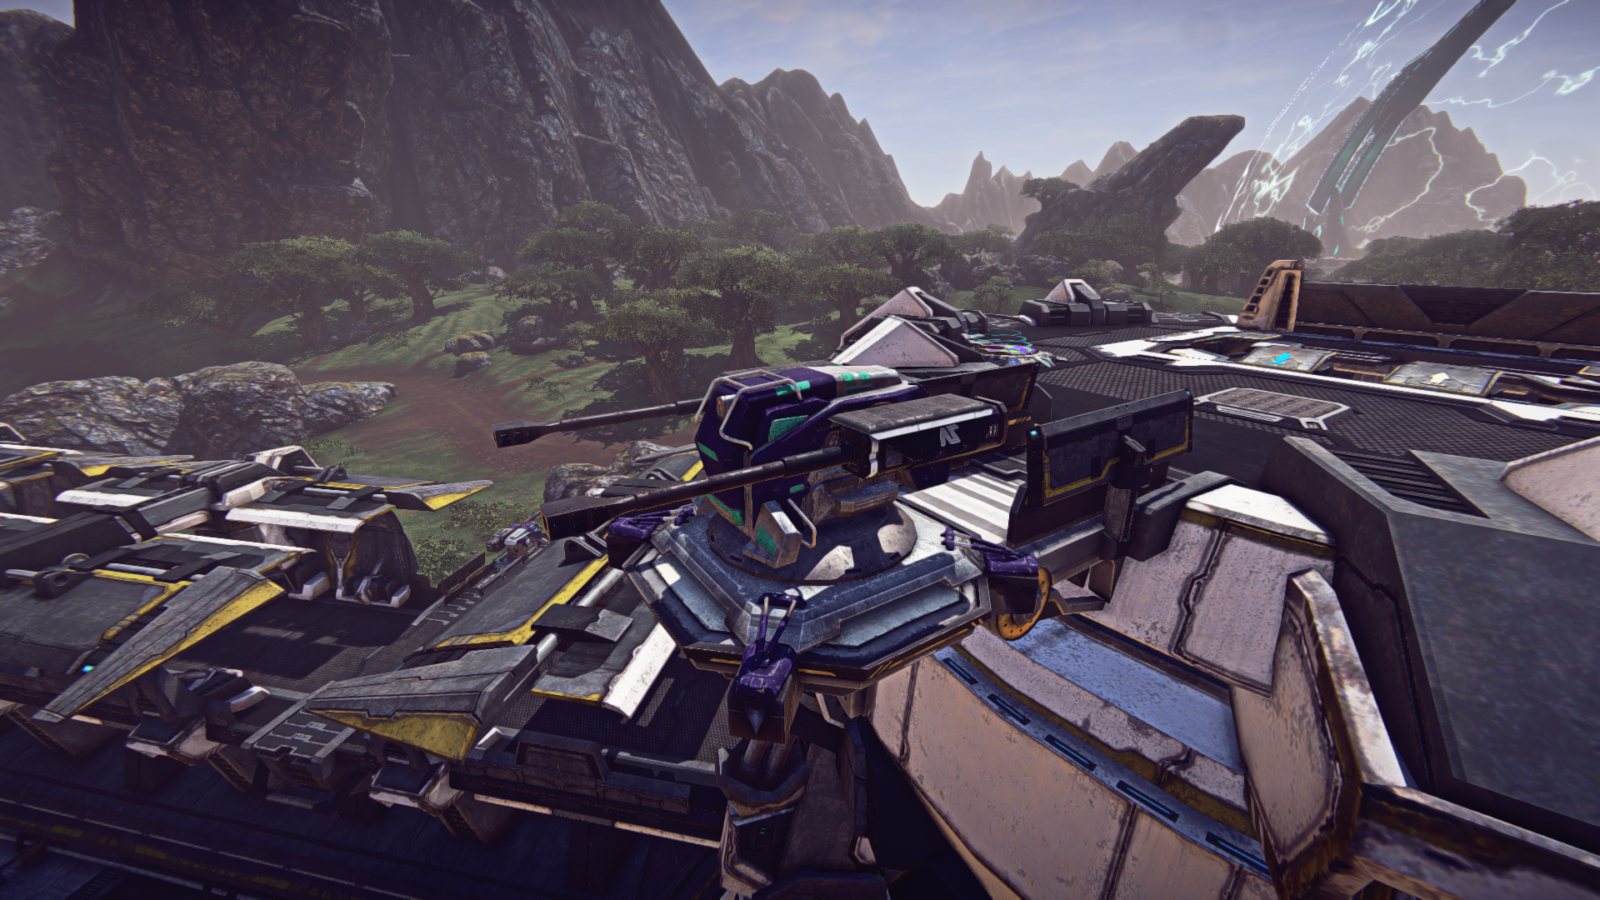
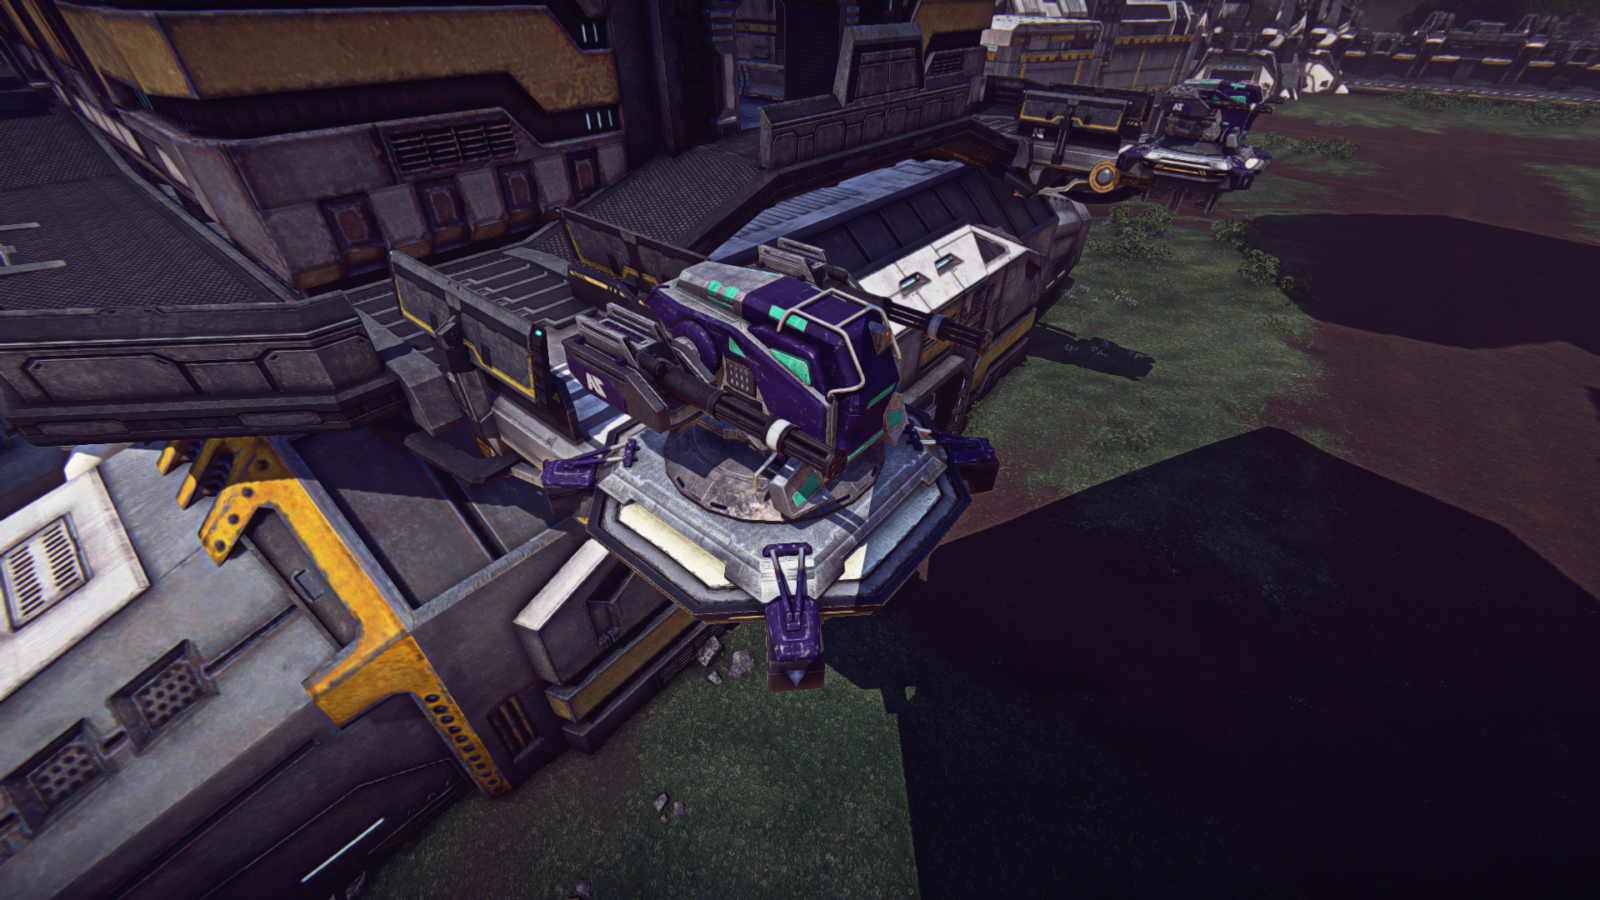
There are anti-infantry, anti-vehicle and anti-air base turrets. Each turret is only effective against their intended targets, so don’t try shooting AA turrets at infantry. Base turrets have to be occupied by players in order to function.
- Infiltrators can hack these turrets to switch their allegiance to infiltrator’s faction.
- Turrets can be damaged and destroyed by weapons capable of damaging armored vehicles.
- Engineers can repair these turrets.
Players can use Construction System to build similar turrets anywhere outside normal bases, and those player-built turrets can potentially be automated.
Shield Generators
These generators create a protective force field in a specific part of the base. There are two types of base shields:
- Non-transparent shields – block all projectiles and enemy units.
- Transparent shields – block all projectiles, but they will allow enemy infantry to pass through.
- All base shields always allow friendly vehicles and infantry to pass.
- Shields can be non-transparent on one side and transparent on the other.
Icon on the shield will correspond with the generator that is creating that shield.
The generators are immune to all damage. In order to destroy a generator, infantry must approach it, and then hold (or tap once) the interact key (default “E”) for 10 seconds in order to Overload the generator.
Overloaded generators will be destroyed in 2 minutes. Base defenders can similarly interact with overloaded generators to Stabilize them.
Engineers can repair destroyed generators.
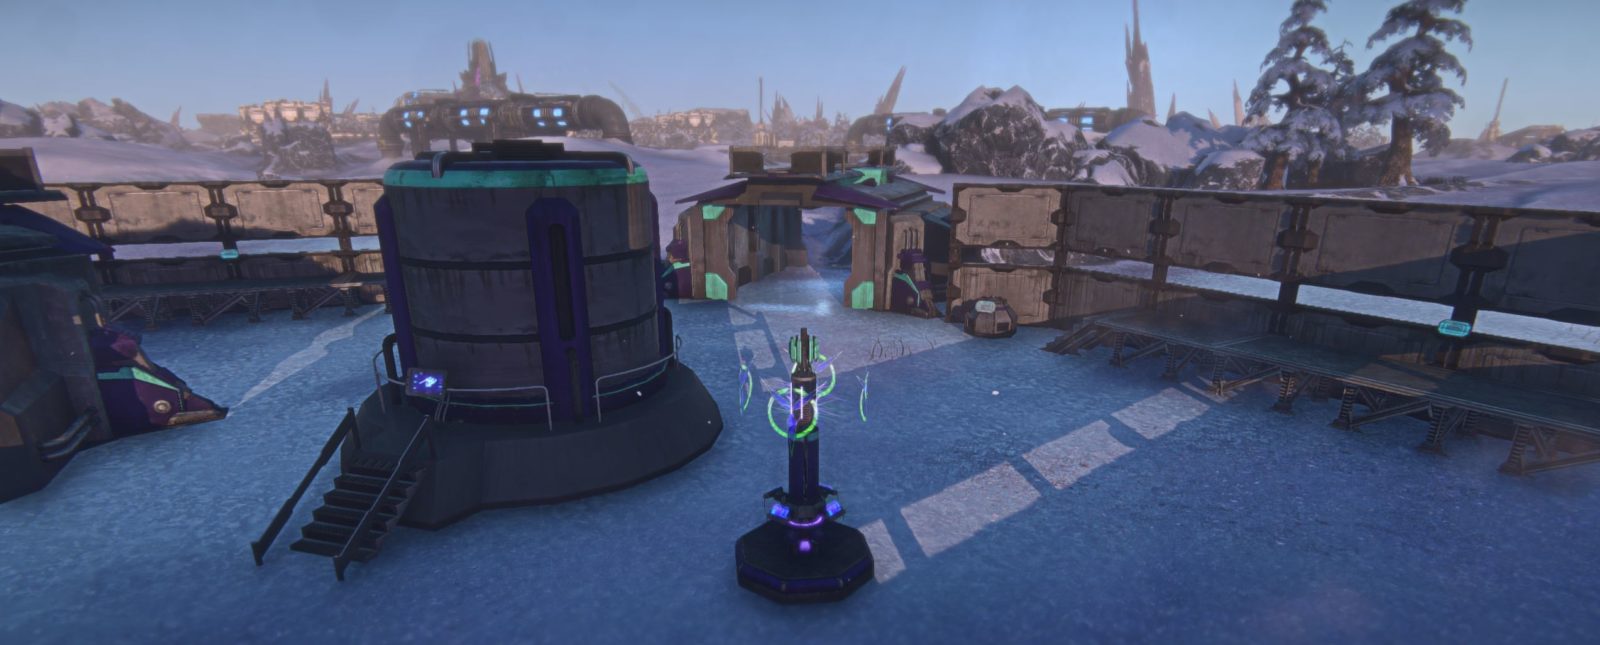
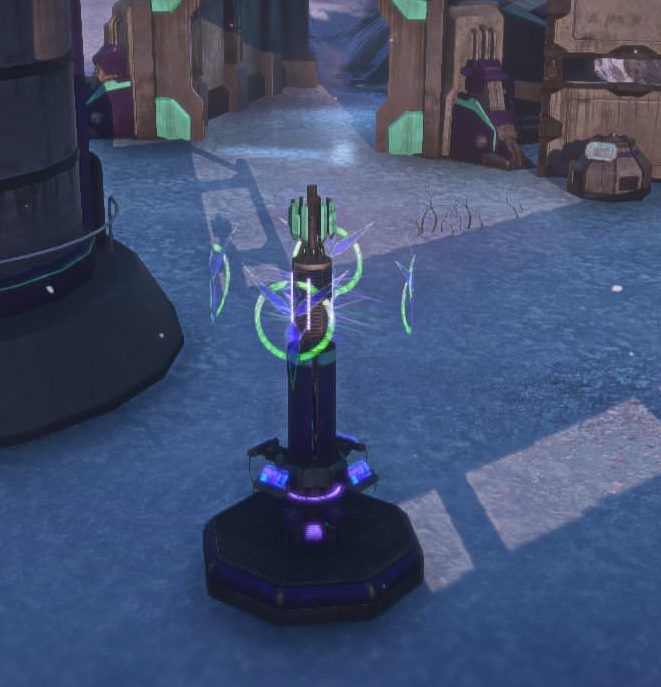
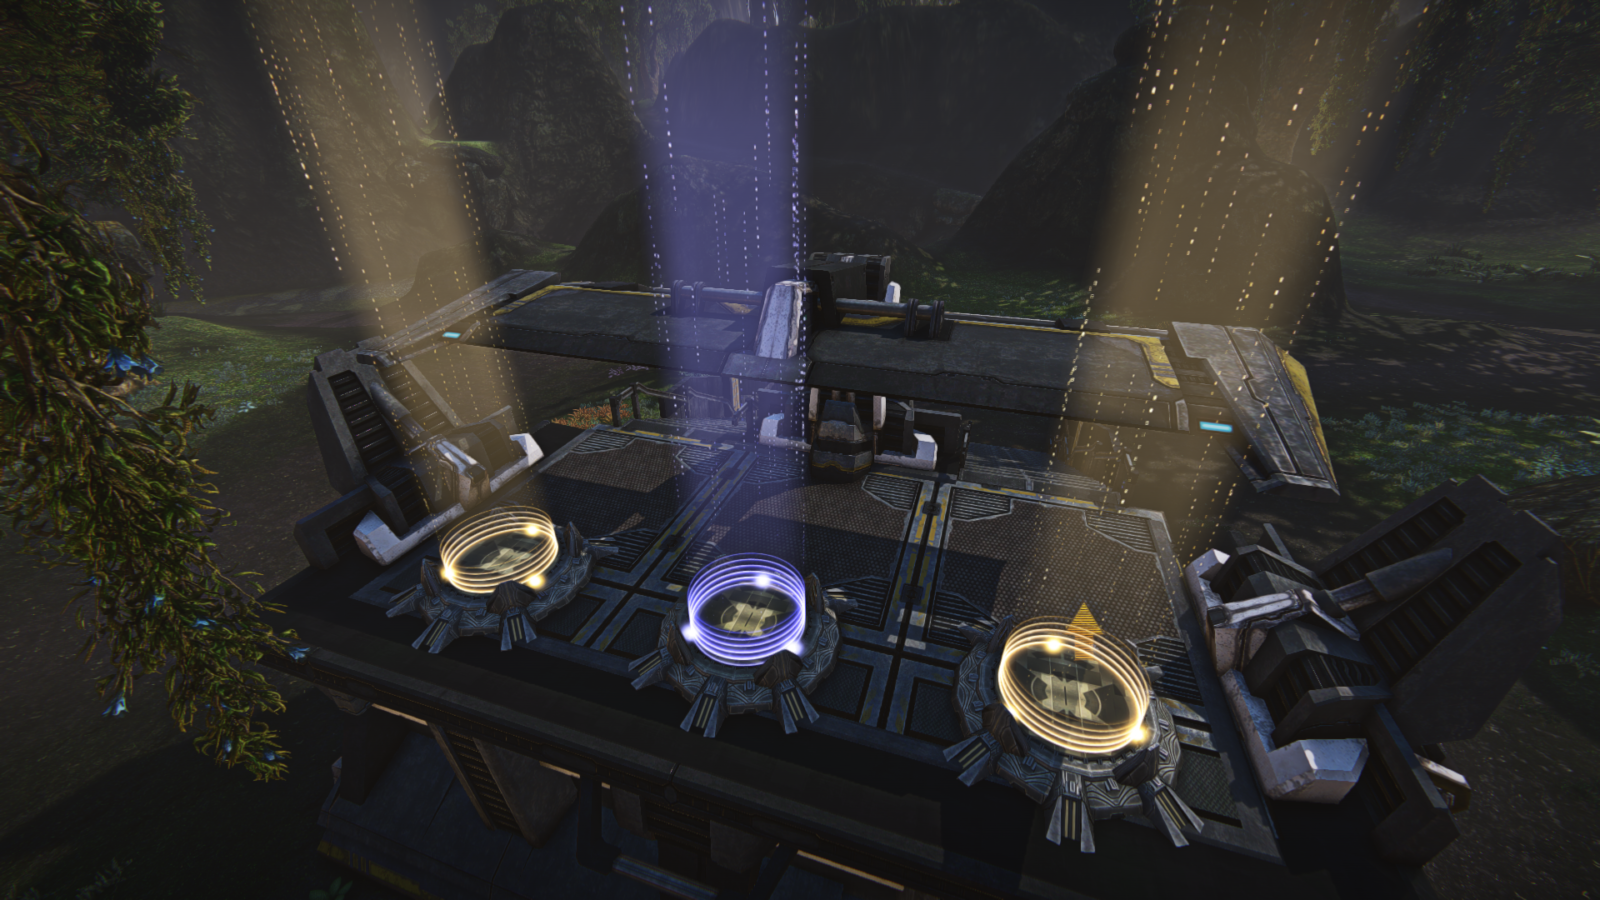
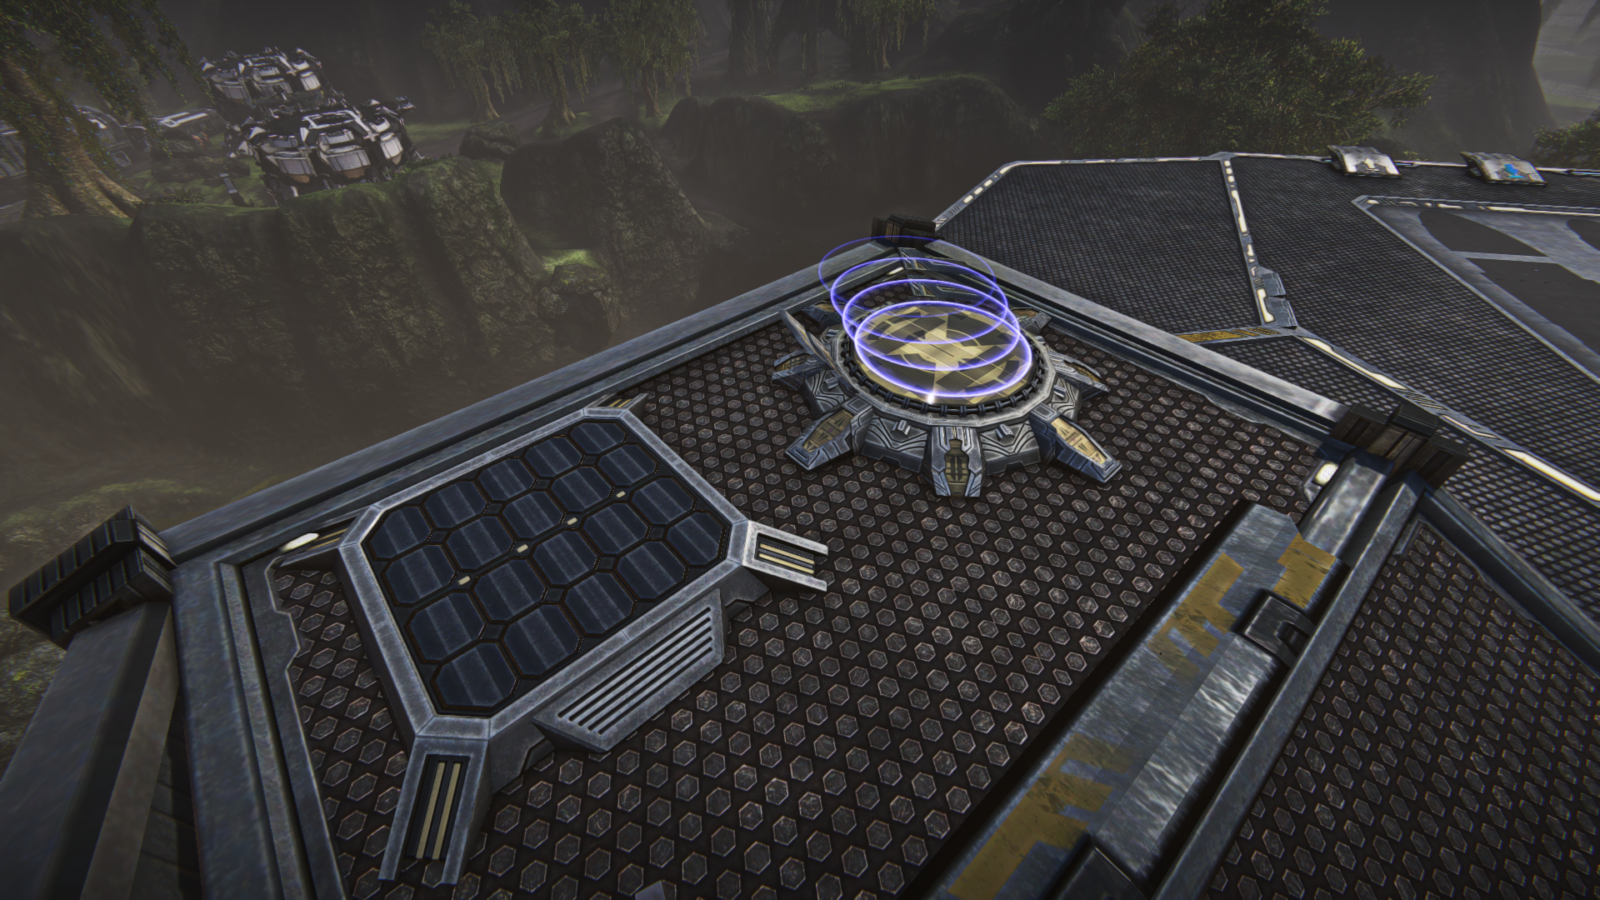
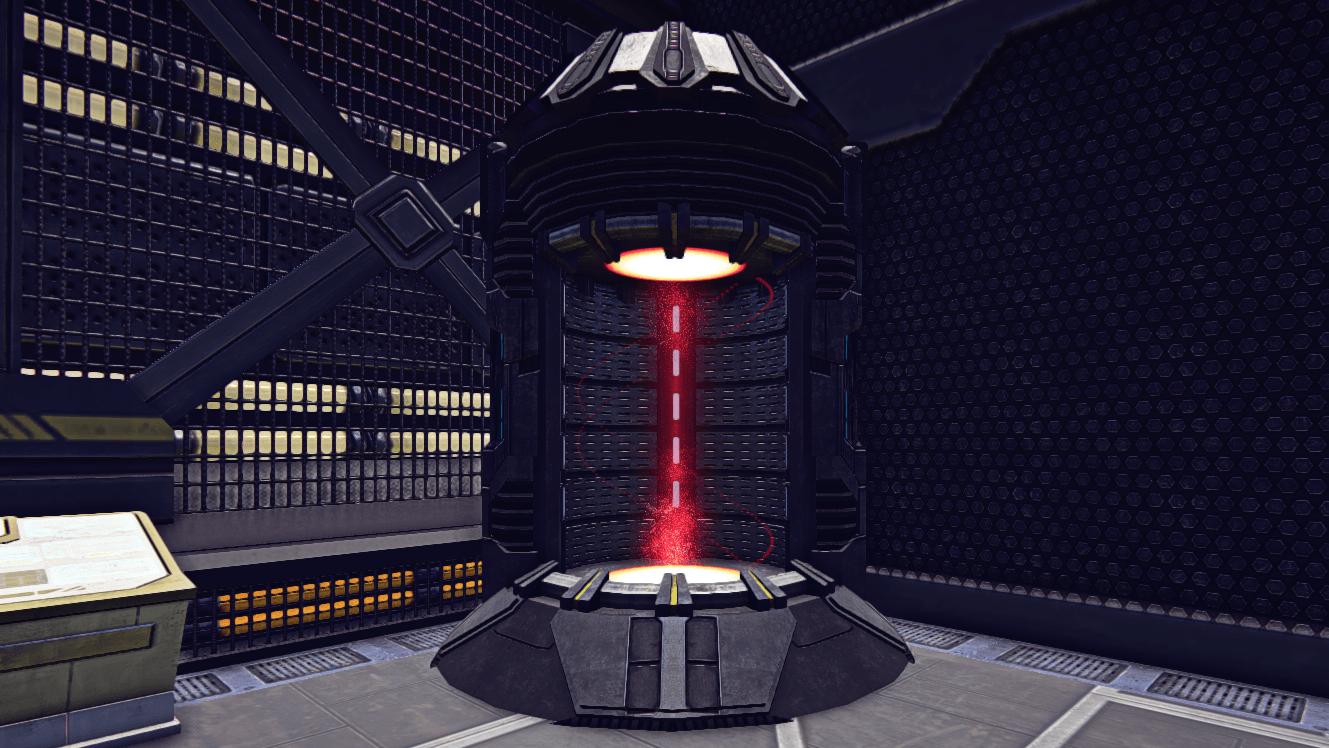
SCU – Spawn Control Unit

SCU is a special generator that powers the Spawn Room. Only a few bases have an SCU. SCU is protected by SCU Shields, which will prevent enemy infantry from overloading it.
- Some bases, like Bio Labs, have a dedicated SCU Shield Generator. It must be overloaded and destroyed in order for attackers to gain access to SCU.
- On some bases that have an SCU, but no SCU Shield Generator, the SCU becomes exposed when the Base Capture Progress Bar reaches 50%.
An exposed SCU can be overloaded like any other generator, and then it will be destroyed in one minute. If SCU is destroyed, the Spawn Room will be disabled.
Like any other generator, SCU can be stabilized or repaired, and then it will resume its function.
If a base has an SCU, players can monitor its status above the minimap.
Gravity Lifts
Gravity Lifts will drag all infantry players in a vertical or horizontal direction. Base towers and Bio Lab landing pads will usually have Gravity Lifts, but you can see them all over the place.
Vertical Gravity Lifts have a tendency to “overshoot” you, meaning they will lift you higher than you actually need to get to the next floor, and you will helplessly hang in their for a couple of seconds, exposed to enemy fire. To avoid this, hold “crouch” key when you’re about to reach your destination, and use directional movement keys to get out of the gravity lift.
Being affected by a Gravity Lift grants you complete fall damage immunity for a few seconds.
Jump Pads
Jump Pads will propel infantry players at high speed in a specific direction. Some Jump Pads only work for the faction that controls the territory.
Being affected by a Jump Pad grants you complete fall damage immunity for a few seconds.
You can slightly adjust your trajectory mid-flight by using directional movement keys, and this feature is often used for some advanced jumping tricks.
Light Assaults are known for using Jump Pads, and then maneuvering with their Jet Pack to cover a lot of ground at a high speed.
Teleporters
Some bases have Teleporters that will instantly transport the player to another location. If that location is further than 300m away, the player will have to go through a loading screen first. Teleporters do not let enemies through.
Sunderer Garages
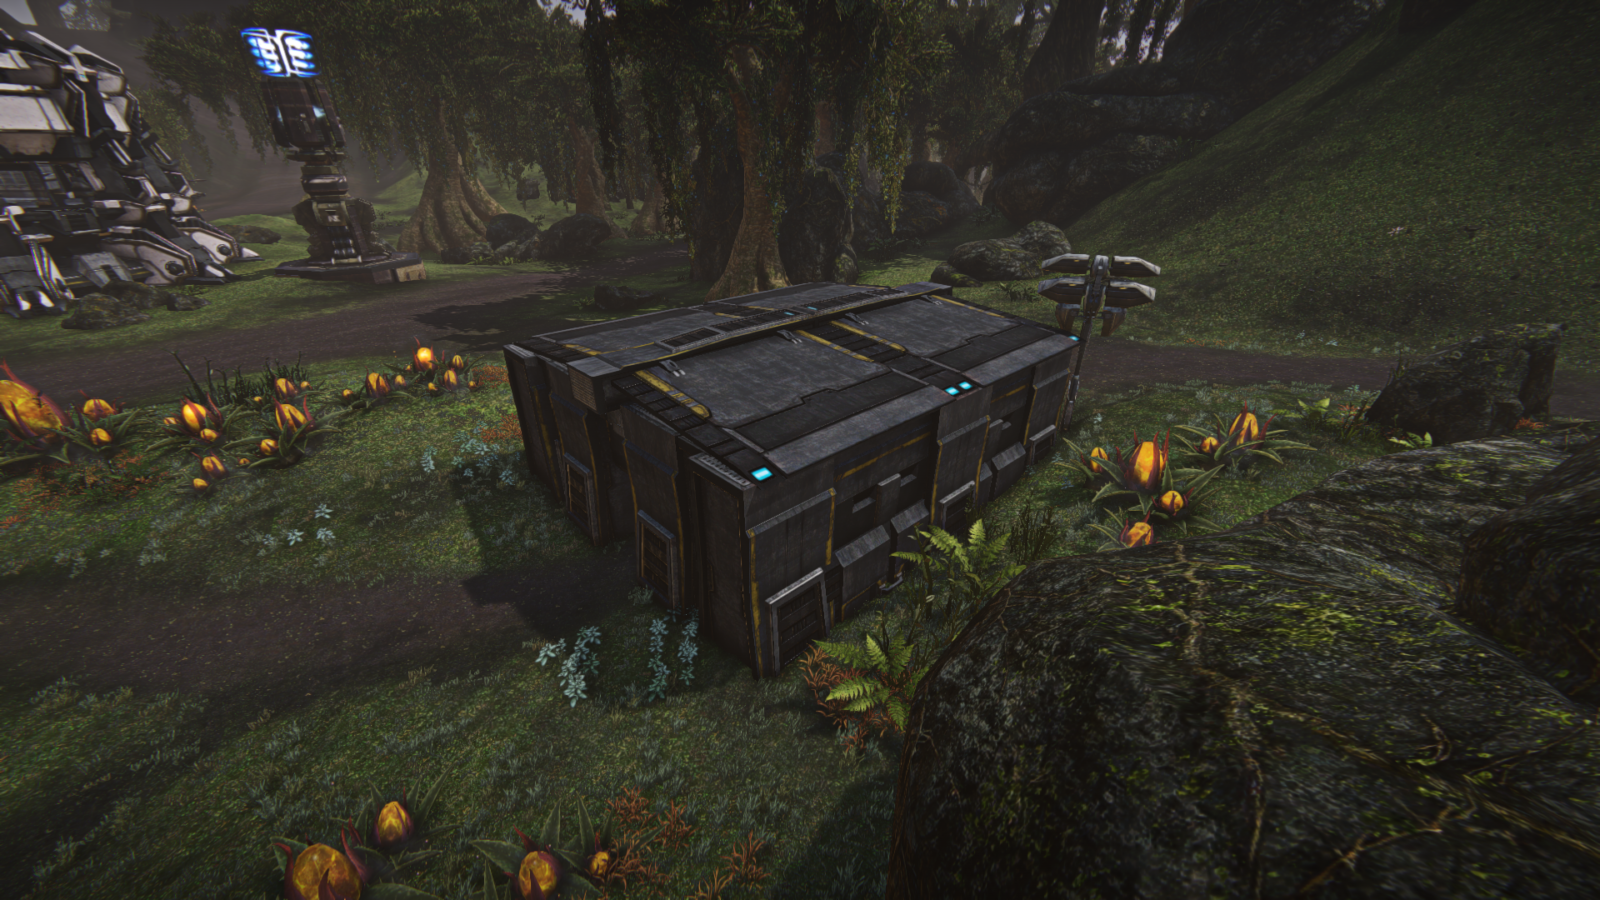
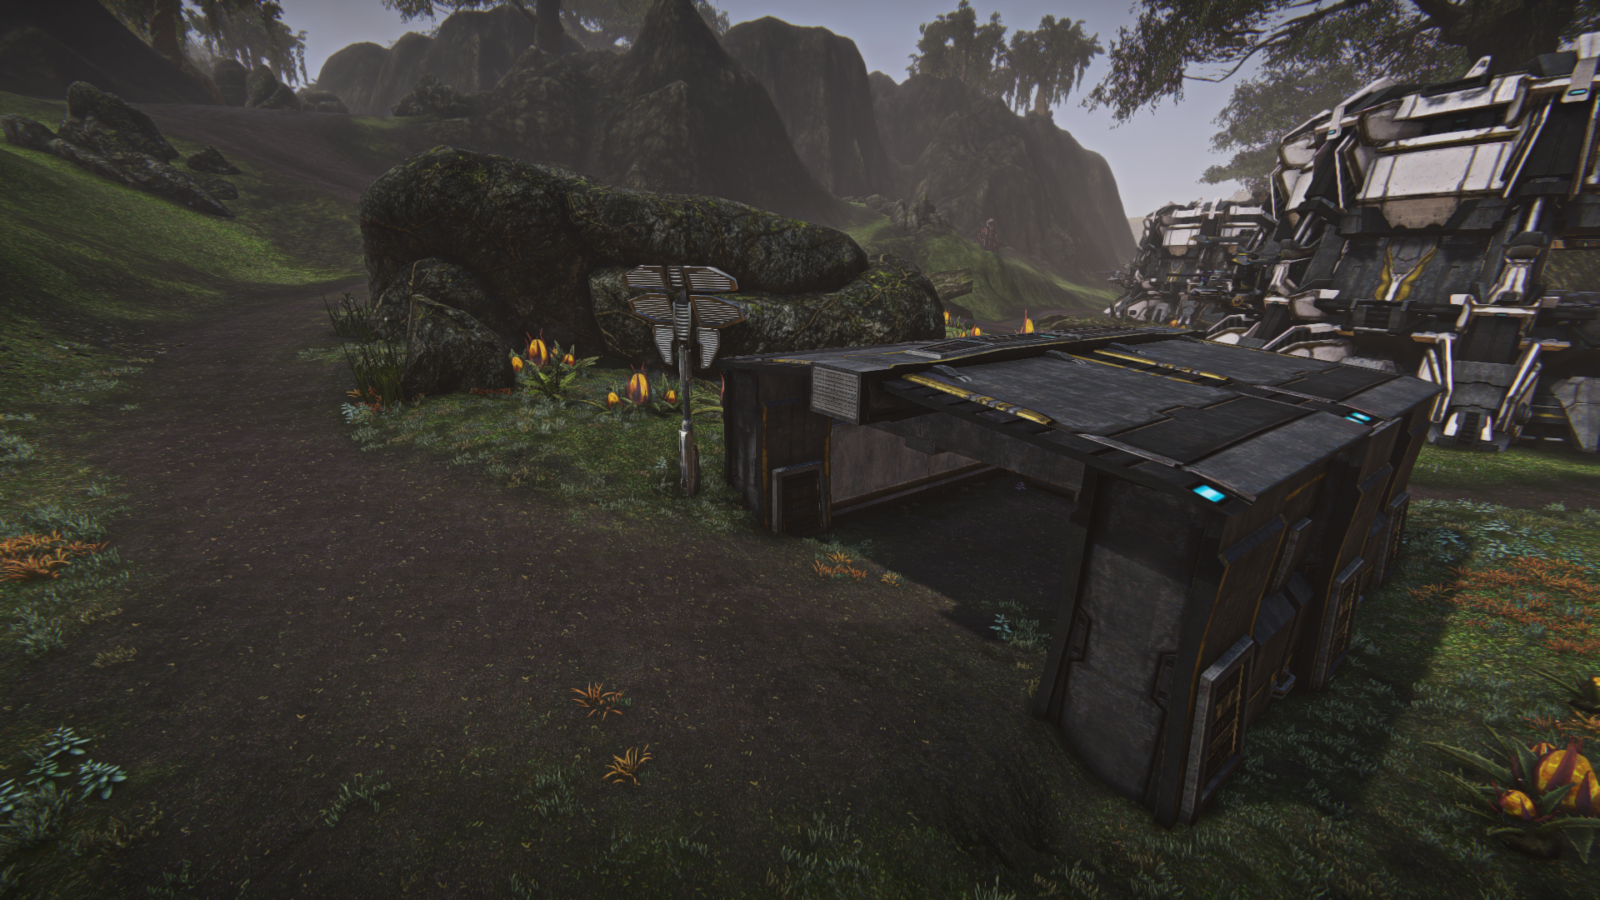
Many bases have Sunderer Garages, which will provide cover for a deployed Sunderer, and they usually open a good path to attack the base.
Sometimes, these garages are presented in the form of environment, like a pile of rocks or a huge tree trunk.
Energy Bridges
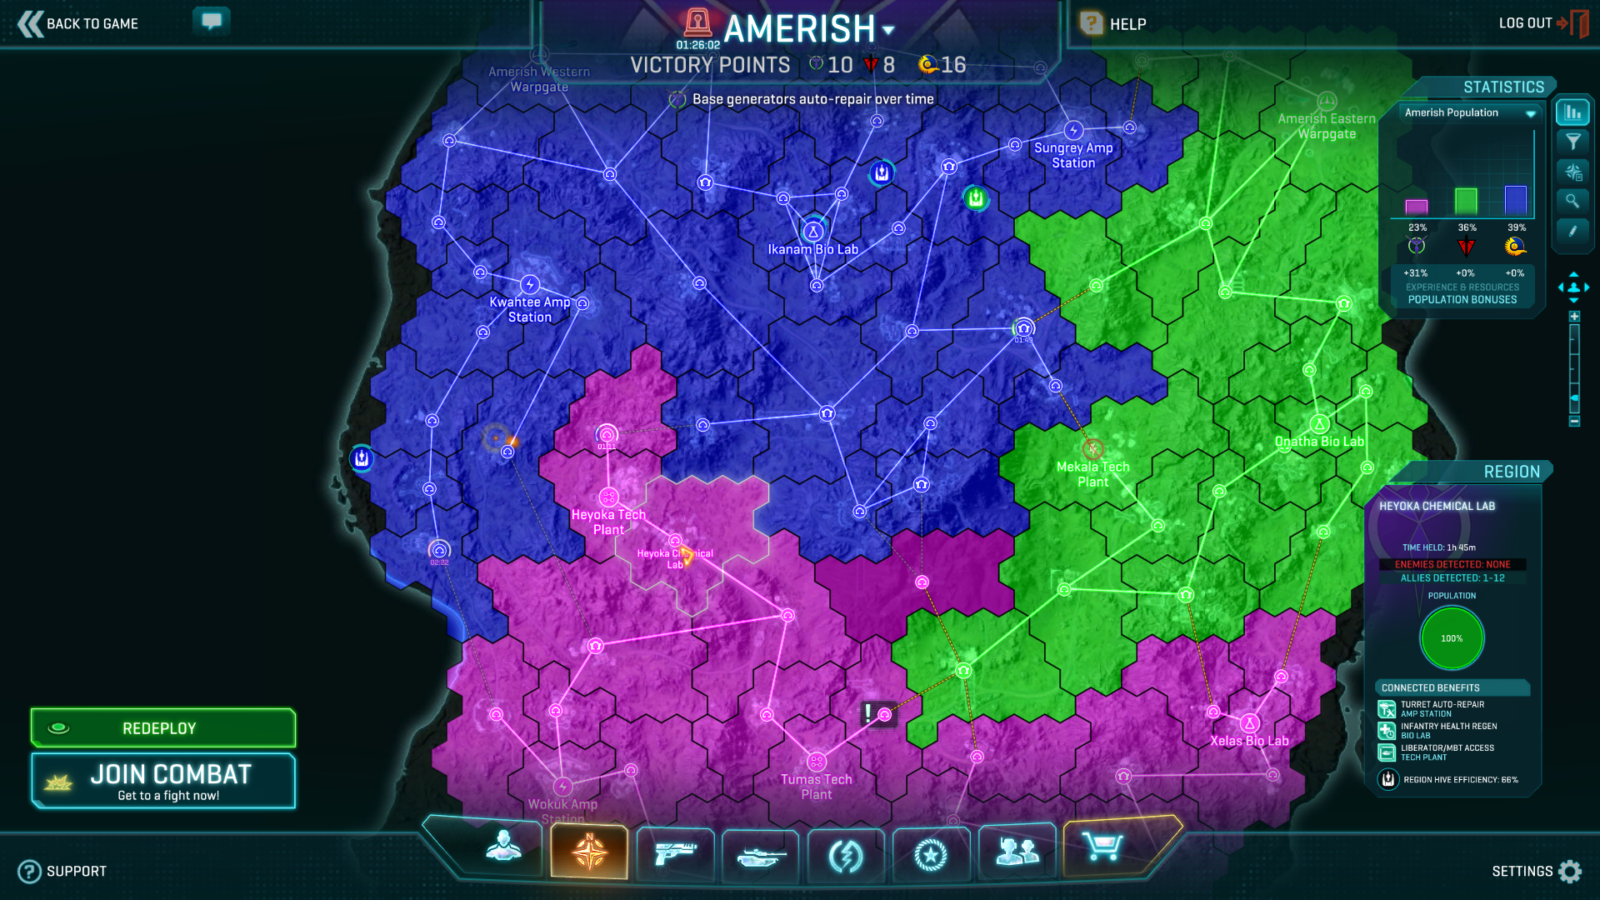
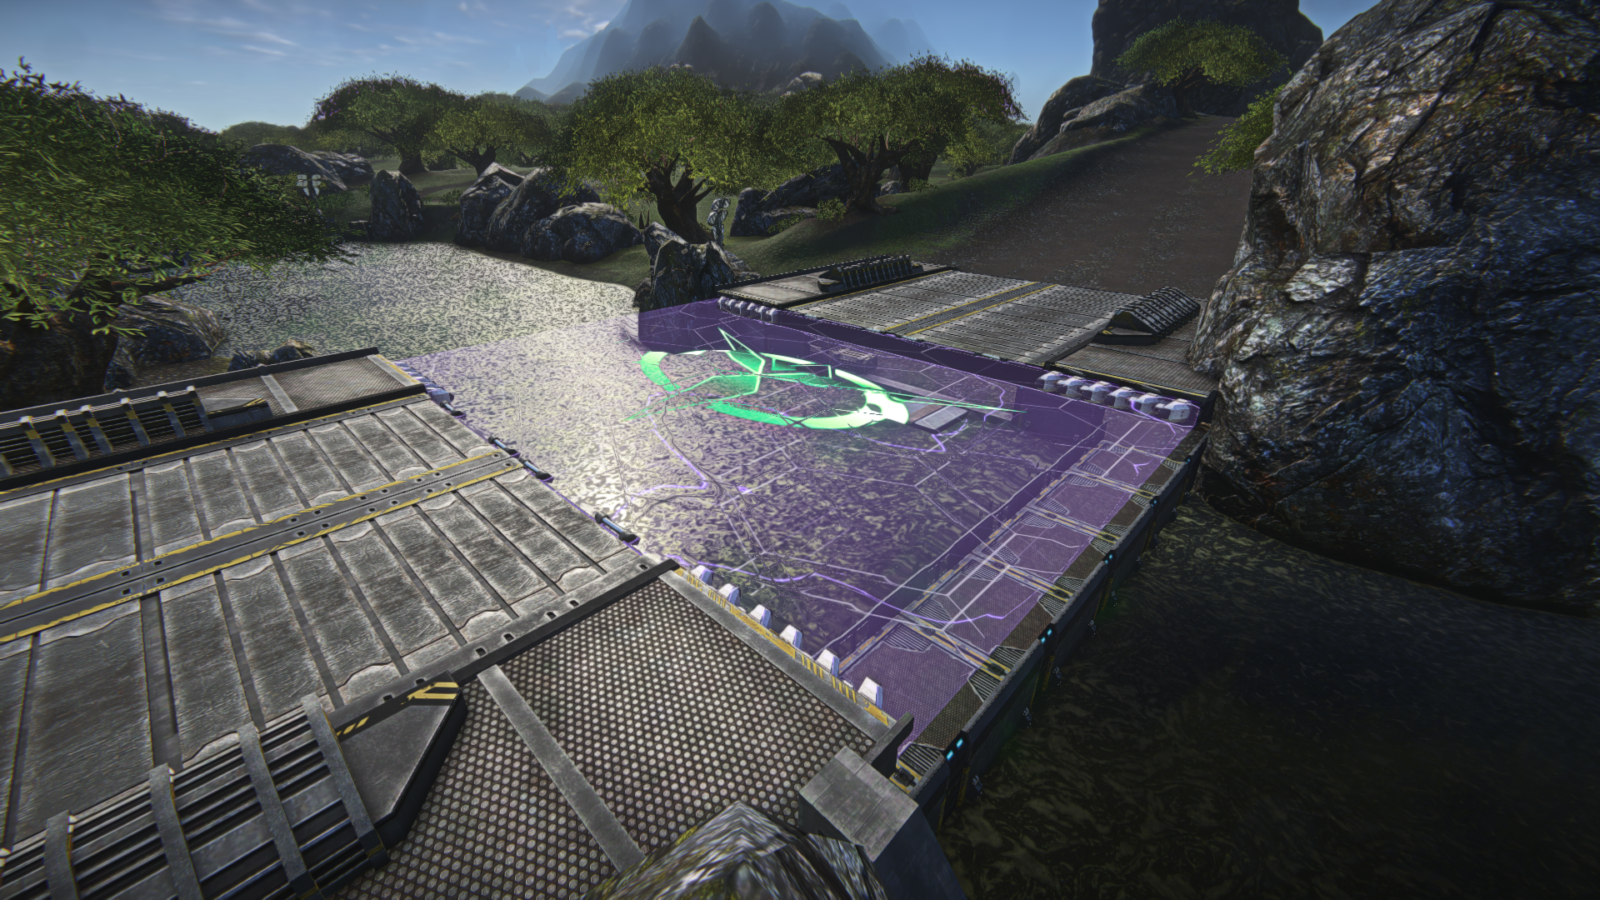
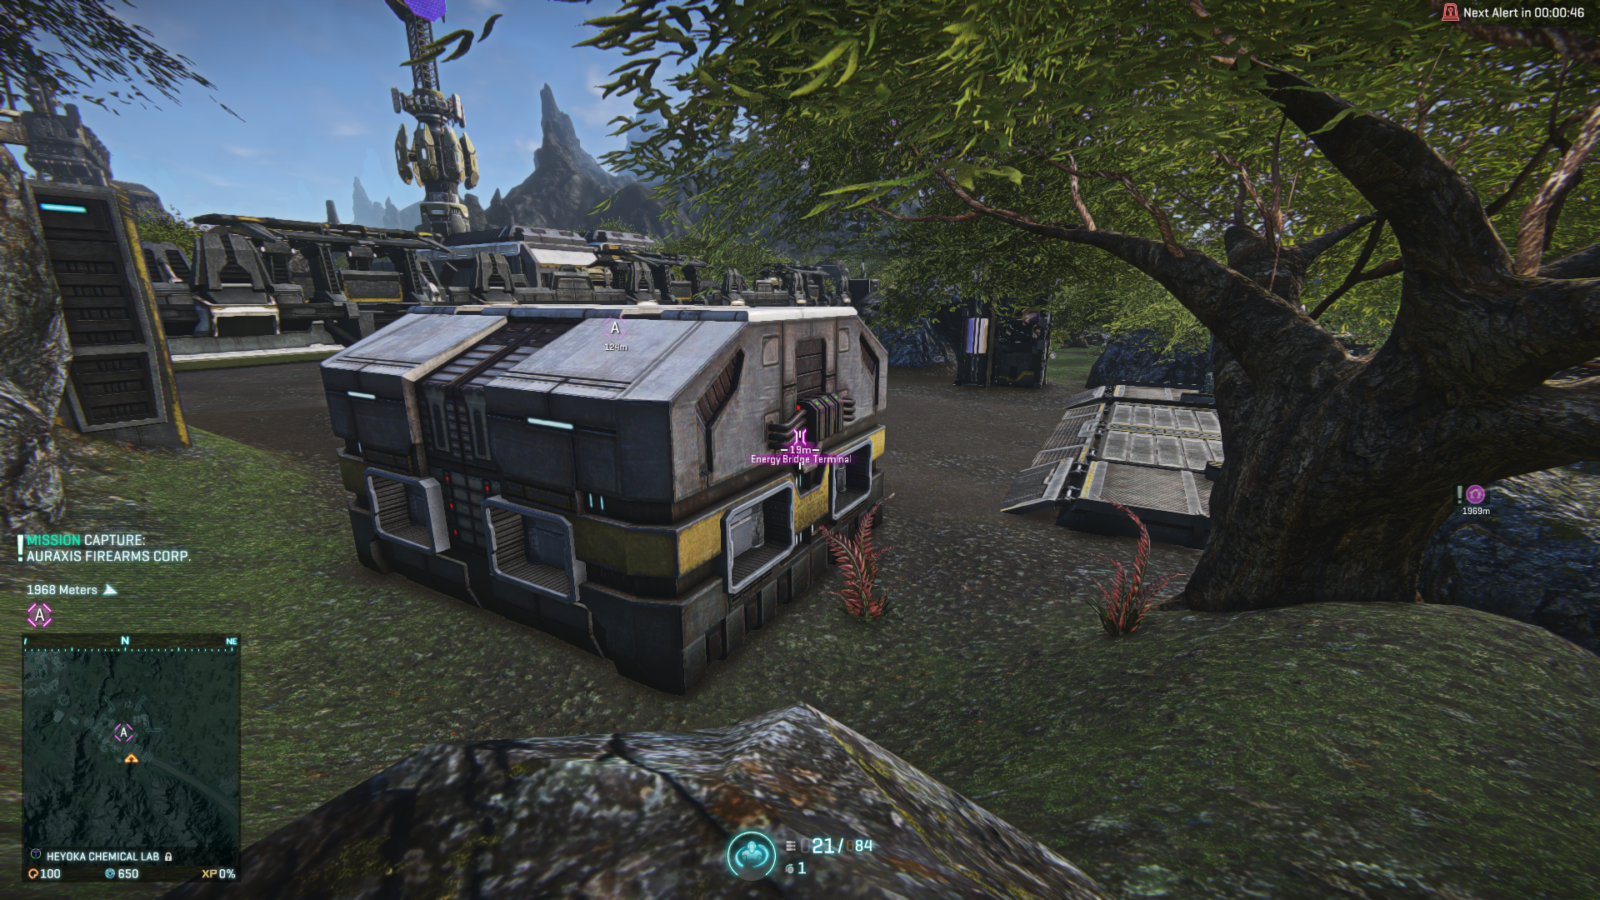
At the moment, the only base with Energy Bridges is Heyoka Chemical Lab on Amerish.
- Energy Bridges allow only allied vehicles to pass. Enemy vehicles will fall through into toxic waste.
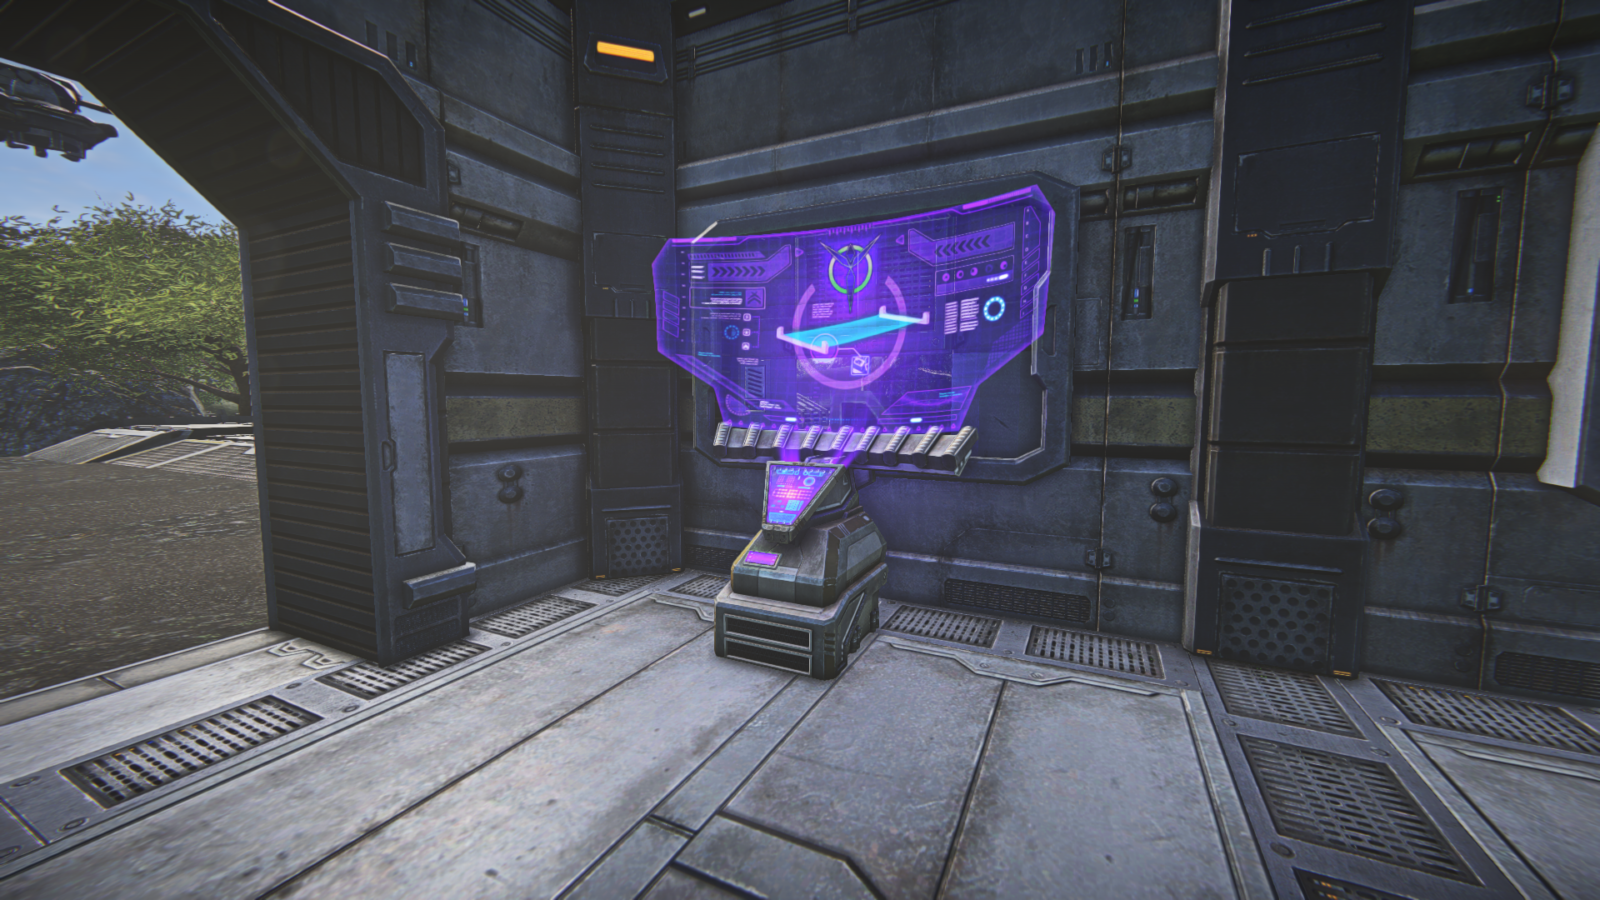
- Any infantry player can approach a Bridge Control Booth and interact with a Bridge Control Terminal to take the bridge under control of their faction.
- Infantry can always use more conventional bridges around the base, or a special pathway under the energy bridge.
- Vehicles can use Gate Shield Diffuser utility and ride over the energy bridge, even if it’s under enemy control. Example.
Towers
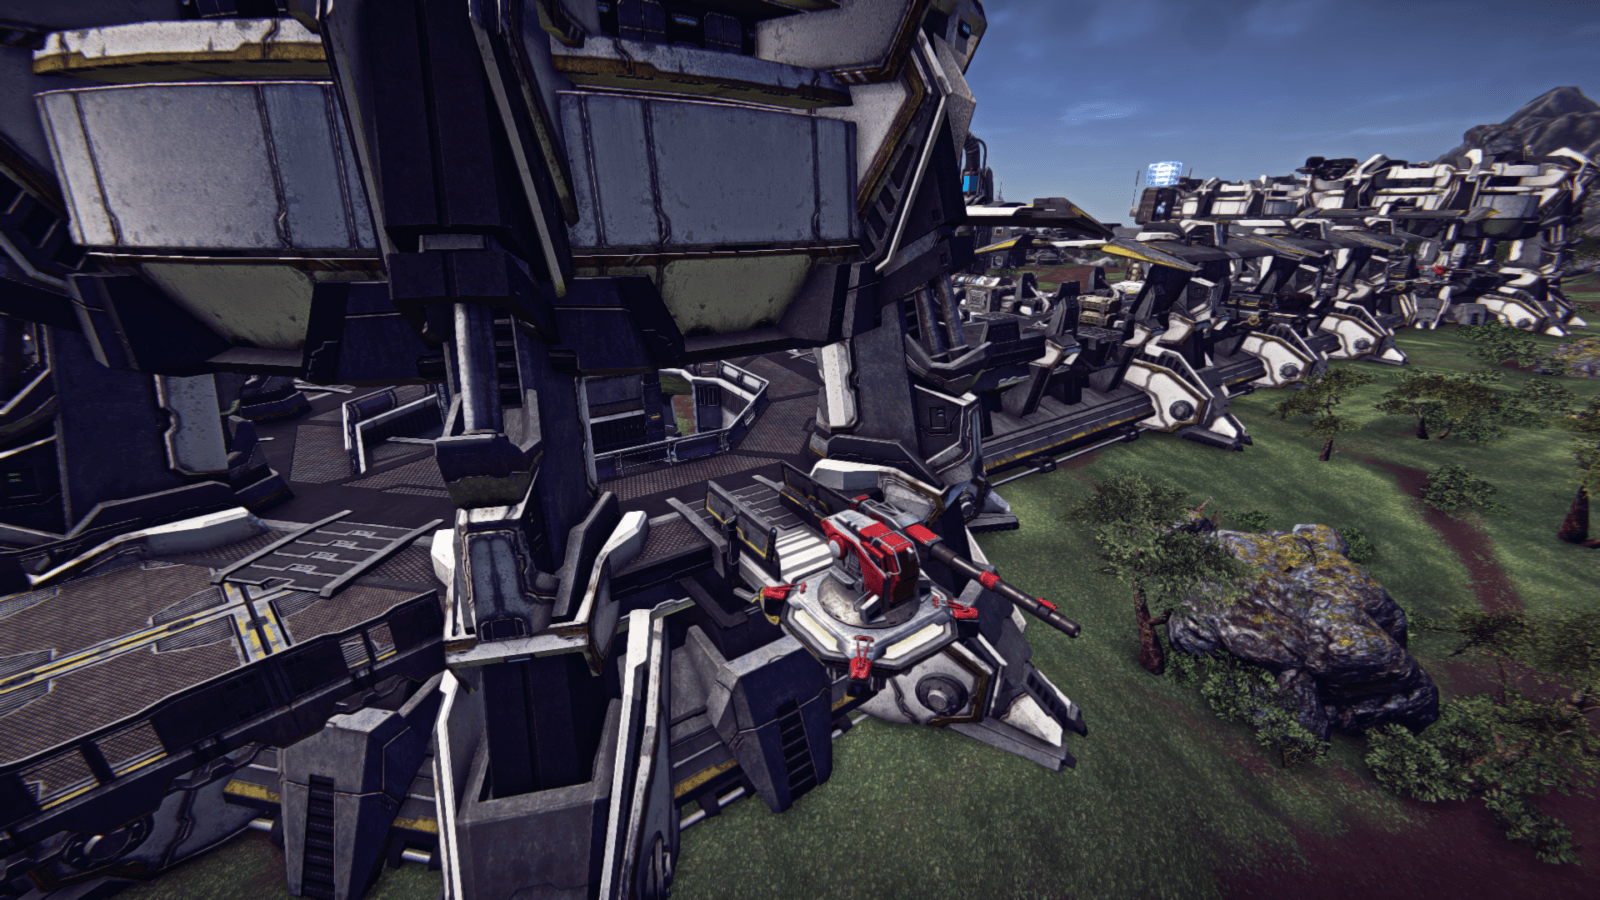
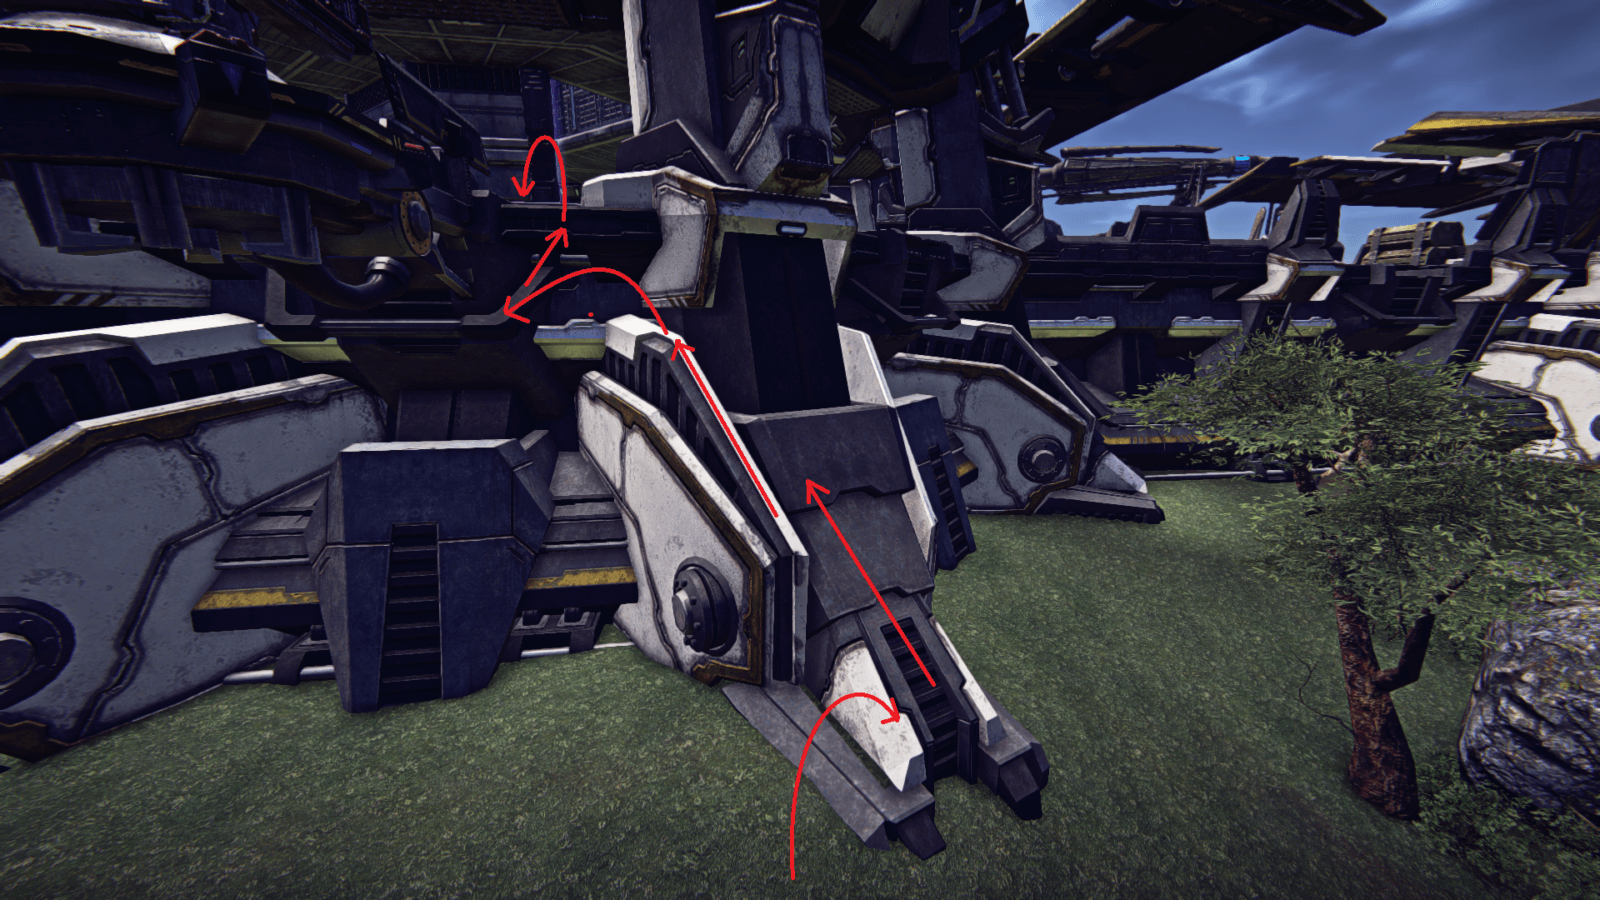

Towers can be found at many bases and they always follow this typical blueprint. Towers can be standalone, or be a part of a larger structure with walls extending to other towers nearby.
It is possible to parkour your way into the tower in places where a turret is sticking out of them. The last step to get into tower itself will require you to spam the “Jump” key.
Vehicle Ammo Towers
Vehicle Ammo Towers are located near every base. They will resupply ammunition to allied vehicles, and even repair them – if the faction that owns the base was the last to lock Hossin.
Landing Pad
Aircraft Landing Pads are located at every base fitted with an Air Terminal. Landing Pads will resupply ammunition to allied aircraft that are hovering above it. Pads will also repair the aircraft and heal infantry standing on it, if the faction that owns the base was the last to lock Hossin.