1In this article I will be explaining how to create custom animations in XCOM 2.
Required Software
1) Steam version of the game
Required to gain access to XCOM 2 Development Tools. If you plan to create mods for XCOM 2 expansions, such as War of the Chosen, then you will also need that expansion, because expansions have their own Development Tools.
2) XCOM 2 Development Tools
You automatically gain access to these when you purchase a steam version of the game. It is installed via Steam -> Library -> Tools. XCOM 2 Dev Tool include:
- Modbuddy -> this is where all of the coding happens. It works similar to Visual Studio.
- Unreal Editor -> provide access to all of the game’s assets, including animations, models, sounds and textures. Unreal Editor itself is also used to create in-game “scenes” such as Class Intro or enemy reveal cinematic.
- Game’s source code -> extremely useful as examples for creating your own in-game items and abilities.
- Some documentation of limited usefulness.
You must install the “full content” version of the Dev Tools:
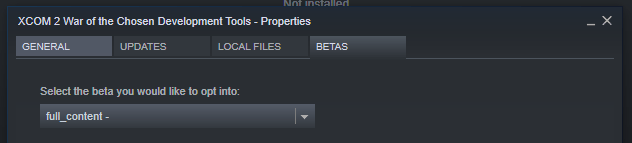
Not 100% sure on this one, but I think “full_content” option is not available in all locales. You will likely have to switch your locale to English.
After downloading, Dev Tools take a bit of effort to set up, you can find instructions here.
It’s worth noting that both Modbuddy and Unreal Editor are buggy as hell, often crash, and usually don’t provide good feedback about encountered errors. However, usually there’s more than one way to do anything, so if at first you don’t succeed, try to think of a workaround.
3) 3DS Max

3DS Max is a professional 3D editor, and I will be teaching you how to use it to create custom animations. It is possible to use other 3D editors, such as Blender. Firaxis themselves used Maya, as far as I know. However, I know only 3DS Max, so that’s what I’ll be teaching.
The commercial copy of 3DS Max is quite expensive, but I have heard it is possible to get one for free using “student license”. Or, you know, yarr.
Recommended Software
1. File Locator Lite
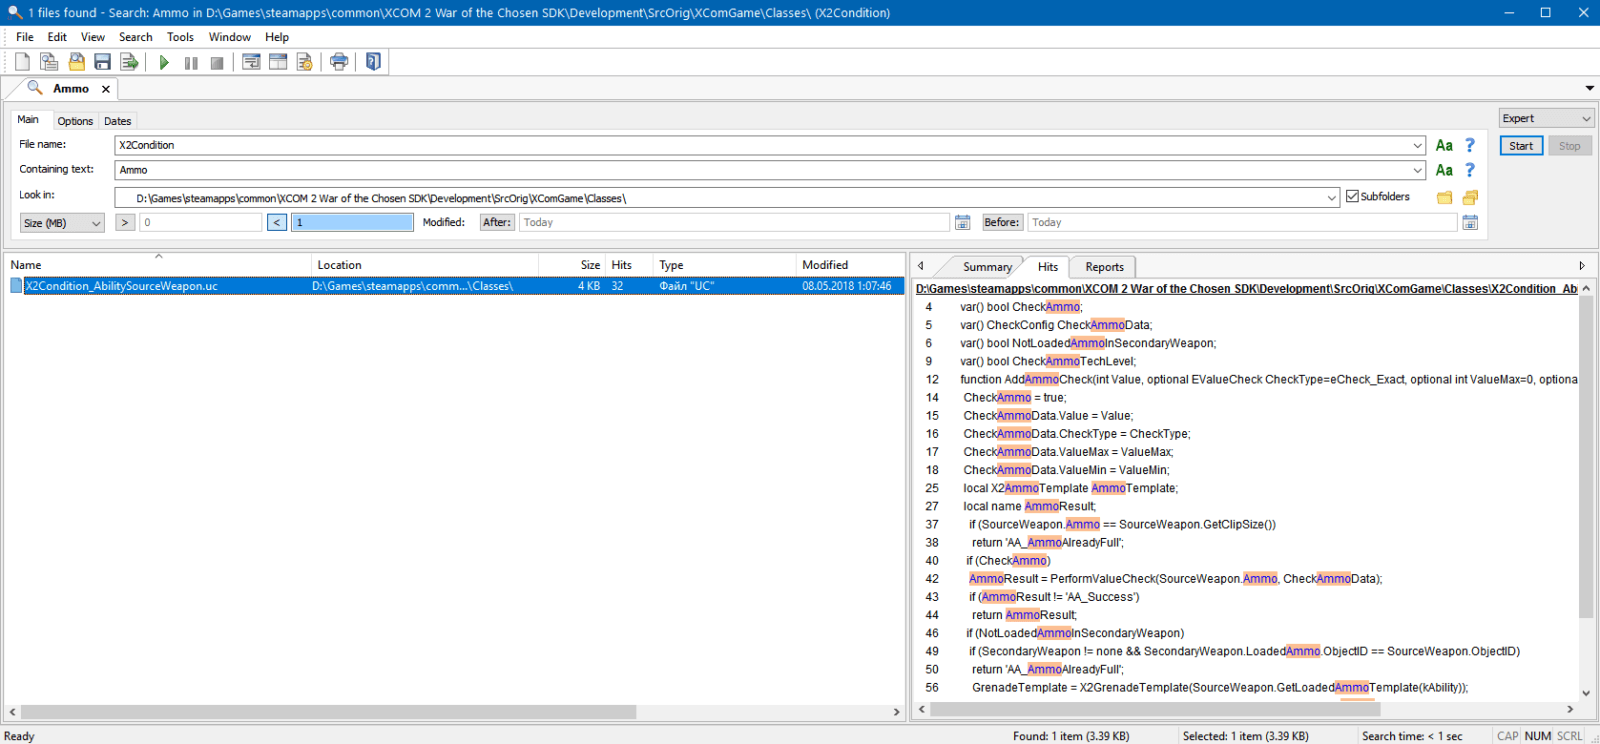
This piece of freeware can search contents of hundreds of files within seconds, making it invaluable for searching for examples in game’s source code.
Technically, Windows Search can do that too, but let’s be honest, it hasn’t worked properly since Windows XP.
File Locator Lite can search by filename and by file content at the same time, and it will show the preview line containing the query text. It’s an incredible timesaver.
I recommend to set up shortcuts for these folders:
Source code
..\steamapps\common\XCOM 2 War of the Chosen SDK\Development\SrcOrig\XComGame\Classes
Default config
..\Documents\my games\XCOM2 War of the Chosen\XComGame\Config
Workshop
..\Steam\steamapps\workshop\content\268500
The latter will help you search through mods created by other people. No reason to reinvent the wheel.
2) Notepad++

This piece of freeware is like Windows Notepad on steroids. It can open multiple files at the same time and display them in tabs, like a browser, and it will also highlight some basic coding syntax and do a bit of formatting, making the code much more readable.
3) Alternative Mod Launcher
The vanilla mod launcher takes ages to launch. Using AML helps to save a lot of time when debugging. It is also just plain better than vanilla mod launcher.
It will require a bit of effort to set up:

-noRedscreens -nostartupmovies -allowconsole
Use these launch arguments to save more time and give yourself access to console, which is invaluable for debugging, with a plethora of routinely used commands, such as:
The “Profiles” tab allows you to save and load your mod selections, so you can play with one mod setup, and debug mods with another. Most of the time there’s no need to load all your 200 voicepacks and cosmetic mods just to check if the ability works properly.
Remember to always launch AML as an administrator, otherwise it likes to crash when using the Profiles feature.
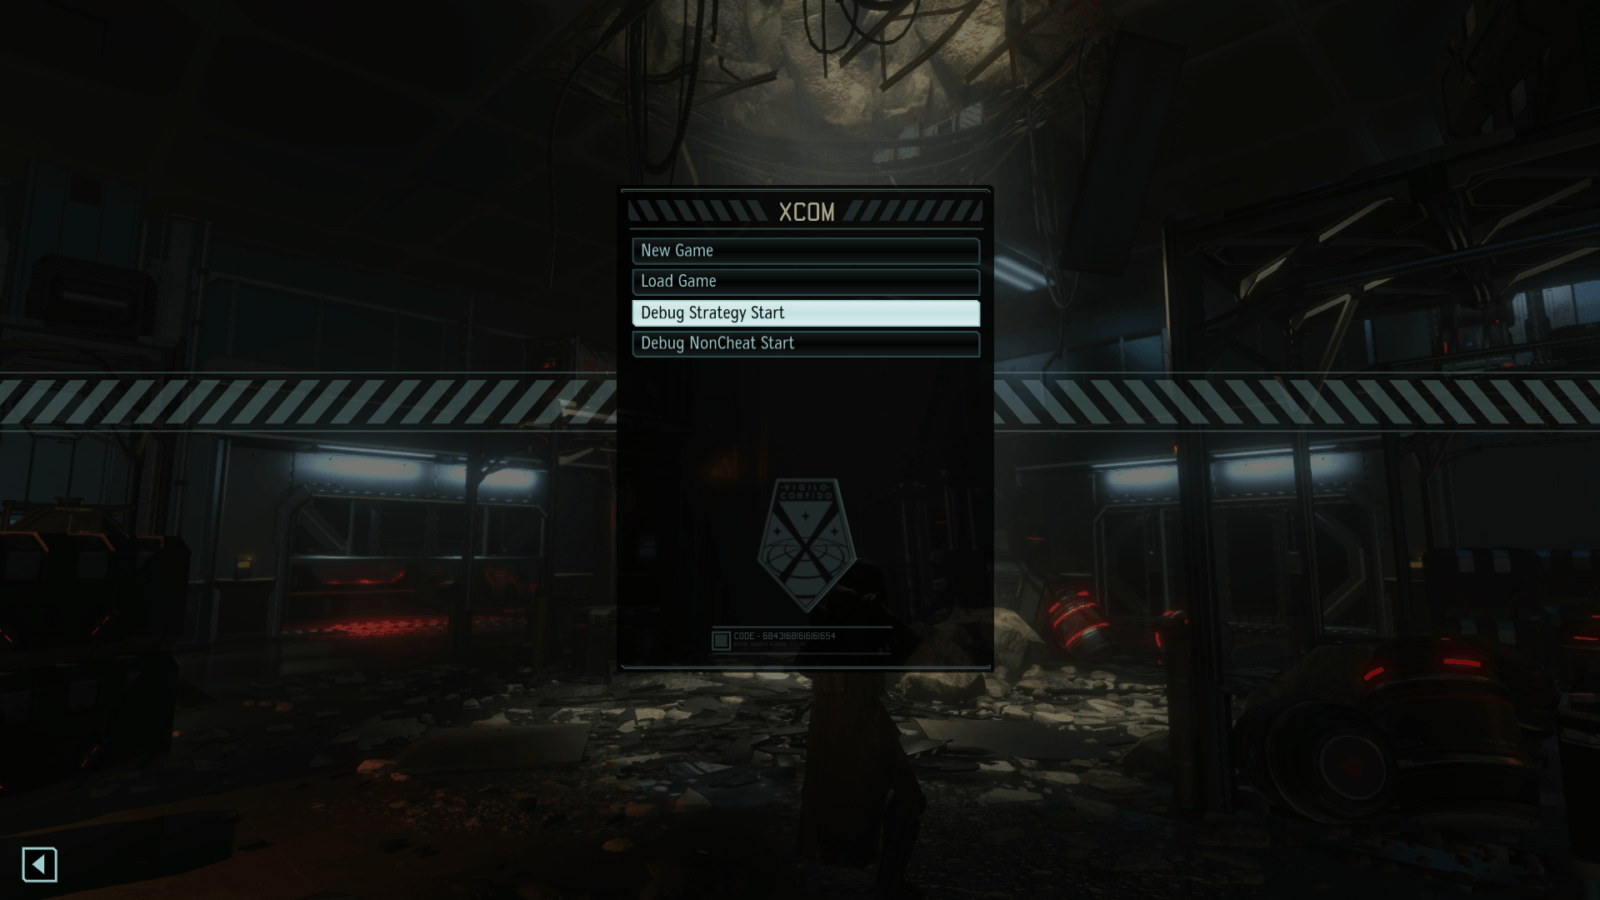
With the mentioned launch arguments, the game will load in “debugging mode” by default, giving you access to Debug Strategic Start and Tactical Quick Launch (TQL).
Strategic Start is fairly straightforward, it basically starts a new game, but it gives you all of the equipment and a lot of resources right from the start.
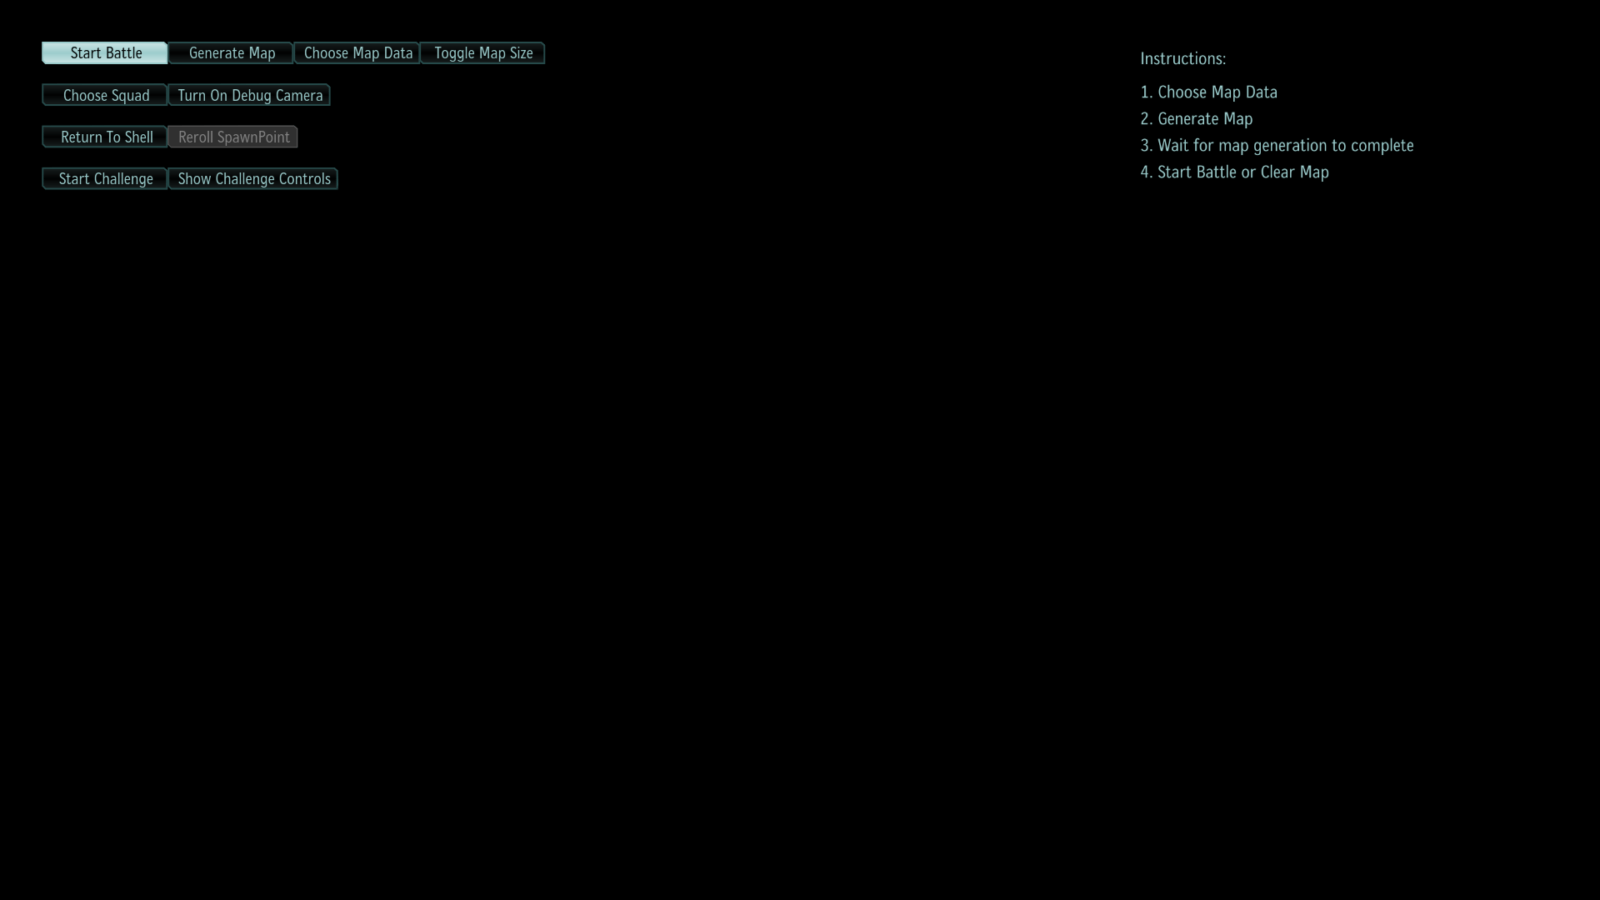
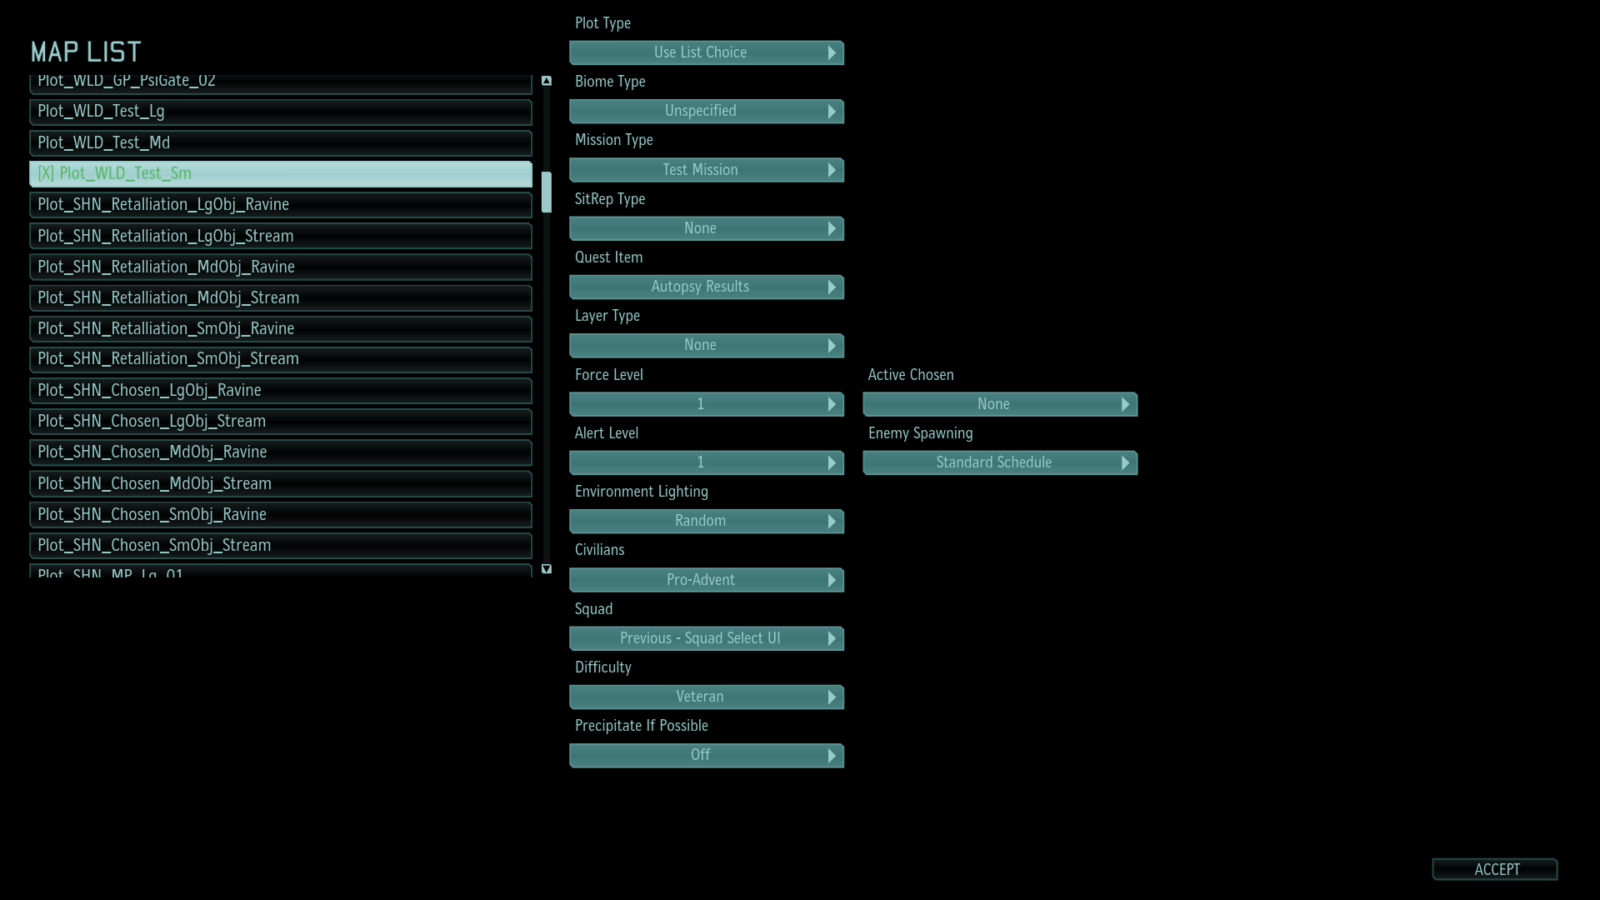
Tactical Quick Launch allows you to quickly start a tactical mission. You can click the “Choose Map Data” to set up the map used for TQL (“plot”), and then you can select an appropriate Mission Type for that plot.
Using the Plot_WLD_TestSm plot with Mission Type -> Test Mission is the fastest, as it skips the drop from Skyranger intro and Bradford nagging at you about mission objectives.
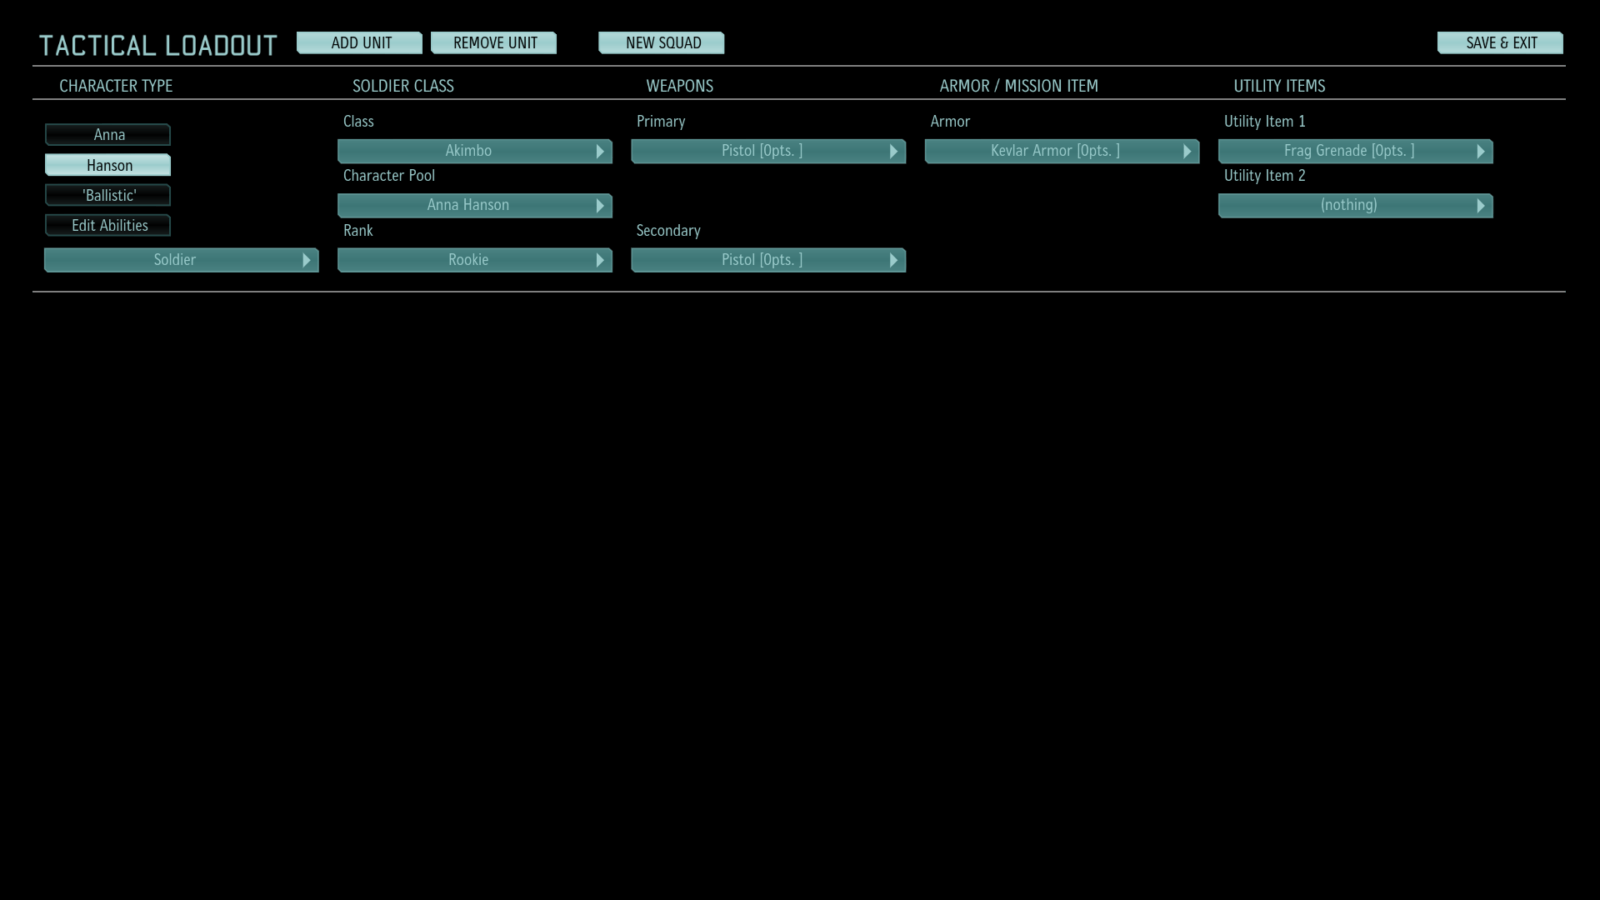
You can set up your squad, and the game will remember it between restarts, though every time you enter Squad Select menu, the game will randomize character appearance.
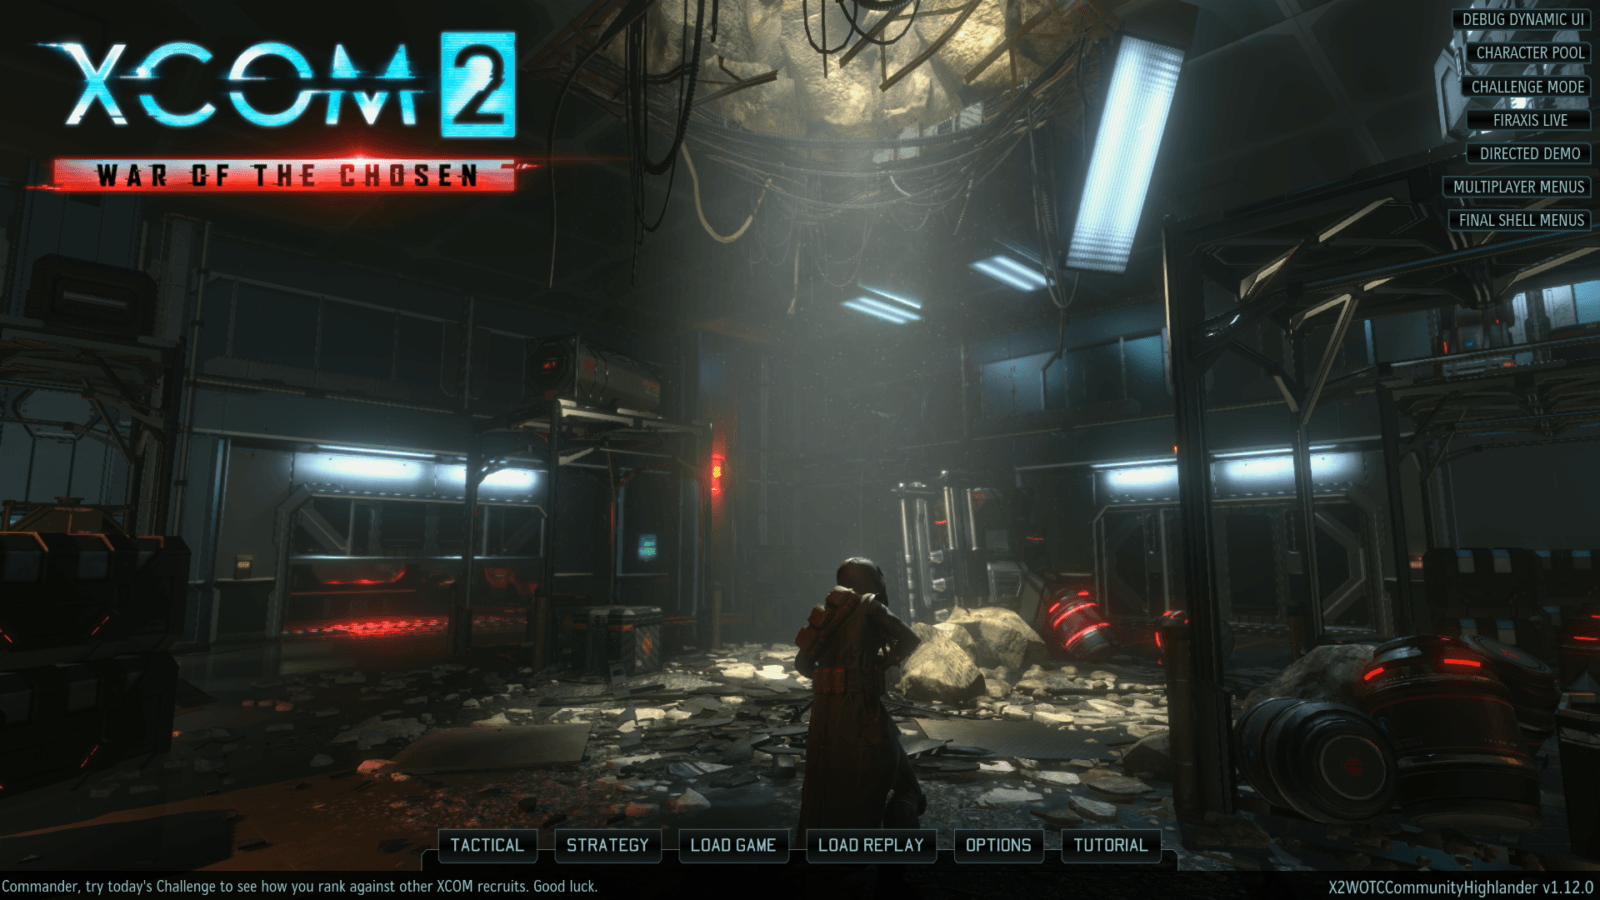
You can click “Final Shell Menus” in the top right corner to enter the “normal” main menu screen.
Creating an Ability
Launching Modbuddy
Installing the XCOM 2 SDK will create a shortcut on your desktop, but this will launch Modbuddy through Steam, in which case it usually fails to properly upload mods. To avoid this issue in the future, create your own shortcut to Modbuddy executable, located here:
..\steamapps\common\XCOM 2 War of the Chosen SDK\Binaries\Win32\ModBuddy\XCOM ModBuddy.exe
Remember to launch it as an administrator.
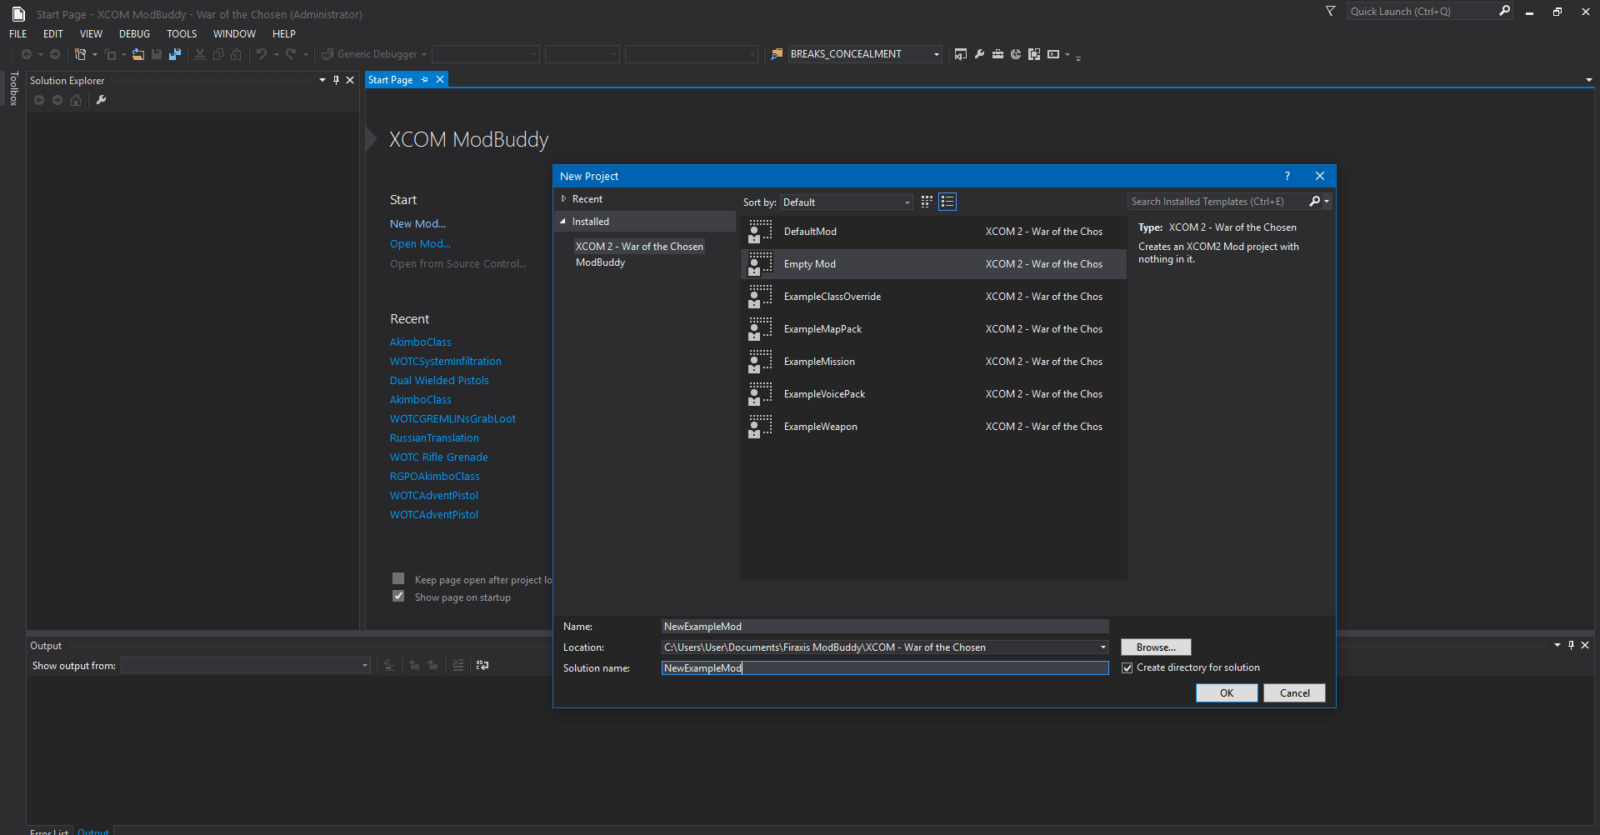
Starting a new mod
When you want to start working on a new mod, normally you would use the DefaultMod option, but the DefaultMod is broken in WOTC SDK. There are other ways around this, but I’m gonna walk you through creating a new mod completely from scratch.
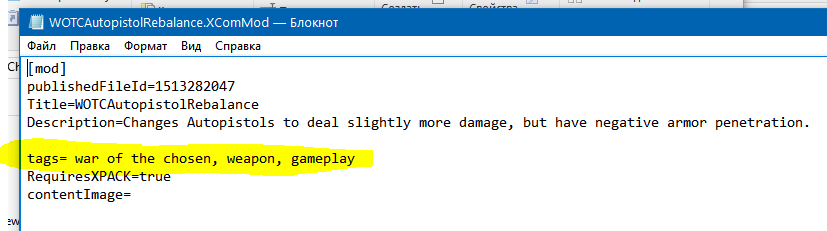
Launch the Modbuddy, on the start page click “New Mod…” and select Empty Mod. Enter mod Name and Solution name. Make both names the same and without any spaces – gonna be easier for you. You will be able to adjust the mod’s display name after you upload it to Workshop.
After you click “OK”, a new window will pop up, where you will be able to enter title and description of your mod.
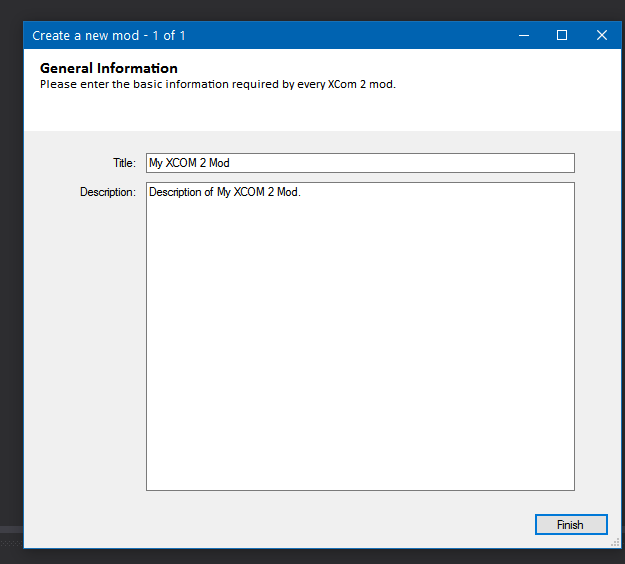
These will show up in the workshop after you upload the mod and in AML. You will be able to change them later at any time in Project -> SolutionName properties.
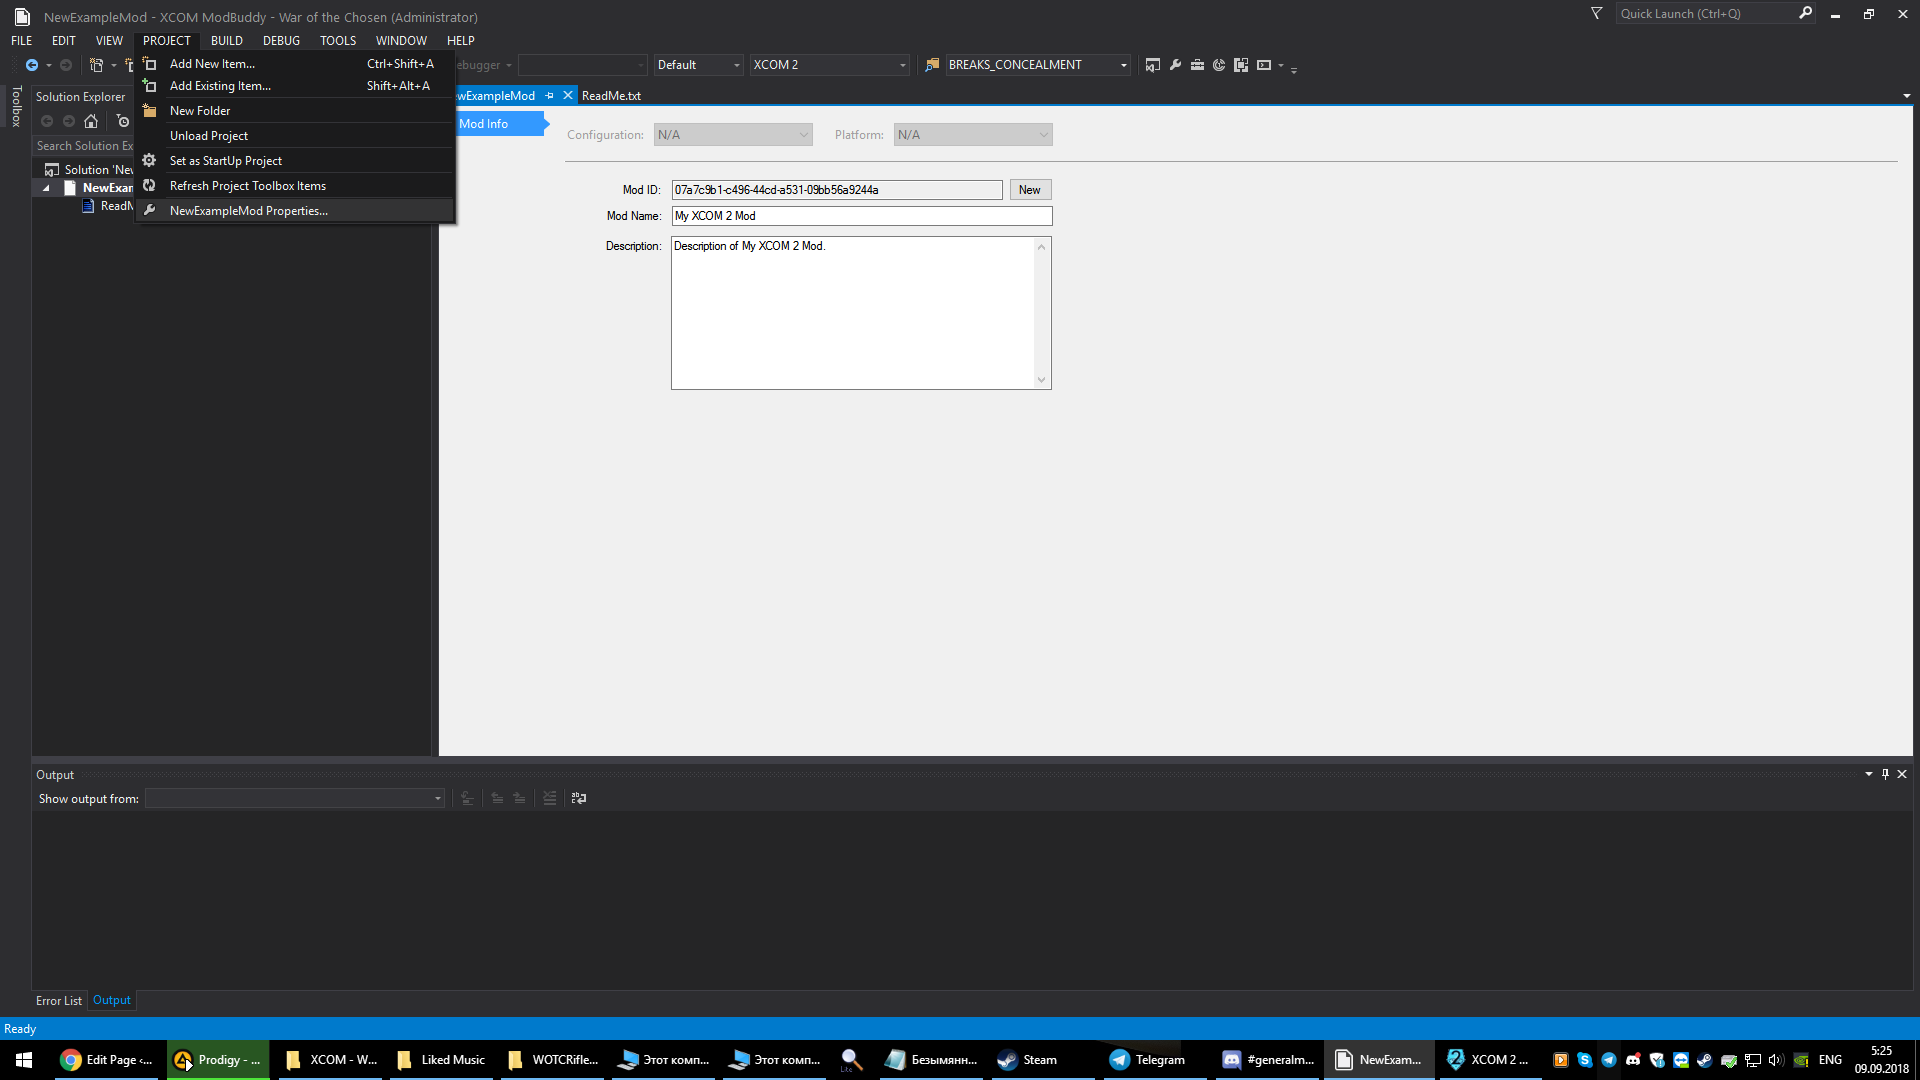
Solution explorer often bugs out and starts showing duplicates. If that happens, simply restart the modbuddy.
After you create an empty mod, you will have an empty Solution with only a placeholder Readme.txt file in it. XCOM 2 mods can potentially have hundreds of files in them, but every mod must have these:
- Config
- XComEditor.ini
- XComEngine.ini
- XComGame.ini
- Src
- SolutionName
- Classes
- X2DownloadableContentInfo_Name.uc
- Classes
- SolutionName
- ModPreview.jpg
- ReadMe.txt
With any of these missing, the mod will fail to compile or at least fail to upload to the workshop. Basically these files will relay to the game that this is, in fact, a mod, and the game needs to load it.
The Config files mostly just contain cookie-cutter lines that you can take from any other mod.
Nobody really uses ReadMe.txt for anything.
ModPreview.jpg will show up in workshop and AML. It doesn’t have to have any specific size, but it is common to use 512 x 512 for best compatibility with the workshop.
The only real piece of code is X2DownloadableContent file. It can actually have any name, but it must extend the X2DownloadableContentInfo class. If you’re not familiar with programming terms, extending a class basically creates an invisible copypaste of all that class’ code. And then you can replace certain pieces of code to let the class behave differently.
Extending is commonly used in game’s source code, and modders use it to create custom effects and conditions.
Ability Template
Templates are everything in XCOM 2 – they describe weapons, units, items, abilities. So “creating an ability” always entails creating a template for it.
Add a new UnrealScript item to your project. It can have any name, but it is a common policy between modders to follow the same naming nomenclature as the game’s source code. This will make your mod easier to understand for others.
So you should pick a name along the lines of X2Ability_AbilityName.uc or X2Ability_ClassNameAbilitySet.uc. And it must extend the X2Ability class. That class has a CreateTemplates function that you will have to override in order to actually give your ability template to the game.
The overall structure for a typical ability code file would look something like this:
class X2Ability_AbilityName extends X2Ability;
static function array<X2DataTemplate> CreateTemplates()
{
local array<X2DataTemplate> Templates;Templates.AddItem(AbilityName());
return Templates;
}static function X2AbilityTemplate AbilityName()
{
local X2AbilityTemplate Template;
//other local values`CREATE_X2ABILITY_TEMPLATE(Template, ‘AbilityTemplateName’);
//template code
return Template;
}
One file can have any number of ability templates. Look through the game’s source code and other mods for examples on how to create abilities.
Creating an Animation
This video shows the full pipeline for creating a custom animation and making it appear in game.
Starting the Unreal Editor
Launch the Modbuddy and click Tools -> XCOM 2 Editor.

Extracting an existing animation
Animations are stored in Animsets.
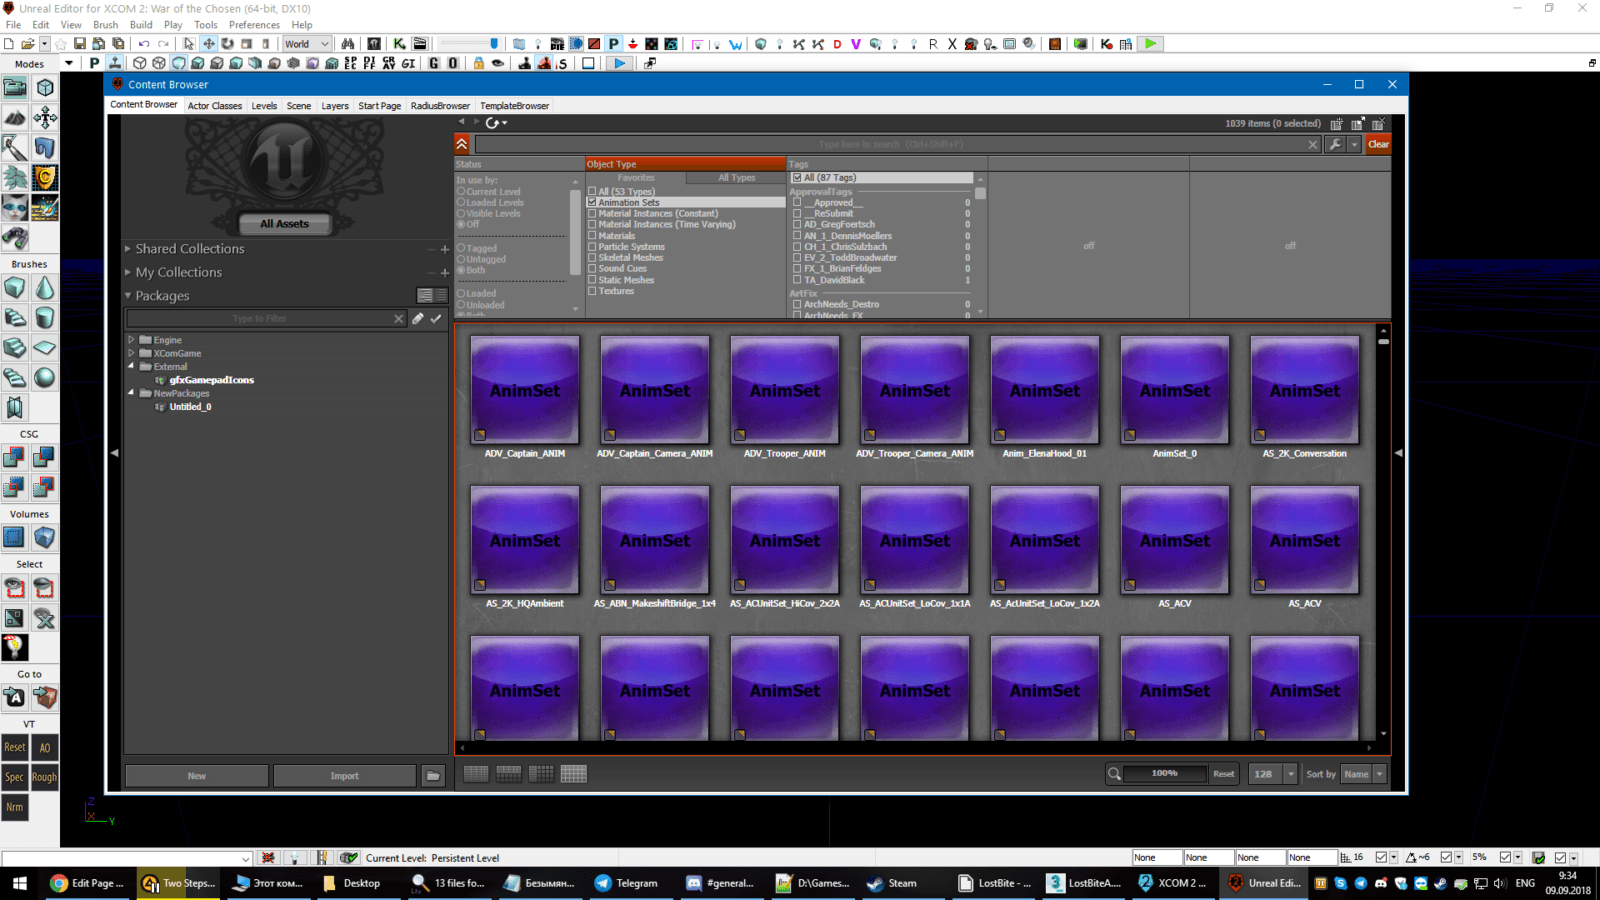
Individual animations are called Animsequences.
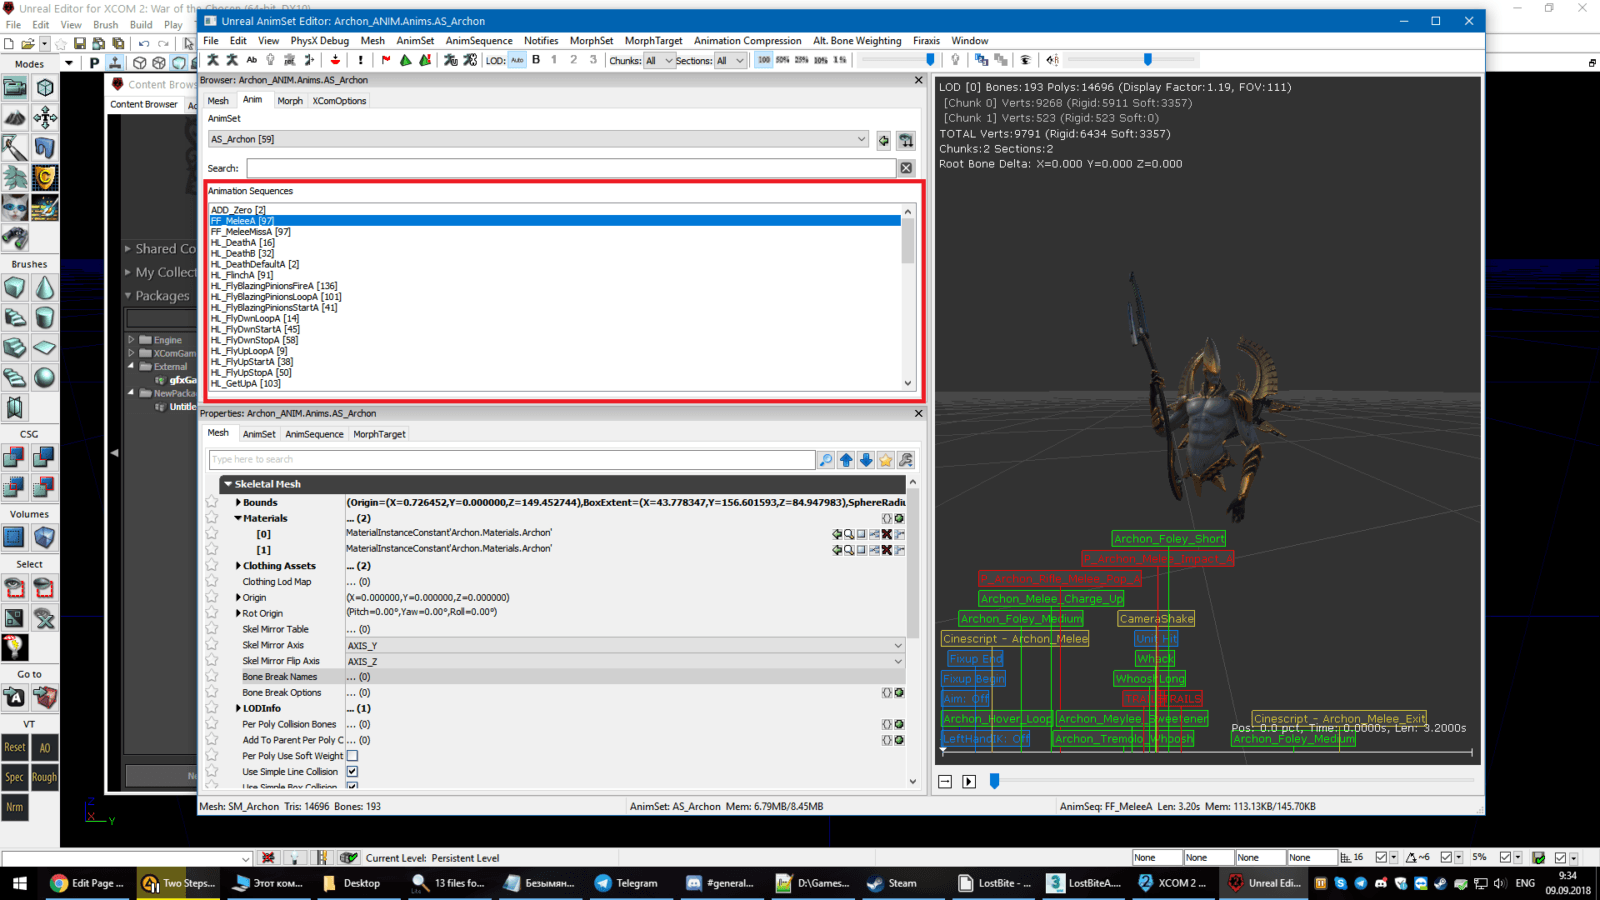
Animsets have a Skeleton Mesh associated with them. You can select a different Skeleton Mesh, if you want. For example, Soldier_ANIM.AS_Soldier animset uses the Spectre’s skeleton mesh by default. The video below shows how to select a different skeleton mesh.
To extract an animation, open an AnimSet, select the Skeleton Mesh you want to use, then select the AnimSequence you would like to export and in the AnimSet viewer click File -> Export FBX Animation.
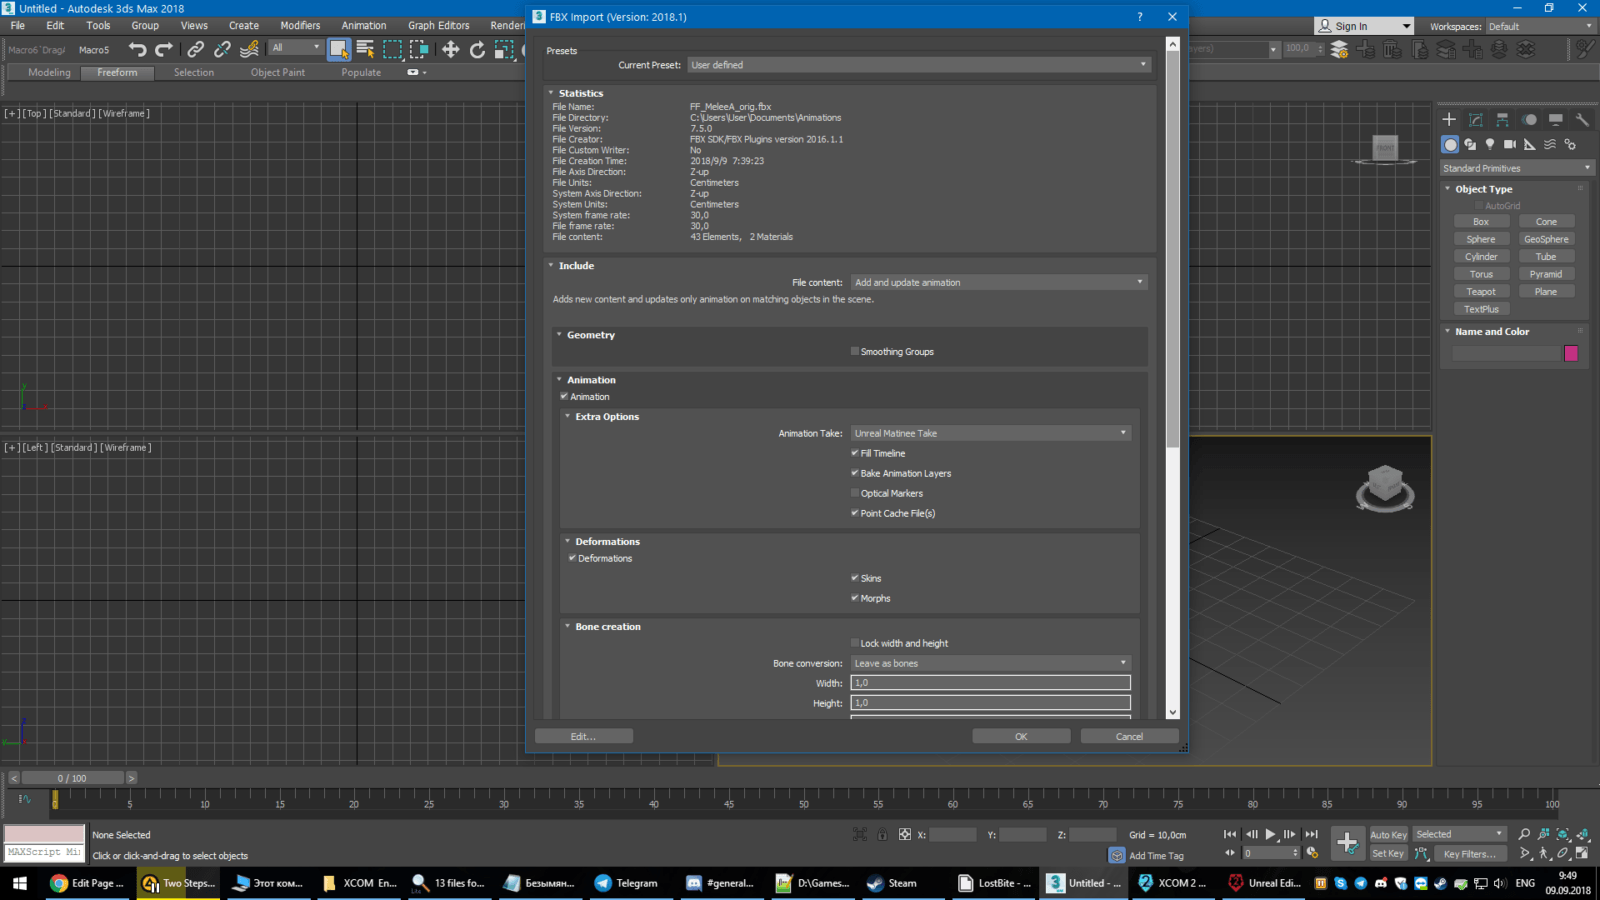
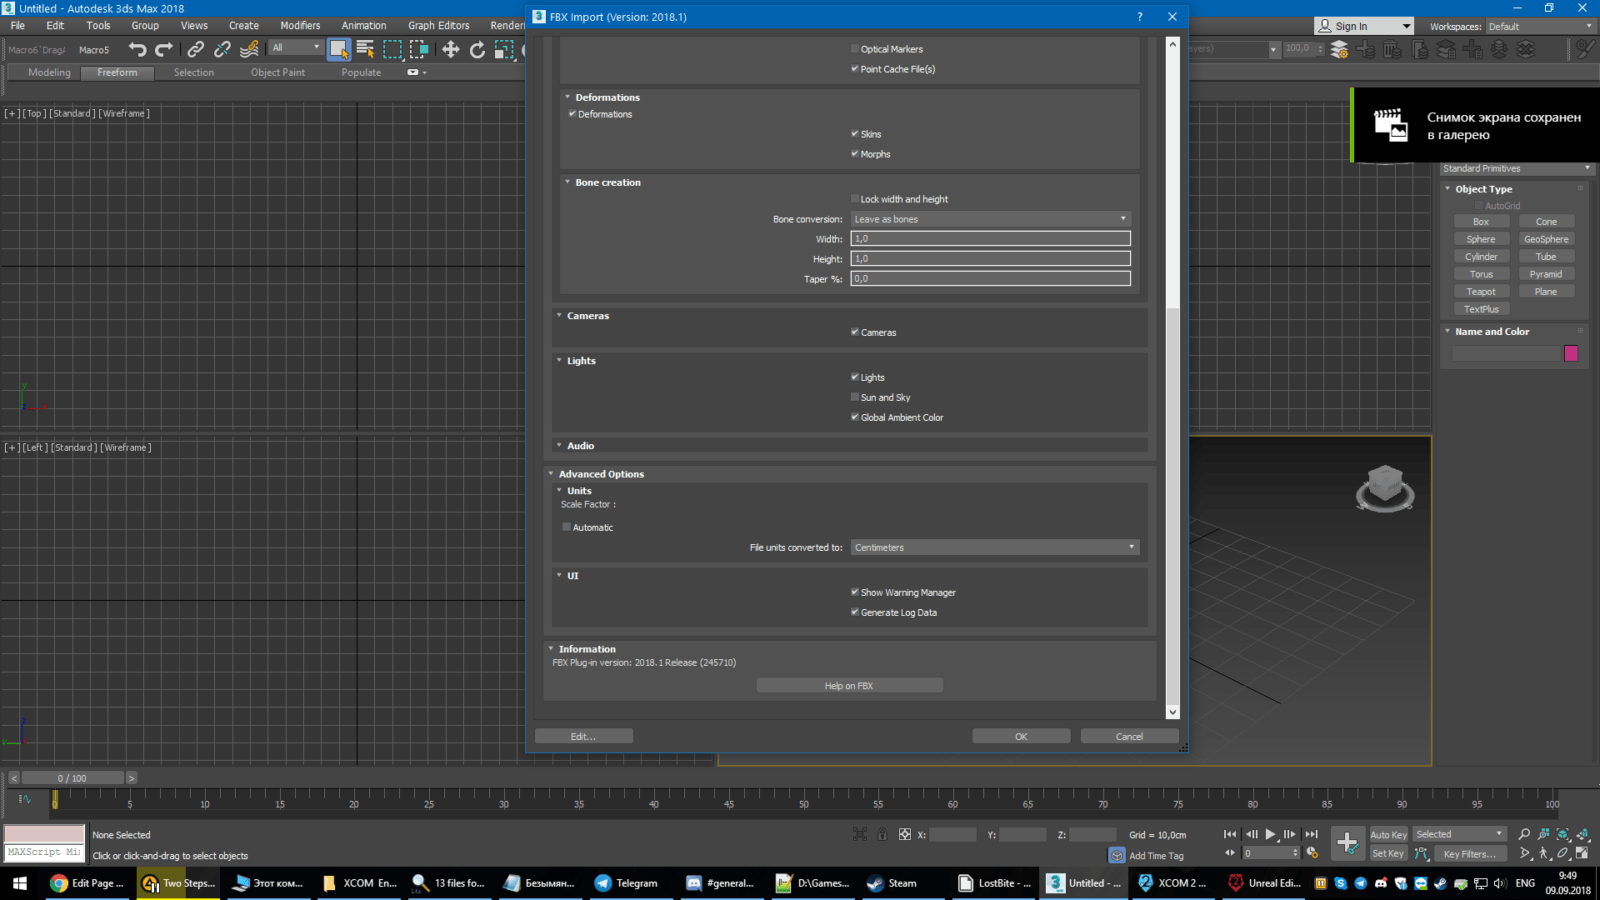
Importing FBX Animation into 3DS Max
Always launch 3DS Max as an administrator. This will save you some potential headache when exporting or saving files.
Click File -> Import. Use these import settings:
Editing an animation in 3DS Max
Examples:
Continued in:
Another example:
Another example:
Here I adjust the vanilla grenade launcher animation to fit an M79 with a rifle grip.
Exporting FBX Animation from 3DS Max
Prepare the scene for export. Unhide all hidden objects and delete everything except the skeleton itself. Also make sure to delete the BaseNode dummy object.
Click File -> Export -> Export. Select .FBX format. Use these export settings:
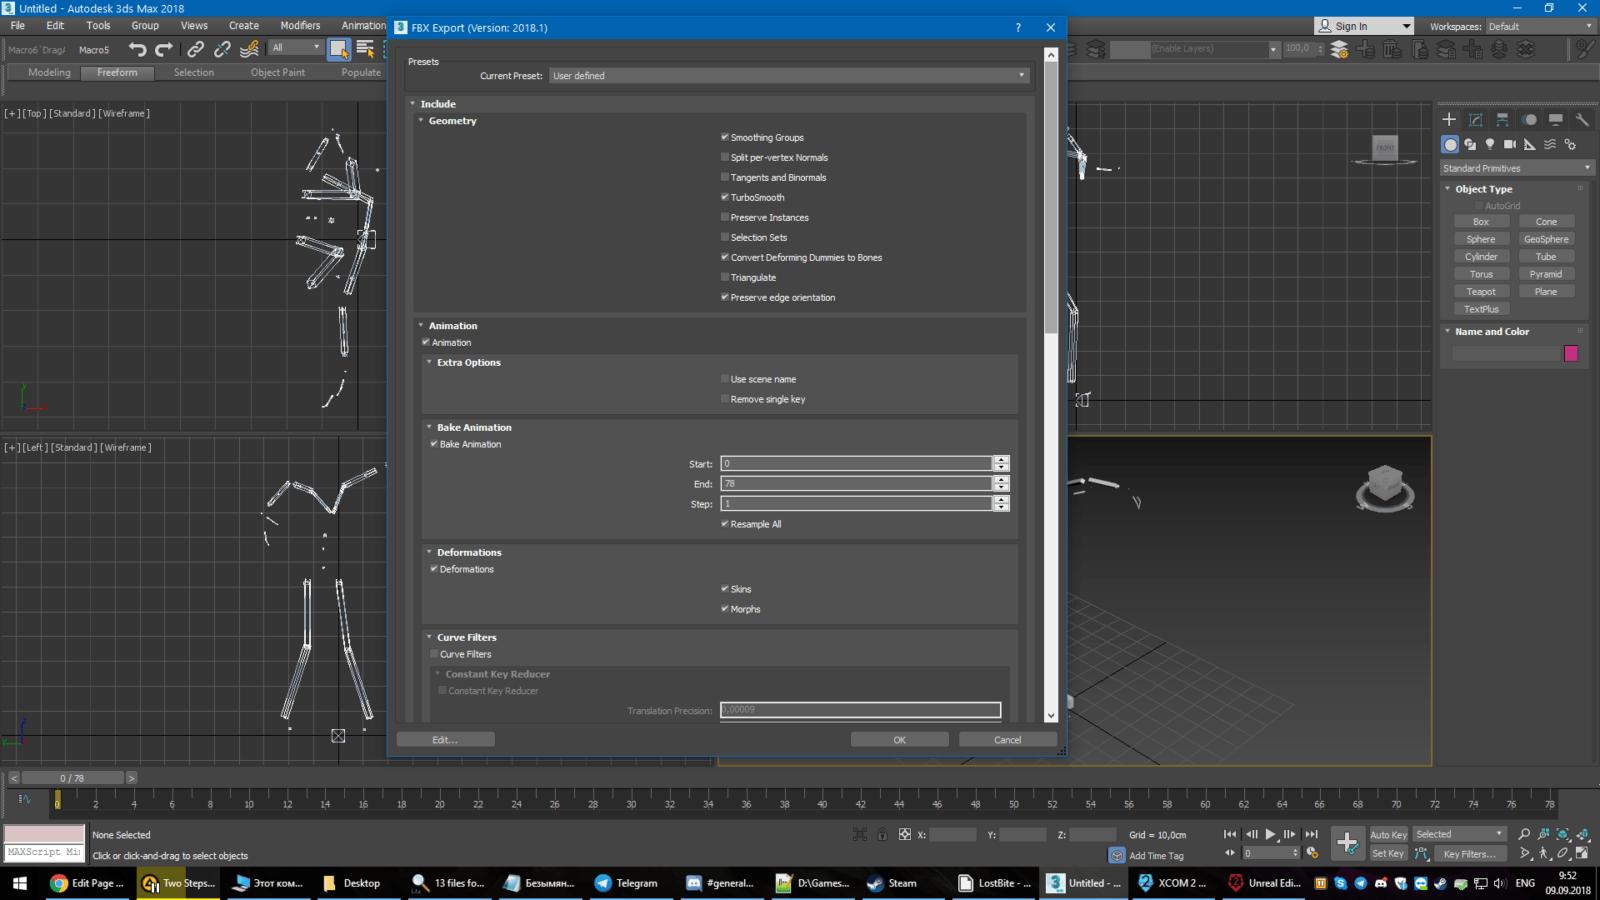

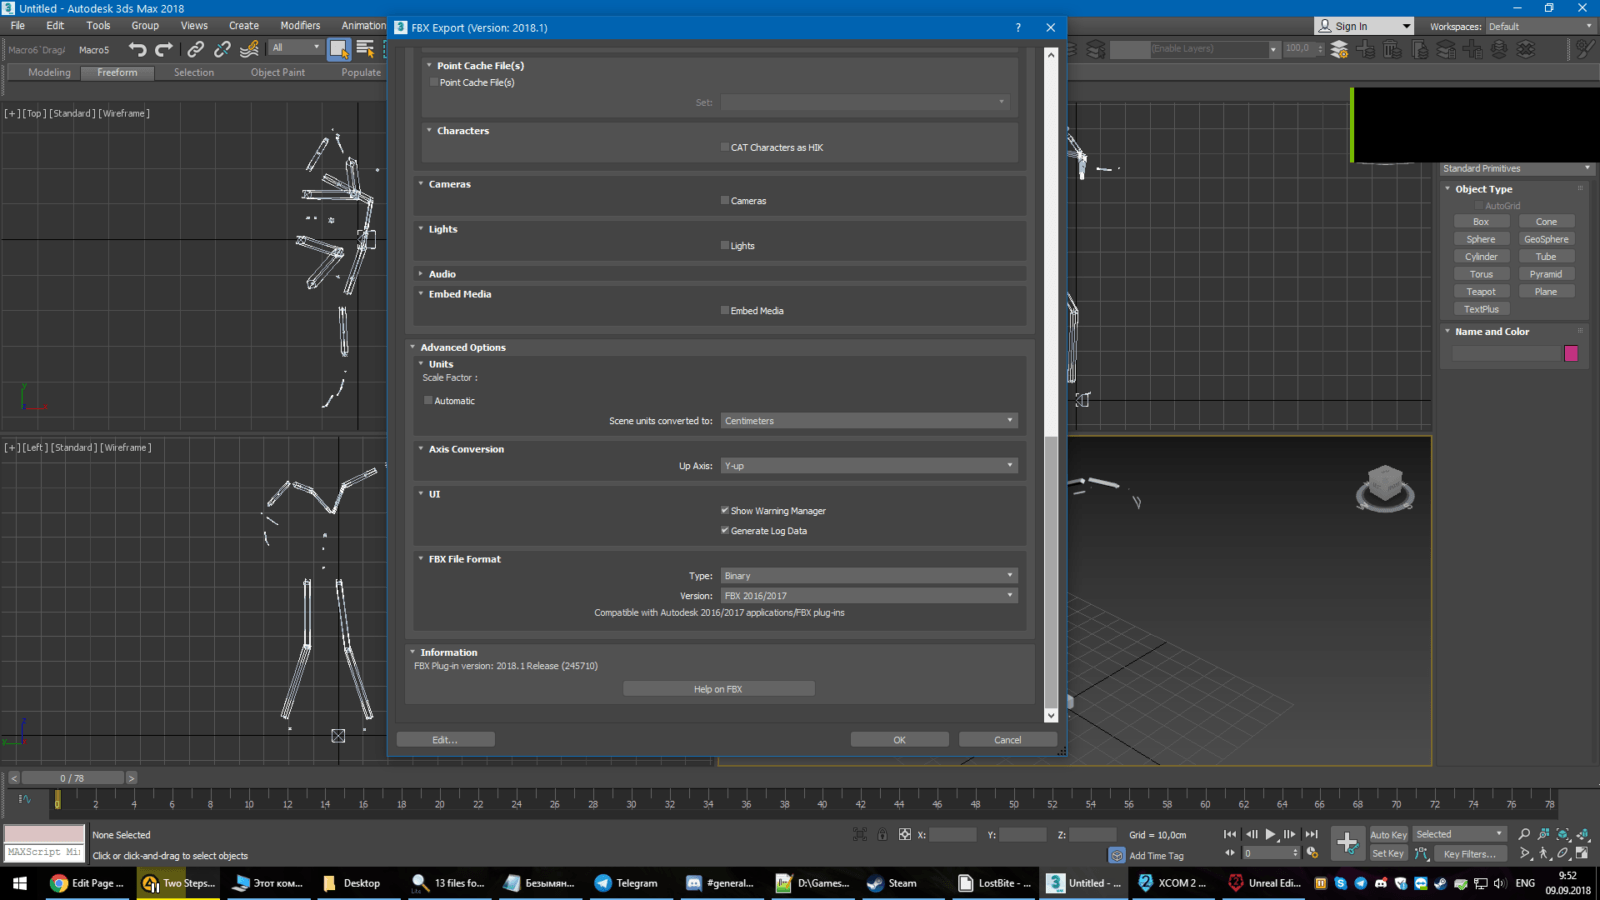
Note that after you export the animation from 3DS Max, you should not try to import it back again into 3DS Max, as it tends to break the bone appearance. Save your scenes in .max files instead.
If you do need to import a FBX animation after you exported it from 3DS Max, you should first import it into Unreal Editor, and export from it. Treat this as a sort of “filter”.
Importing a FBX Animation into UnrealEditor
Creating a new package
Mod assets, such as sounds, images, meshes and animsets are stored in Unreal Packages – .upk files.
Mods will automatically load packages located in the Content folder of the solution, so create such a folder:
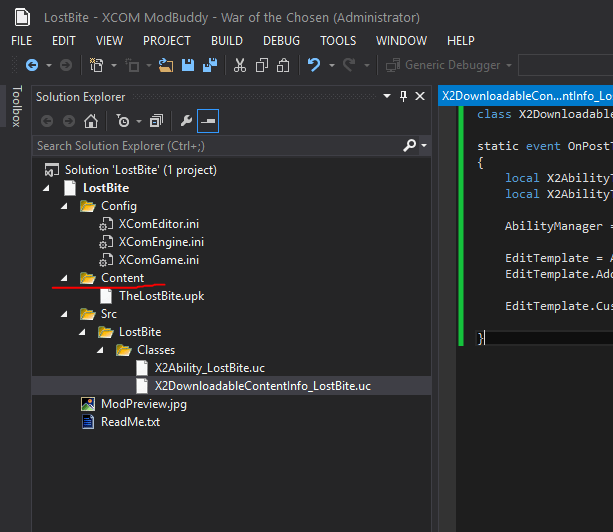
Start the Unreal Editor. Now we will create a new package. Packages cannot be empty, so to create a package you have to either create a new asset – such as an AnimSet- into a new package, or move an existing asset into a new package. The latter is more reliable.
Ideally, you should move the AnimSet you originally exported animations from. This will prevent any potential compatibility issues when you import animations.
Importing animation
In the Unreal Editor, open the AnimSet you wish to import into, and click File -> Import FBX Animation. You may be presented with an option to perform patching of the animation. Not sure if your choice affects anything.
Unreal Editor sometimes crashes during the import process. It’s not by chance, it means you’re doing something wrong. Double check you’re doing everything exactly as described in this guide.
Animation Notifies
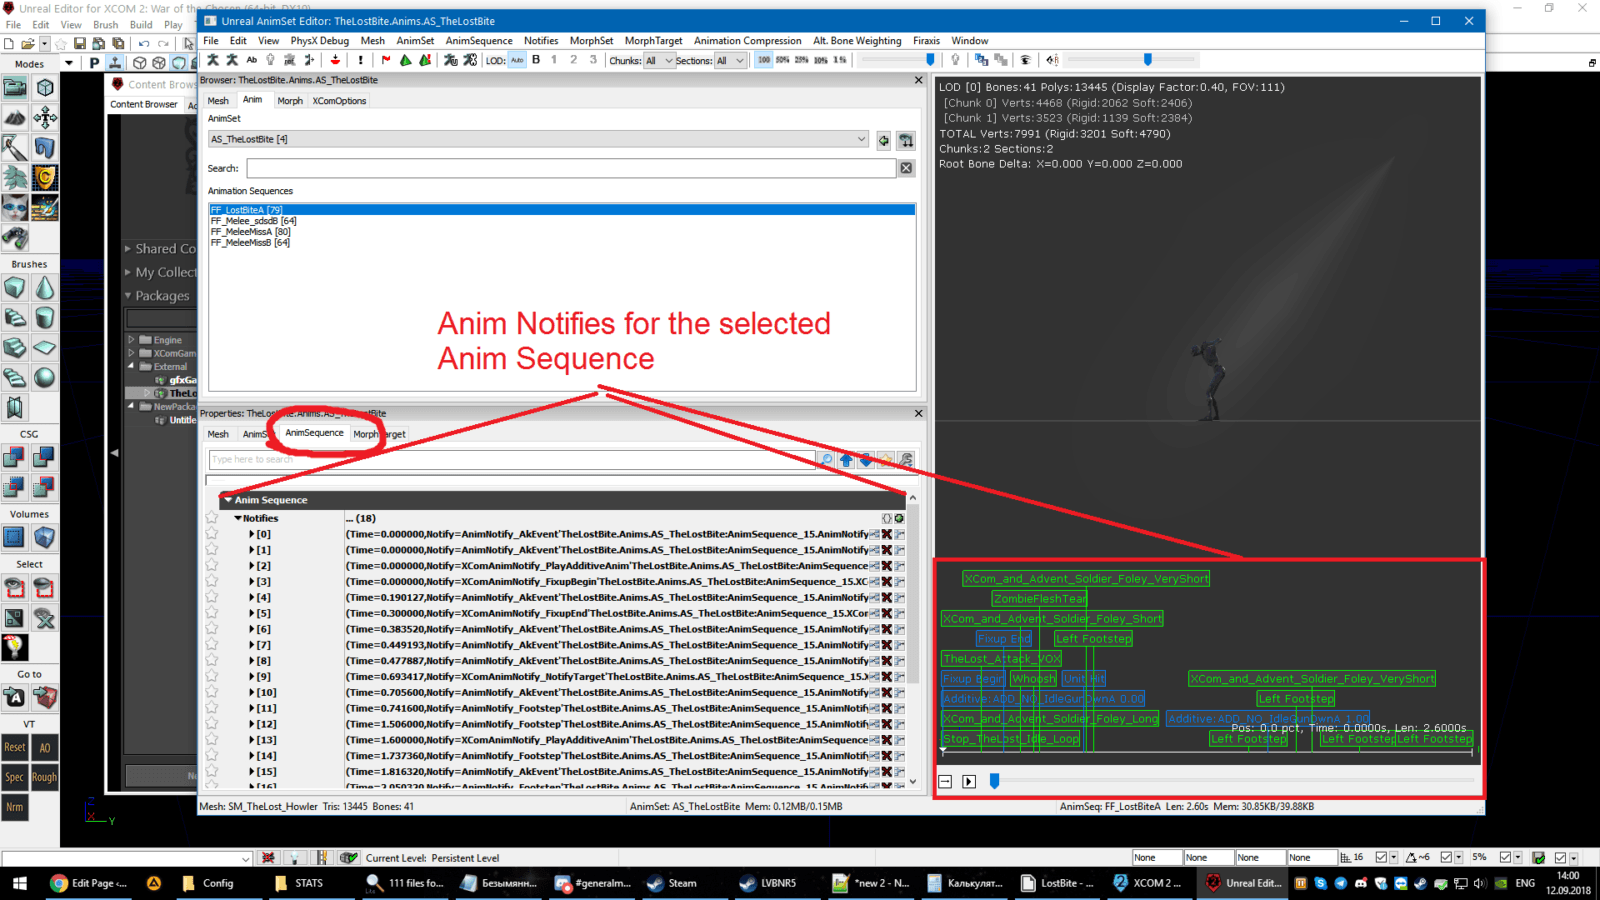
Just AnimNotifies for short, they allow to better configure Anim Sequences, and add some extra spice, such as sounds and special effects. This system appears daunting and convoluted at first, but it’s actually fairly simple, just with a terrible interface.
Click on the AnimSequence tab and you will be able to see the list of Notifies for the selected Anim Sequence. You may have to open the list by clicking on the small black triangle.
You can also see and drag around the Notifies on the time bar under the 3D viewer. Note that not all of the Notifies will properly play out in the 3D viewer in the Unreal Editor, and some of them will be outright ignored.
There is also the Notifies menu at the top. Among other features, there’s a button that lets you copypaste Notifies from one Sequence to another. Incredible timesaver. Though you need to have both Sequences in the same AnimSet in order to do that.
There are several key types of Notifies that are commonly used while doing custom animations.
PlaySound – allows you to play a SoundCue during the animation. Useful for adding your own sounds to animations.
AkEvent – AkEvents are audio banks that will play different sounds based on soldier’s equipment. For example, the same AkEvent for weapon reload will play different sounds depending on weapon tier (e.g. conventional vs magnetic). Or EXO Suits will play different foley sounds than Kevlar. I am not aware of the possibility of adding your own AkEvents, though.
NotifyTarget (Unit Hit) – used by melee abilities. Conveys to the game when the character actually hits the enemy unit according to the animation. To best of my knowledge, it’s not possible to hit the enemy several times during a single Anim Sequence.
Aim (On / Off) – tells the soldier when it is time to enable Inverse Kinematics to look at the enemy and move hands and torso in their direction.
LockDownFeet (On / Off) – “glues” character’s feet to the floor while performing the animation. The legs will still be able to rotate around the Z axis, but it’s a useful tool to save time and not have to animate legs properly. This is what I did for my Akimbo’s Dual Shot animation.
Fixup (Begin / End) – no idea what it does, but it is present in many vanilla sequences.
ItemAttach – allows the soldier to move their equipment between sockets during the animation. For example, pull out a sword from its sheath and then put it back, or put the rifle on a sling while hacking.
SocketAnim – plays a specified AnimSequence for the item equipped in a certain socket. Look up Pistol fire animation for a good example. The pistol itself has a firing animation with a cocking hammer and rotating cylinder. Play SocketAnim notify is used to make the pistol play that animation before the shot.
FireVolley – fires currently equipped weapon / the weapon current animation sequence is attached to. This will make the weapon spawn its projectile(s), specified in the weapon’s archetype. Note that firing sounds are specifically attached to the projectile “file”, and usually include sounds for the whole volley, and not an individual shot.
LeftHandIK ( On / Off) – enables or disables Inverse Kinematics for the left hand. In vanilla game, soldiers use different primary weapons with different positions for the left hand on the weapon. When LeftHandIK is enabled, the left hand will be automatically drawn to the special Left Hand bone on the weapon’s skeletal mesh:
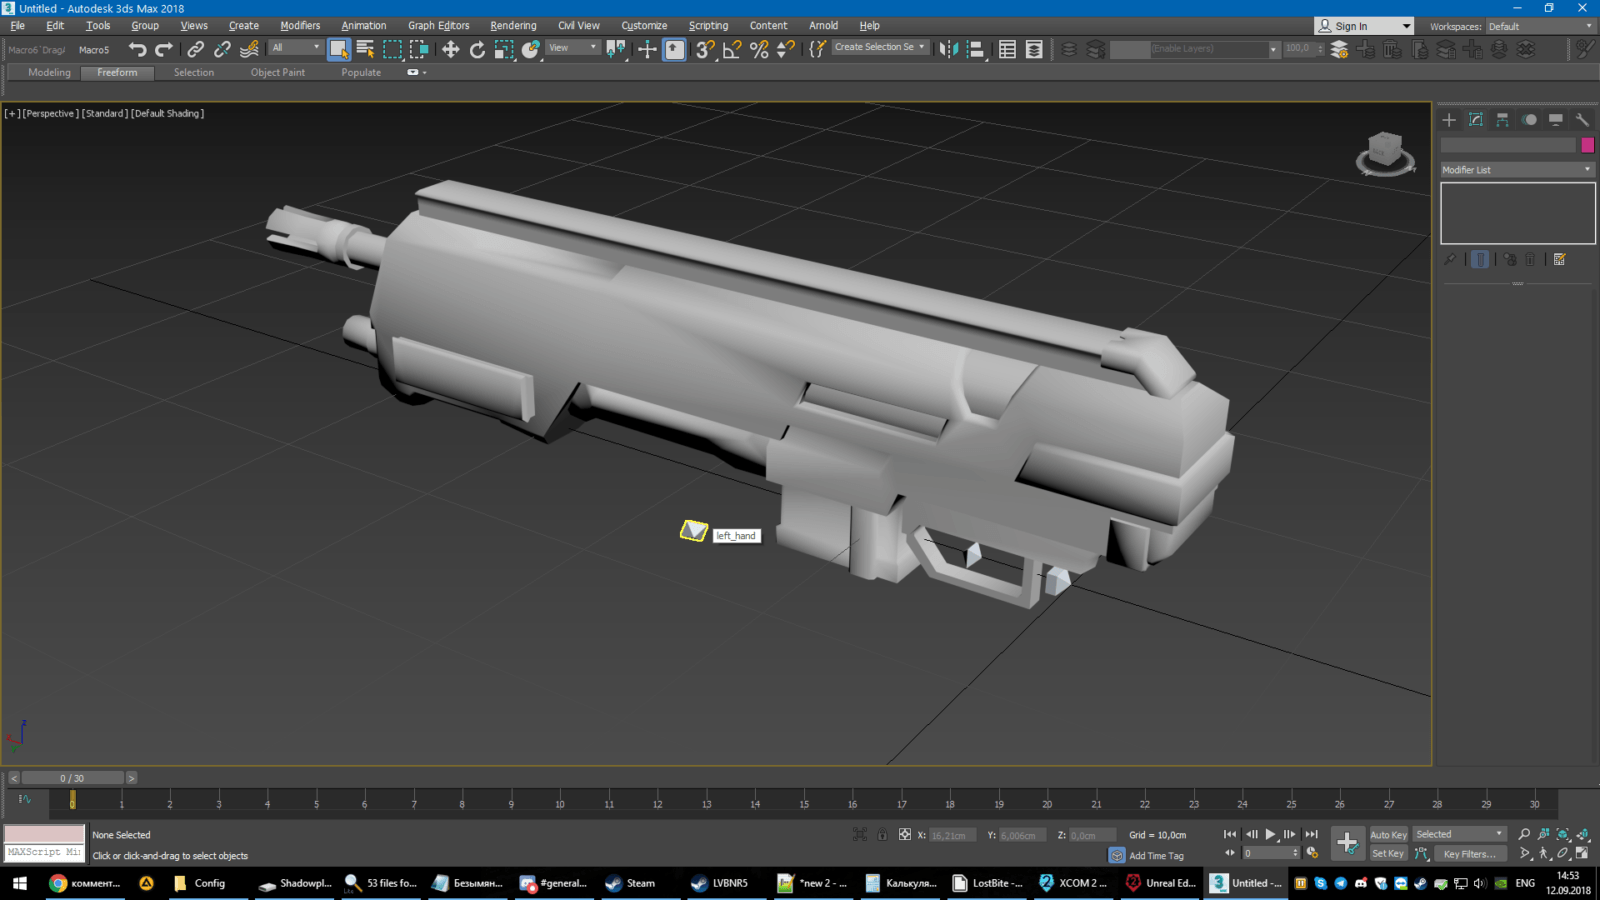
So if you have an animation that involves moving the left hand away from the weapon, you must use this notify to temporarily disable Left Hand IK.
Additive Animation – additive animations are built from existing animations in the AnimSequence menu. They allow you to layer additional animations on top of existing sequences. It’s basically the case of A + B = C. I don’t know much about using Additive Animations. The base game uses them to create little differences in soldiers’ stances while holding different primary weapons.
Play Particle Effect – plays the specified particle effect. You can specifically attach it to a certain bone or a socket. You are free to create your own copies of vanilla particle effects and adjust them as you see fit. You can probably even create brand new particle effects.
It is possible to create your own Notifies. For example, robojumper had to create a custom notify for Dual Wielded Pistols that would allow to fire the pistols in the left hand.
This video shows a few examples on handling Anim Notifies.
Additive Animations
https://api.unrealengine.com/udk/Three/AdditiveAnimations.html
Tutorials by Musashi
Female Animations
Musashi’s definite guide to female animations:
- Copy the Zero animation sequence to a new animset.
- Remove all but the body tracks from that set (All face, twist and item socket tracks)
- Create an additive animation sequence from Zero using the (female) meshes reference pose
- Copy the animset with your male animations to a new set with “_F” suffix and choose the female mesh as preview mesh there.
- Move the additve (ADD_Zero) to the new set (e.g. AS_Armory_F)
- SUBTRACT ADD_Zero from a sequence (Lets say Idle_ByTheBook_TG02)
- Export Idle_ByTheBook_TG02 from the editor. (dont worry if it clips or looks weird)
- Make your adjustments in 3DS Max or Blender
- Export the animation and import into the Editor again
- ADD ADD_Zero to the sequence again.
- Profit!
Note that in game, weapons used by females are scaled to 85% of their size.
Same in video format:
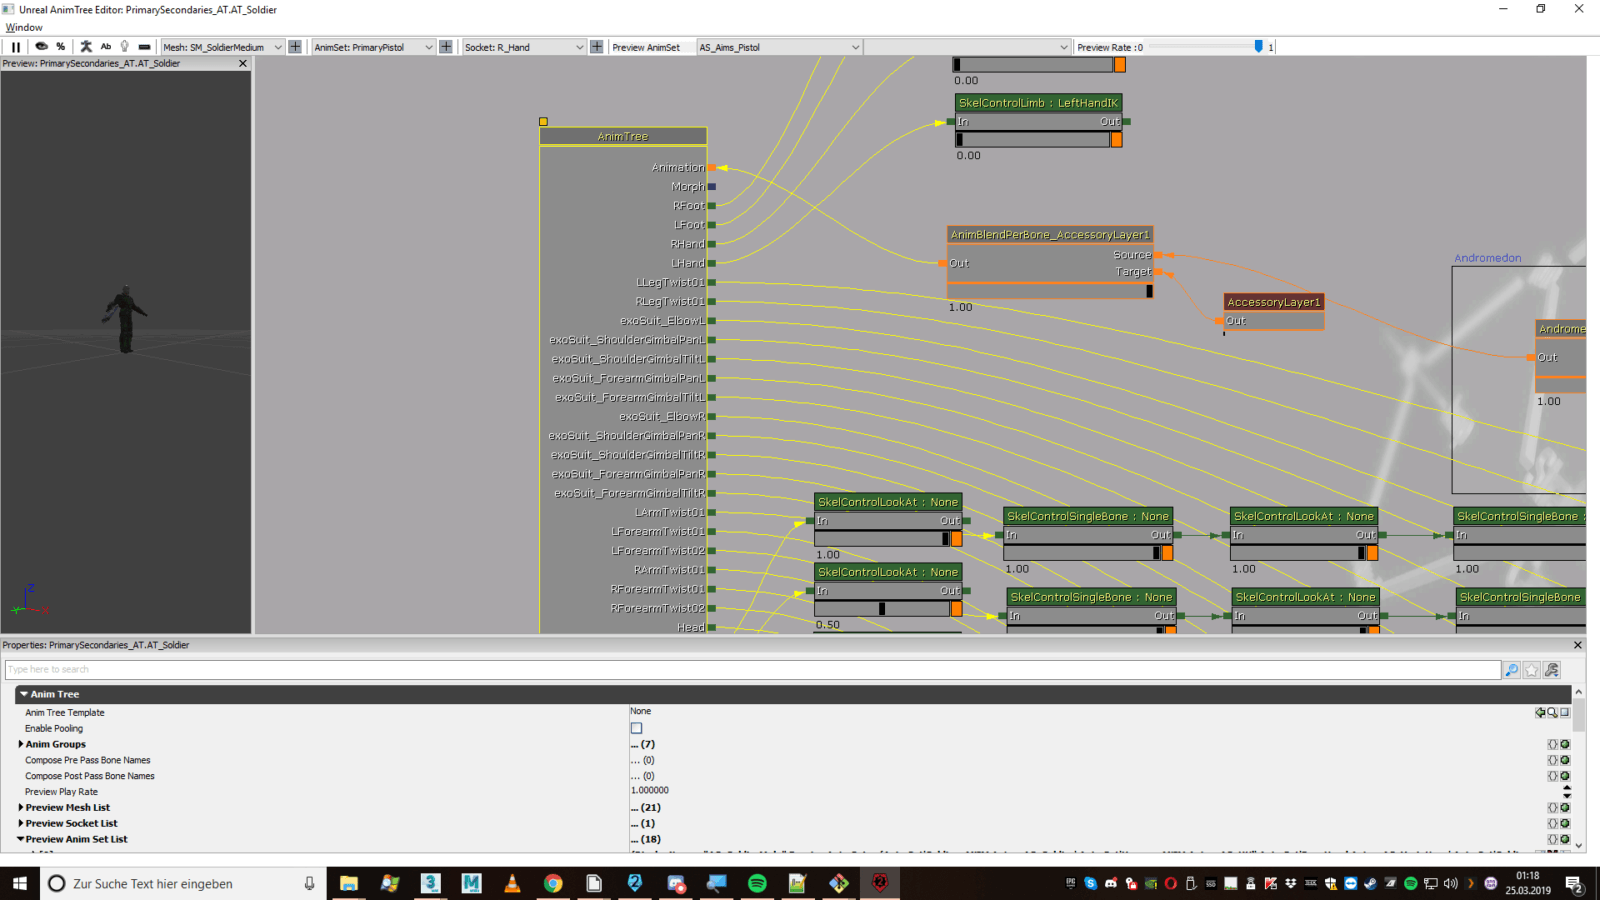
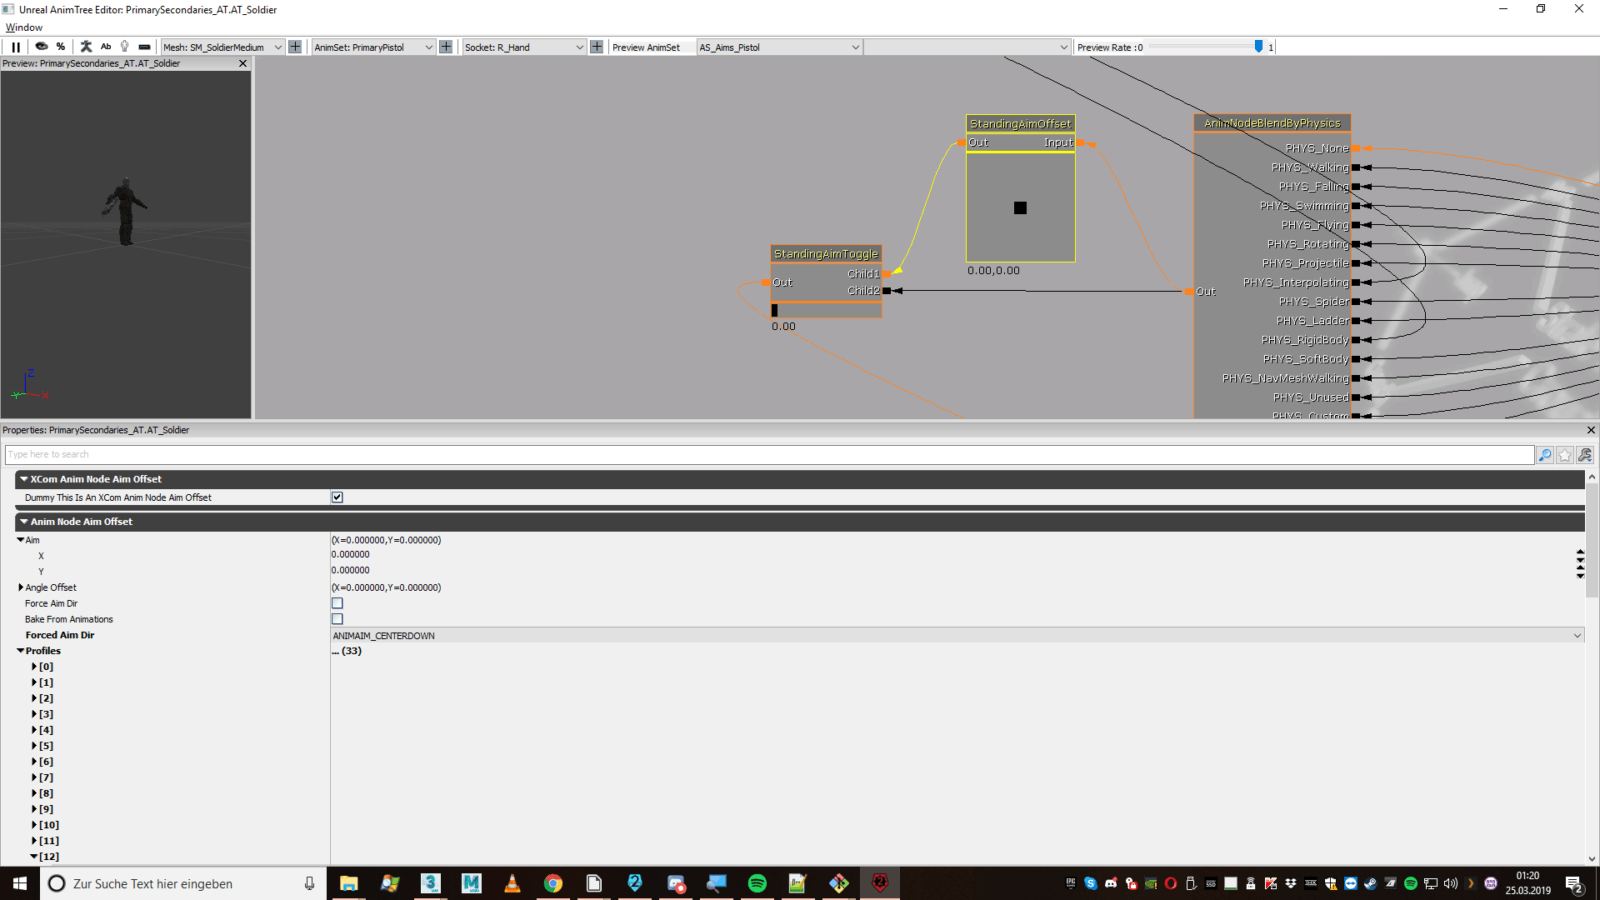
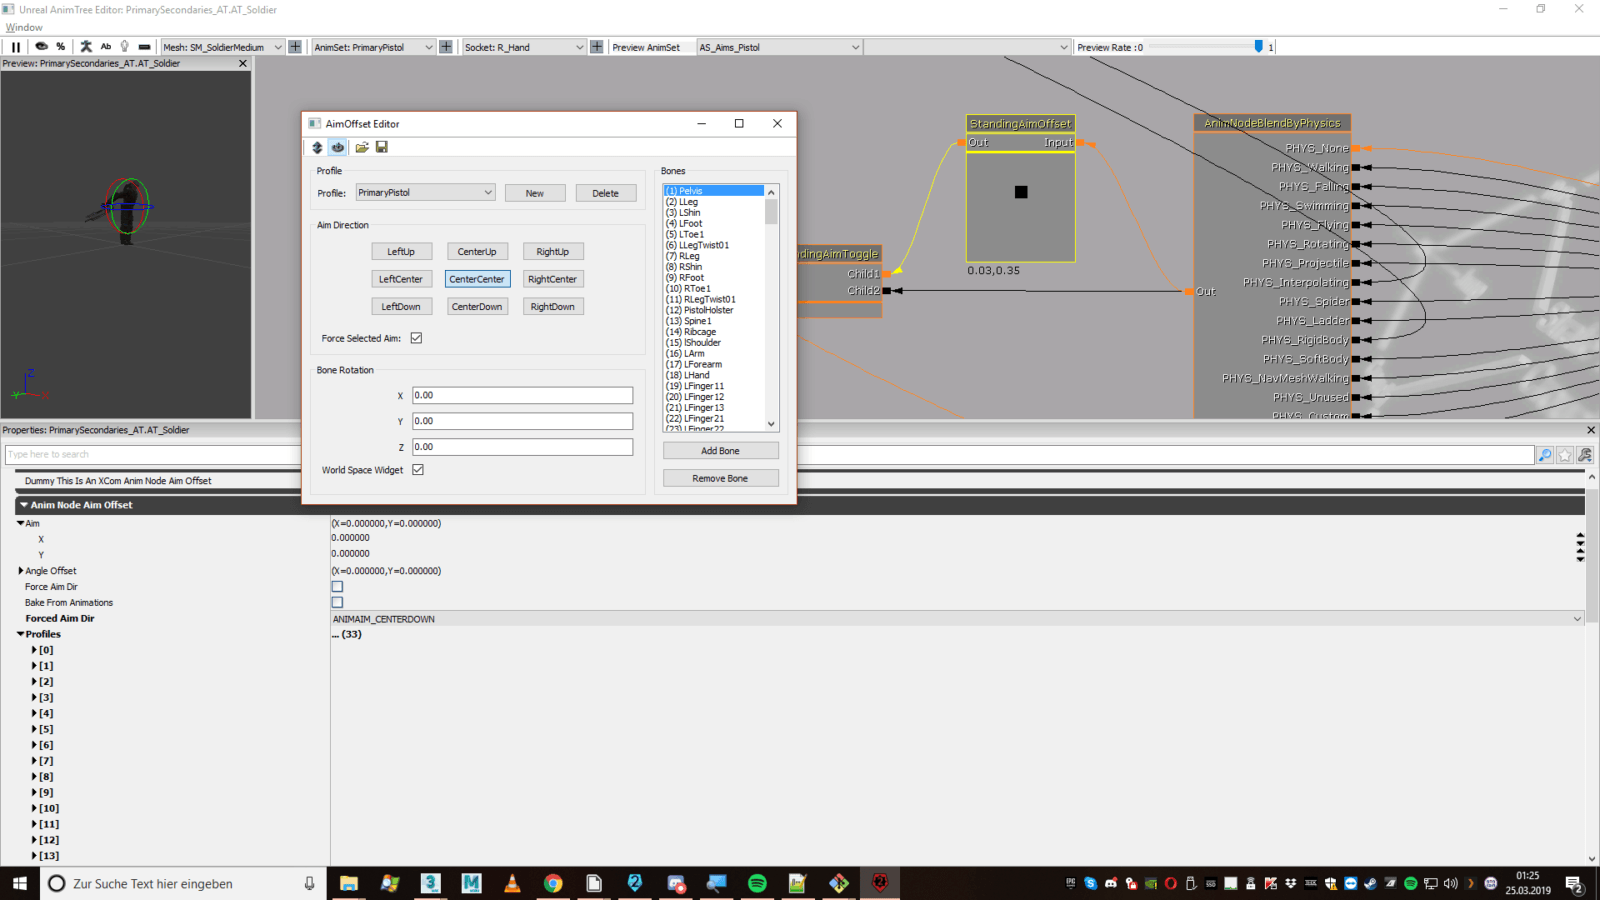
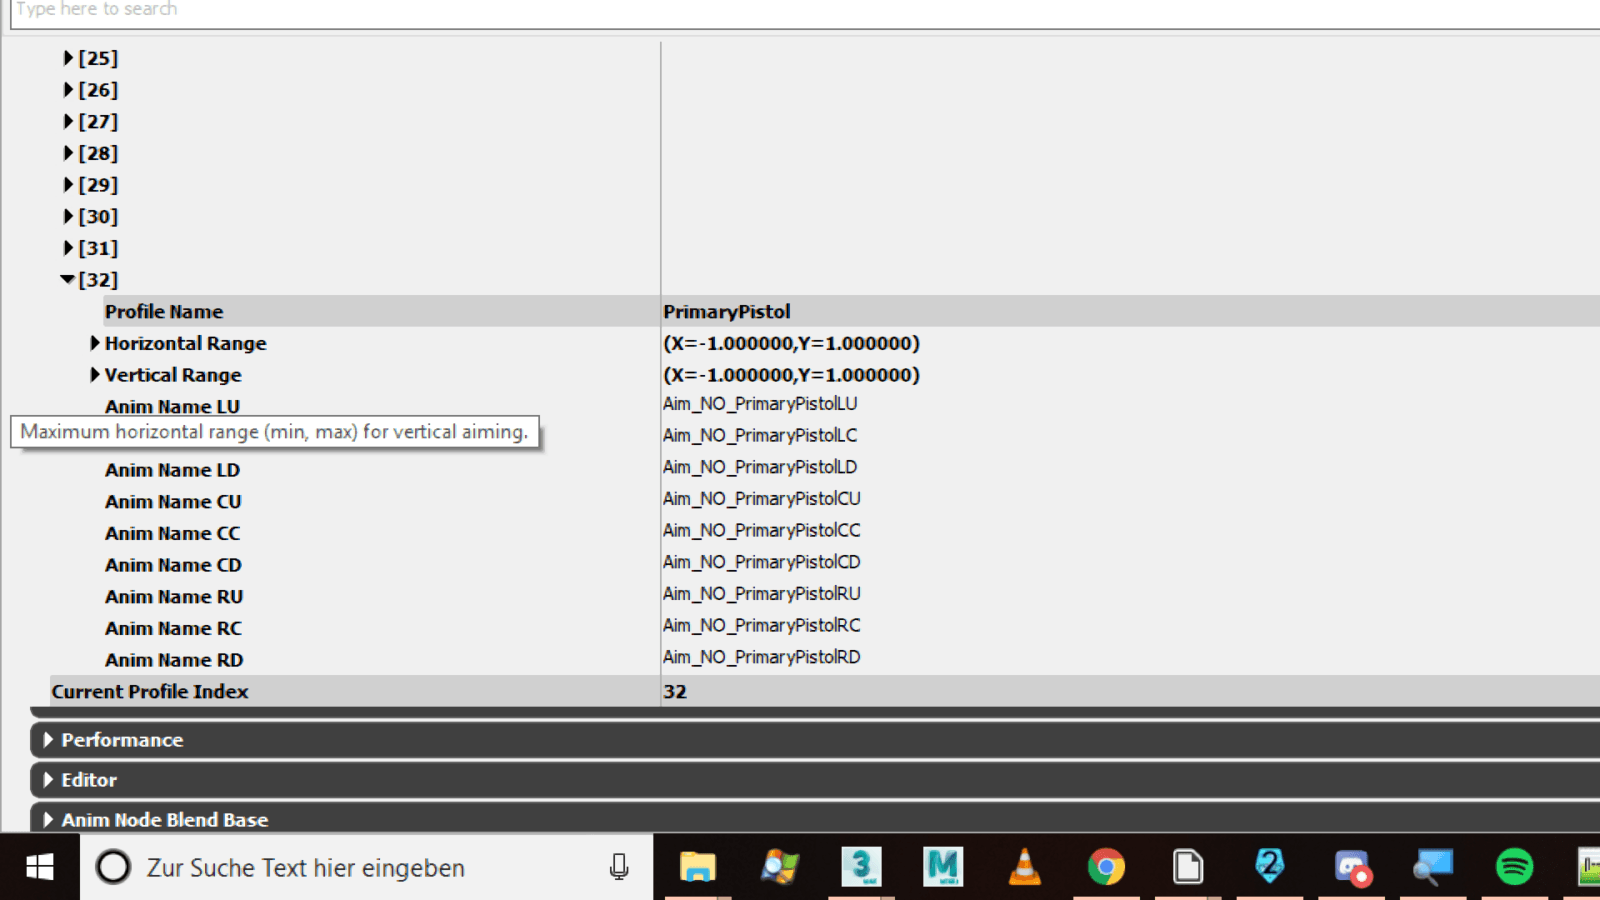
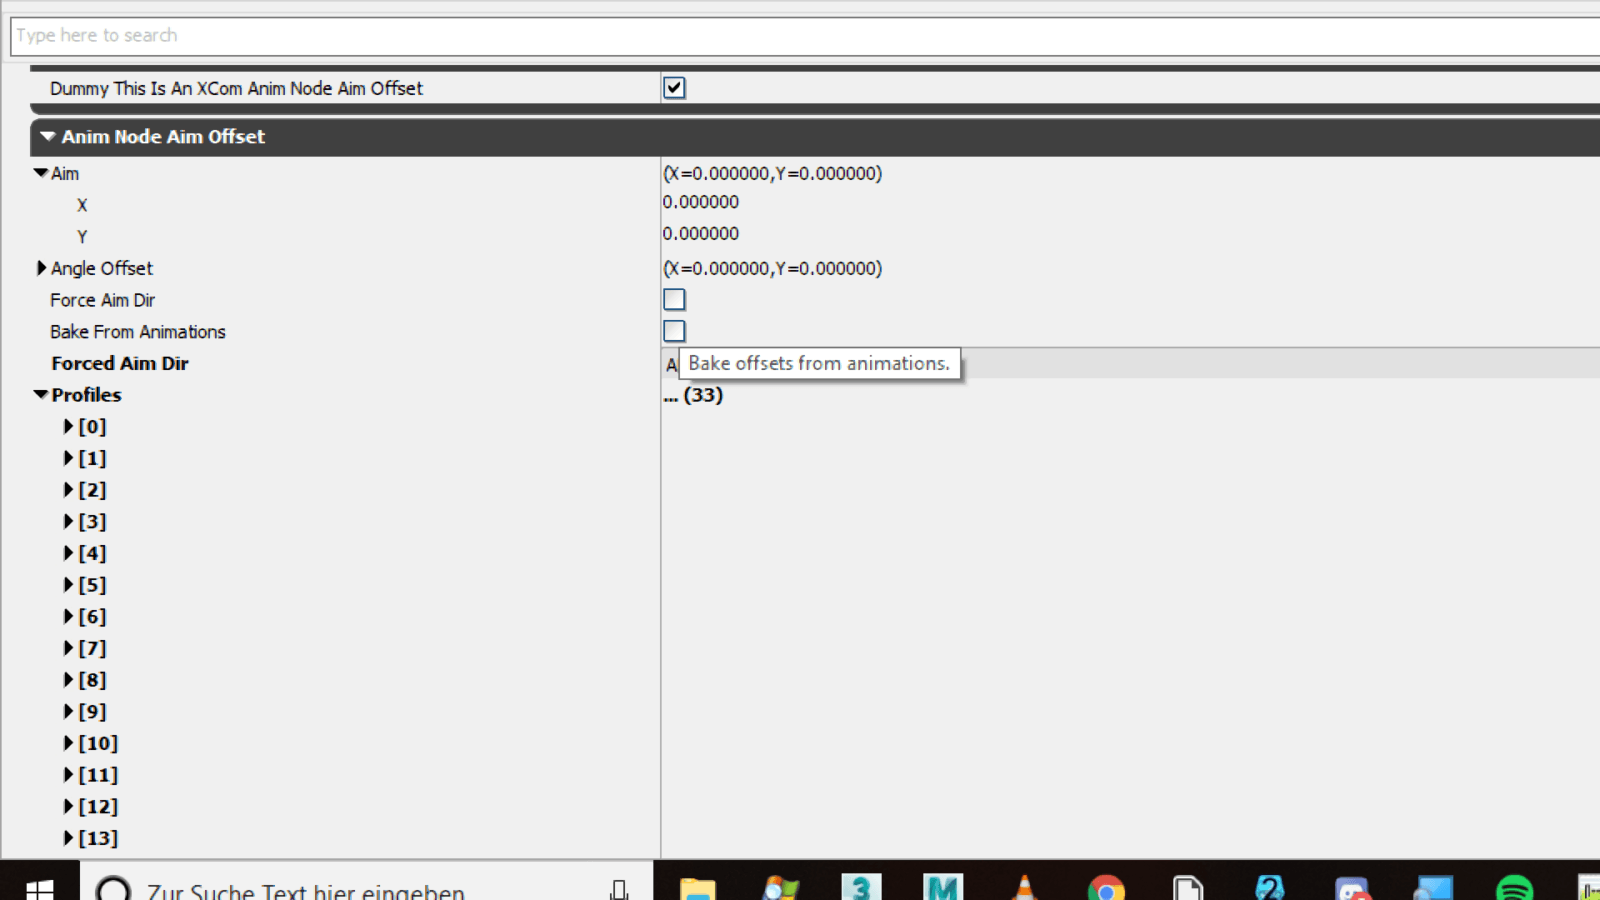
AnimTrees for custom Aim Profiles
By Musashi